

If there's one golden rule for cleaning limestone flooring, it’s this: be gentle. This beautiful natural stone is incredibly sensitive to anything acidic or abrasive. That’s why using a pH-neutral cleaner with a soft microfibre mop is absolutely non-negotiable if you want to avoid permanent damage like etching and scratches.
Why Limestone Floors Demand Special Attention
Limestone floors bring an unmatched, earthy elegance to any home, but that natural beauty comes with a very specific set of care instructions. Unlike tough, man-made materials such as porcelain or vinyl, limestone is a soft, porous sedimentary rock made mostly of calcite. It's this unique composition that also makes it vulnerable.
You need to think of your limestone floor less like a rugged utility surface and more like a delicate piece of furniture. Its porous nature means it can absorb liquids very easily, which will lead to stains if spills aren't cleaned up straight away.
The Threat of Acidity and Abrasion
The biggest enemy of limestone is acid. Many common household items can cause irreversible damage without you even realising it.
- Acidic Spills: Things like lemon juice, wine, vinegar, and even some fizzy drinks will literally eat away at the calcite in the stone. This creates dull, discoloured spots known as etches.
- Harsh Cleaners: Your standard all-purpose or bathroom cleaners are a definite no-go. They are often far too acidic or highly alkaline, which will strip the protective sealer and damage the stone's surface.
- Abrasive Tools: Stiff-bristled brushes or the beater bar on your vacuum cleaner can create thousands of tiny micro-scratches, which will quickly dull the floor's finish over time.
The entire philosophy behind limestone floor cleaning is preservation. Your goal is simply to remove dirt gently, without changing the stone's delicate structure. A gentle approach now prevents the need for expensive restoration work later on.
With the right knowledge, looking after these floors is actually quite straightforward. However, it only takes one mistake with the wrong cleaning product to cause lasting harm. Investing in proper care not only keeps your floor looking its best but also protects its value. For deep-seated issues or full restoration, it's always wise to call in the professionals. You can find out more about what's involved in our guide to professional stone cleaning services.
It's also worth noting that recent economic pressures have made many homeowners more cautious about upkeep costs. In fact, the UK flooring market saw a decline of 10-15% in a recent period, which suggests people are delaying maintenance to save money. This makes it even more important to understand proper DIY cleaning to stop minor issues from turning into major, costly problems.
Common Cleaning Mistakes and Their Consequences
Over the years, we've seen the same damaging mistakes made time and time again. Using the wrong product or technique can cause more harm than good. Here’s a quick summary of what to avoid.
| Mistake | Why It's Harmful | Resulting Damage |
|---|---|---|
| Using Vinegar or Lemon Juice | These are highly acidic and react with the calcium carbonate in limestone. | Permanent etching (dull, cloudy spots) and loss of shine. |
| Scrubbing with a Hard Brush | The bristles are too aggressive for this soft stone. | Scratches, scuffs, and a dulled surface that looks worn. |
| Using All-Purpose Cleaners | Most contain harsh chemicals or acids that are not pH-neutral. | Strips the protective sealer, leaving the stone vulnerable to stains. |
| Letting Spills Sit | Limestone is porous and will absorb liquids quickly. | Deep-set stains that are difficult or impossible to remove. |
| Using a Vacuum with a Beater Bar | The rotating, stiff bristles will scratch and chip the stone's surface. | A network of fine scratches that build up over time, ruining the finish. |
Avoiding these common pitfalls is the first step towards maintaining the beauty and integrity of your limestone flooring for years to come.
Building Your Limestone Cleaning and Care Kit
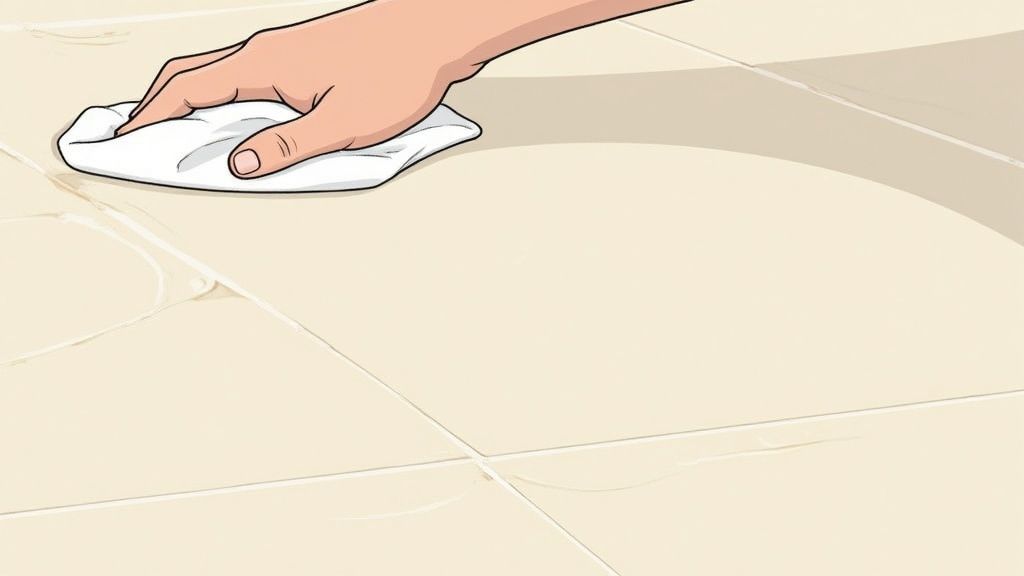
Before you even think about mopping, let's talk tools. Having the right supplies on hand is what separates a successful clean from a costly mistake. Putting together a dedicated, stone-safe cleaning kit is the first real step in protecting your investment.
The main goal is to get rid of grit and daily grime without harming the stone's surface. So, forget about that stiff-bristled broom or your standard vacuum cleaner head; your primary tools need to be gentle.
Essential Cleaning Tools
- Soft-Bristle Broom: A broom with soft, natural bristles is your best friend for sweeping up dust and crumbs without scratching the limestone's finish.
- Vacuum (Beater Bar Off): If you prefer using a vacuum, it’s absolutely critical to use one where you can switch off the rotating beater bar. A simple floor-head attachment is perfect for lifting dirt safely.
- Microfibre Mop: A good-quality, flat-head microfibre mop is a must-have. It grabs dirt far more effectively and uses less water than old-fashioned string mops, which helps prevent oversaturation and potential water damage.
Just as important as your tools are the cleaning solutions you use. The wrong chemical can easily strip the protective sealer and even etch the stone itself.
Your cleaning kit is your first line of defence. The most critical item is a cleaner that is explicitly labelled as pH-neutral. This ensures it will clean effectively without reacting chemically with the calcite in your limestone.
Key Cleaning Agents and Supplies
Now for the liquids and cloths. Here’s a pro-tip from years of experience: try using distilled water for mopping. It has no minerals, so it won’t leave behind that dull film you often see in hard water areas.
Your basic kit should include these essentials:
- A pH-Neutral Cleaner: Always look for a formula made specifically for natural stone.
- Distilled Water: Your secret weapon for mixing with the cleaner to get a perfect, streak-free finish.
- Soft Microfibre Cloths: You'll need these for blotting up spills the moment they happen and for buffing the floor dry after you’ve mopped.
I always recommend keeping these items separate from your general household cleaning supplies. It’s a simple way to prevent accidentally grabbing a harsh, acidic cleaner and causing damage. We apply the same organised approach professionally; the specialist tools we use for delicate upholstery cleaning are never mixed with our hard floor equipment. This small bit of discipline goes a long way in keeping your limestone pristine.
Mastering Your Daily and Weekly Cleaning Routine
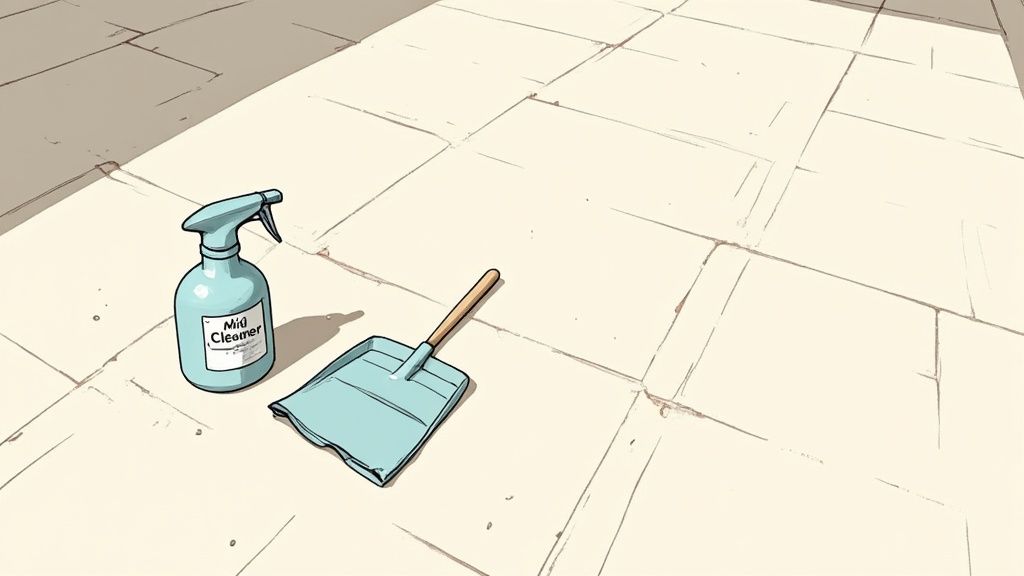
When it comes to looking after limestone floors, consistency is everything. Honestly, a simple and sustainable routine is what separates a beautiful, long-lasting floor from one that needs intensive restoration work down the line. Think of it as preventative care; a little effort each day goes a surprisingly long way.
The whole point of a daily clean is to get rid of the tiny, abrasive particles that get tracked in. Every time someone walks through the door, they bring in sand, dust, and little bits of grit. On a soft stone like limestone, this debris acts just like sandpaper, slowly scratching and dulling the finish.
Your Daily Dry Clean
Your number one goal is to lift this daily grit before it gets ground in. A quick dry clean is all you need, and it should become a non-negotiable habit, particularly in high-traffic spots like hallways and kitchens.
- Sweeping: Always reach for a broom with very soft, fine bristles. Those stiff plastic ones can cause micro-scratches over time, which you won't notice at first, but they add up.
- Vacuuming: This is usually the better option. The crucial thing to remember is that you must use a vacuum with the rotating beater bar switched off. Use a hard floor head attachment to gently lift the dirt without any harsh brushing.
This simple act takes just a few minutes but is your most important line of defence against everyday wear and tear.
The Weekly Damp Mop
At least once a week, it’s time for a gentle damp mop to pick up any stubborn grime that the dry clean left behind. The keyword here is damp, not wet. If you oversaturate limestone, moisture can work its way into the stone's pores and even lead to discoloured grout over time.
For the best results, always use a pH-neutral cleaner that’s been specifically made for natural stone. Mix it with warm water exactly as the bottle says—using too much cleaner will just leave a sticky film that attracts even more dirt.
Pro Tip: Don't try to mop the entire floor at once. Work in small, manageable sections. As soon as you finish mopping a section, go back over it with a clean, dry microfibre cloth to buff it dry. This little extra step is the secret to preventing water spots and getting a perfect, streak-free finish.
This disciplined approach is vital. Natural stone is more popular than ever, and with that comes the realisation that it needs proper upkeep. In fact, here in the UK, the demand for professional limestone floor cleaning is on the rise as more homeowners want to protect their investment. You can see the trends for yourself by exploring the latest stone flooring market research. By getting into a good daily and weekly routine, you're not just cleaning your floor—you're preserving its beauty and value for years to come.
How to Handle Spills and Stubborn Stains
We’ve all been there. That heart-stopping moment when a glass of red wine goes flying, or a rogue splash of olive oil escapes the pan. It doesn’t have to be a disaster for your beautiful limestone floor. When it comes to spills, speed is your best friend, but having the right technique is just as crucial.
Before you can tackle a stain, you need to understand what you're dealing with. Spills on limestone generally fall into one of three categories: organic (think coffee, tea, or wine), oil-based (like cooking oil or grease), and the dreaded etch mark. An etch mark isn't really a stain at all; it's physical damage to the stone caused by acid. Each problem needs a different approach, but the goal is always the same: lift the substance out of the stone’s pores without causing more damage.
Identifying and Acting on Spills
The second a spill happens, grab a clean, dry microfibre cloth and blot it immediately. Whatever you do, do not wipe. Wiping just spreads the mess and forces the liquid deeper into the porous stone. Gentle, firm blotting will soak up most of the spill and massively reduce the risk of it becoming a permanent feature.
If the spill has already left a mark, it's time for a more targeted method. Your most powerful weapon here is a poultice. It sounds technical, but a poultice is just a thick, absorbent paste you apply directly to the stain. As the poultice dries, it uses capillary action to pull the staining agent right out of the limestone's pores.
You can mix up a surprisingly effective poultice using simple household items:
- The Base: Baking soda is a fantastic, gentle choice. Just mix it with water until you have a thick paste, roughly the consistency of smooth peanut butter.
- The Activator: For organic stains like coffee or wine, add a few drops of hydrogen peroxide to your paste. If you’re fighting an oil-based stain, a little bit of washing-up liquid will work better.
Applying a Poultice for Maximum Effect
Once your poultice is mixed, spread a generous layer—about a quarter-inch thick—directly over the stain. Make sure it extends slightly beyond the edges of the mark. Cover the whole thing with cling film and tape down the sides. This traps the moisture, keeping the poultice active for longer.
Now, you need to be patient. Leave it to work its magic for at least 24 to 48 hours. This is a process that absolutely cannot be rushed.
After the time is up, take off the cling film and let the poultice dry out completely. You should actually see it pulling the stain from the stone as it dries. Once it’s bone dry, gently scrape it off with a plastic scraper and wipe the area clean with a damp cloth. For really stubborn stains, you might need to give it a second go.
This image simplifies the core principles of regular limestone care, which is the best way to prevent deep stains from setting in in the first place.
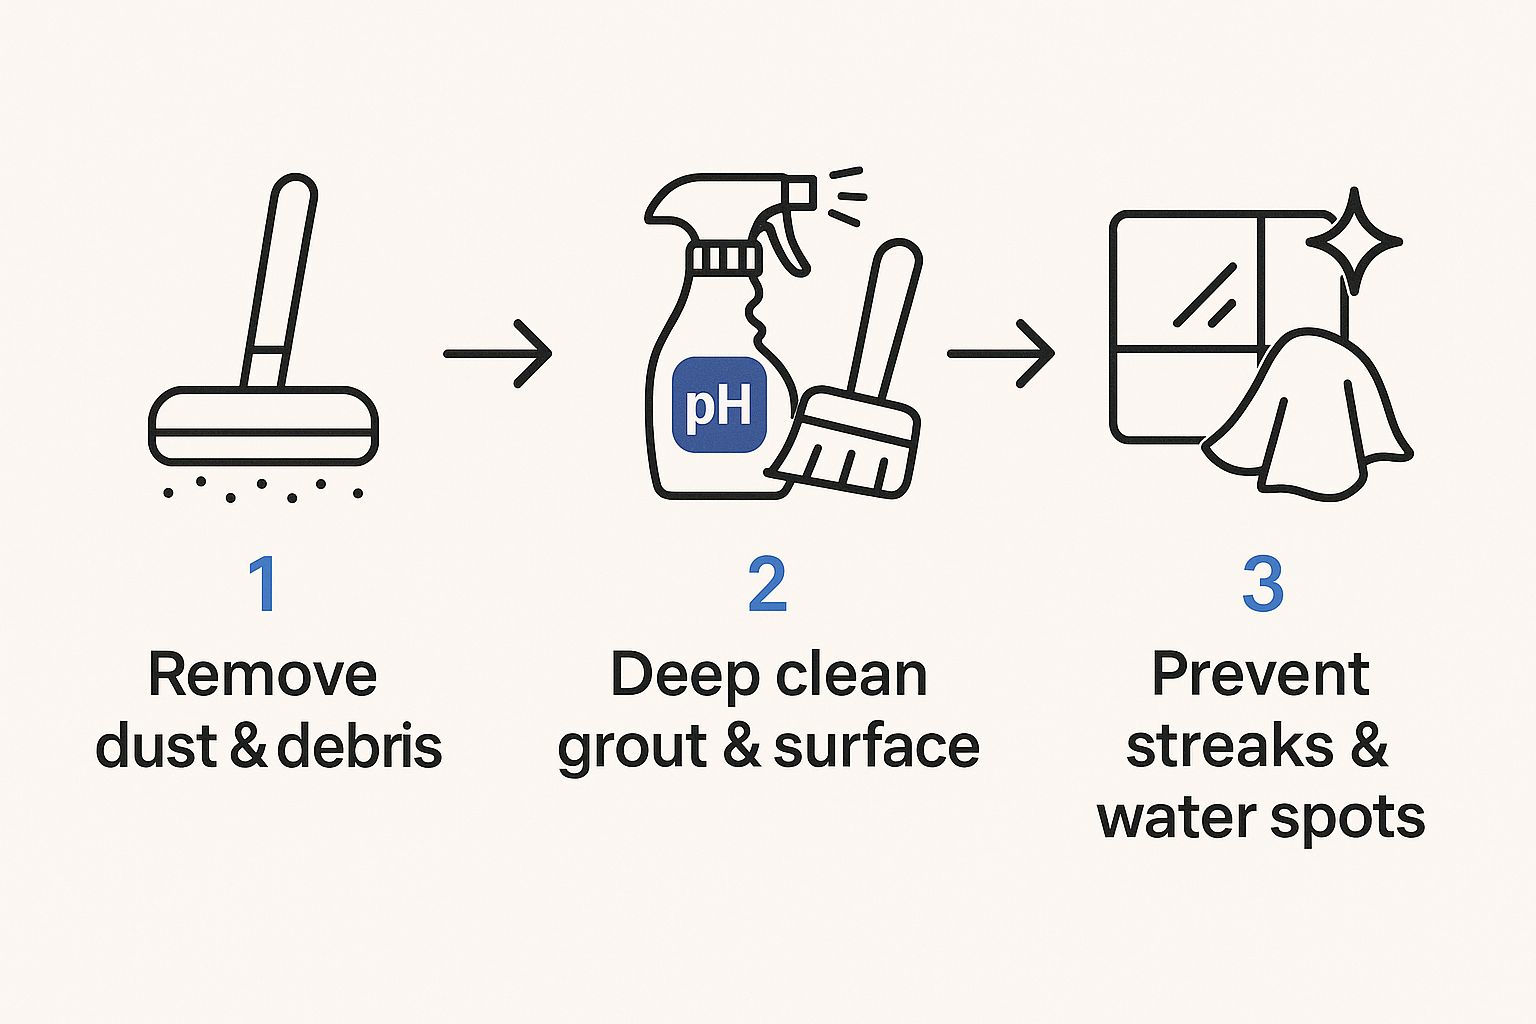
As the diagram shows, a simple three-step process—clearing debris, washing gently, and drying thoroughly—is the foundation for preventing the kind of build-up that makes stains so much harder to shift.
Sometimes, you'll need a quick reference for which cleaning agent to grab. This table should help you match the right treatment to the most common household stains.
Stain Treatment Reference Guide
| Stain Type | Primary Cleaning Agent | Method |
|---|---|---|
| Organic (Wine, Coffee, Tea) | Hydrogen Peroxide & Baking Soda | Create a poultice, apply for 24-48 hours, then gently remove. |
| Oil-Based (Grease, Cooking Oil) | Washing-Up Liquid & Baking Soda | Create a poultice, apply for 24-48 hours, then gently remove. |
| Ink (Non-Permanent) | Rubbing Alcohol | Dampen a cloth and blot the stain gently. Do not rub. |
| Water Spots (Hard Water) | pH-Neutral Stone Cleaner | Buff the area with the cleaner on a soft cloth. |
Having the right tool for the job makes all the difference and prevents you from accidentally using something that could damage the stone.
A quick but important note: An etch mark from something acidic like lemon juice or vinegar is a completely different beast. It's chemical damage to the surface of the stone itself. A poultice won't touch it. Minor etches can sometimes be buffed out with a very fine grade #0000 steel wool, but deeper etching will almost certainly need a professional to hone and polish the floor to restore its finish.
Deep Cleaning to Restore Your Floor's Natural Beauty
Even when you follow a perfect daily and weekly routine, there comes a point where your limestone floor needs a bit more than a surface-level clean. Over time, especially in high-traffic areas, a fine film of grime can settle deep into the stone’s pores and grout lines, making the floor look dull and tired. When that happens, it’s time for a proper deep clean.
This isn't about getting on your hands and knees with a harsh scourer. It’s a careful, restorative process that lifts out the ingrained dirt your regular mop just can’t touch. The idea is to bring back that original character and prep the stone for the crucial step of resealing.
Using an Alkaline Cleaner
For this more demanding job, your usual pH-neutral cleaner simply won't have enough power. You’ll need to switch to a specialised alkaline limestone cleaner. These formulas sit slightly higher on the pH scale, which gives them the muscle to dissolve stubborn, greasy grime and organic build-up without the risk of acid damage to the stone.
Always follow the manufacturer's dilution instructions to the letter. Apply the solution generously across a small, manageable section of the floor and let it sit for around 10-15 minutes. This 'dwell time' is vital; it gives the cleaner a chance to get to work and break down the dirt. Next, take a soft-bristled brush and gently agitate the surface, paying close attention to the grout lines where dirt loves to hide.
Think of a deep clean as hitting the reset button on your floor. It's a more involved process, much like the detailed work that goes into a professional wood floor restoration. Both are designed to strip away the built-up signs of wear and tear to reveal the original beauty hidden underneath.
Once you’ve scrubbed, mop up the dirty solution and give the area a thorough rinse with clean water to neutralise any residue. To finish, buff the section completely dry using microfibre cloths before moving on to the next.
A Cautious Approach to Steam Cleaning
Steam cleaners can be an option for deep cleaning limestone, but you have to proceed with extreme caution. The combination of intense heat and high pressure can easily damage the protective sealer or, in the worst-case scenario, the stone itself if you aren't careful.
If you decide to go down the steam route:
- Always start on the lowest heat and pressure setting.
- Make sure you fit a soft, padded microfibre attachment to the cleaning head.
- Keep the machine moving at all times. Never let it sit still in one spot.
It's this delicate balance of maintenance and beauty that makes limestone such a prized material. While its popularity is global, the UK and European markets have a particular appreciation for its unique blend of elegance and durability. You can learn more about limestone's economic role and its place in modern design.
Protecting Your Investment by Sealing Your Floor
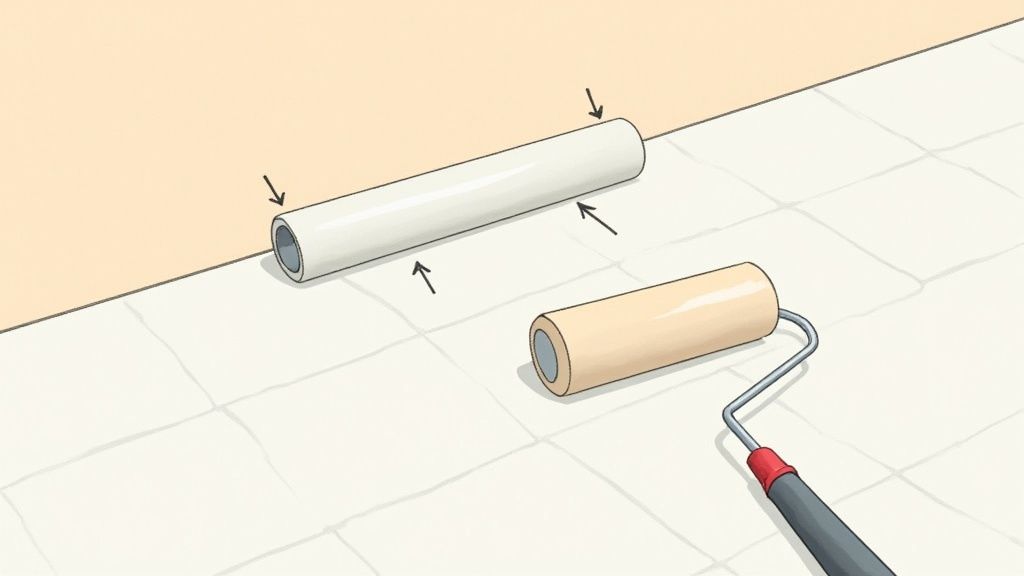
If there's one step you absolutely shouldn't skip in a long-term limestone care plan, it's sealing. Think of it as an invisible shield for your beautiful stone. An unsealed limestone floor is essentially a sponge, just waiting to soak up any spill that comes its way. Sealing drastically reduces this porosity, buying you precious time to wipe up messes before they have a chance to become permanent stains.
The idea isn't to cover your floor with a plastic-like film that ruins its natural charm. What you want is a high-quality impregnating sealer. This type of product is brilliant because it soaks deep into the stone's pores, protecting it from the inside out without altering the look or feel of the surface.
Choosing and Applying the Right Sealer
When you're looking for a sealer, make sure it’s specifically designed for natural stone. A good impregnating sealer will be either water-based or solvent-based and should repel both water and oil-based spills.
The application itself is quite straightforward, but it does demand a bit of patience and care.
- Preparation is Key: Your floor needs to be spotlessly clean and bone dry before you even think about opening the sealer. Any dirt you miss will get sealed right in, and any dampness can stop the sealer from bonding properly.
- Apply Thin, Even Coats: Grab a lint-free cloth or a proper applicator pad and work the sealer onto the floor in thin, even layers. It’s best to tackle small, manageable sections at a time so you don't miss any spots.
- Buff Off the Excess: This is crucial. After letting the sealer sit for the time recommended by the manufacturer (usually 5-15 minutes), you must buff away any excess from the surface with a clean, dry microfibre cloth. If you skip this, it will dry into a sticky, hazy residue that’s a real headache to remove.
The true benefit of sealing lies in proactive protection. It's a relatively small job that prevents major problems down the line, safeguarding the significant investment you've made in your flooring. For anyone undertaking home improvements, understanding how these smaller tasks contribute to the bigger picture is vital for maximizing home renovation ROI.
Knowing When to Reseal
So, how can you tell when it's time for a top-up? The water-drop test is a wonderfully simple and effective method.
Just sprinkle a few drops of water onto a tile in a high-traffic area of your floor. If the water beads up nicely, your sealer is still doing its job. But if the water starts to soak in and darken the stone within a few minutes, that’s your clear signal that the protection is wearing thin and it's time to reseal. For most homes, you'll find this needs doing every 2-4 years.
If the thought of sealing your floor feels a bit daunting, or if your limestone has other issues that need sorting first, exploring professional stone maintenance services is a great way to get peace of mind and ensure the job is done perfectly.
Frequently Asked Questions About Limestone Floor Care
When you have limestone floors, it's natural to have a few questions. In my experience, most homeowners worry about the same things. Getting the right answers from the start is the best way to keep your floors looking beautiful and avoid any costly mishaps down the line. I’ve put together some of the most common queries I hear to give you clear, straightforward advice.
One of the first questions people always ask is about using everyday household cleaners, especially vinegar. The answer to this is a firm and simple no.
Never use vinegar, lemon juice, or any other acidic cleaner on your limestone. These substances cause a chemical reaction with the calcite in the stone, leading to etching. This creates a dull, cloudy mark on the surface that is permanent damage.
To keep your floors safe, always choose a pH-neutral cleaner made specifically for natural stone. It’s the only way to avoid this kind of irreversible damage.
Sealing and Steam Cleaning
Another common area of concern is the long-term upkeep. Specifically, how often should you reseal your floors, and is it ever safe to use a steam cleaner?
How often should I reseal my limestone floors?
This really comes down to how much foot traffic the area gets. For busy spots like kitchens and hallways, you’re probably looking at resealing every 1-2 years. For rooms that see less action, like a bedroom, you might get away with 3-5 years. The easiest way to check is to do a quick water test: just place a drop of water on the tile. If it soaks in and darkens the stone within a few minutes, it’s a clear sign that it’s time to reseal.
Is it safe to use a steam cleaner on limestone?
You need to be extremely careful here. The combination of intense heat and high pressure from a steam cleaner can easily damage the stone itself or strip away the protective sealant. If you absolutely must use one, make sure it’s on the lowest possible heat and pressure setting, and always use a soft pad attachment. Most importantly, don't let it sit in one spot for more than a second or two, as this can cause lasting damage.
For deeper cleaning jobs or stubborn problems, sometimes your best bet is to bring in the professionals. The standards are just as high as with other specialist services, as you can see from our guide to professional carpet cleaning services, which details a similarly meticulous approach.
If you're looking for professional care for your limestone floors, trust the experts. AG Carpet Specialists offers specialised stone maintenance to restore and protect your investment. Contact us today for a free quotation!



