
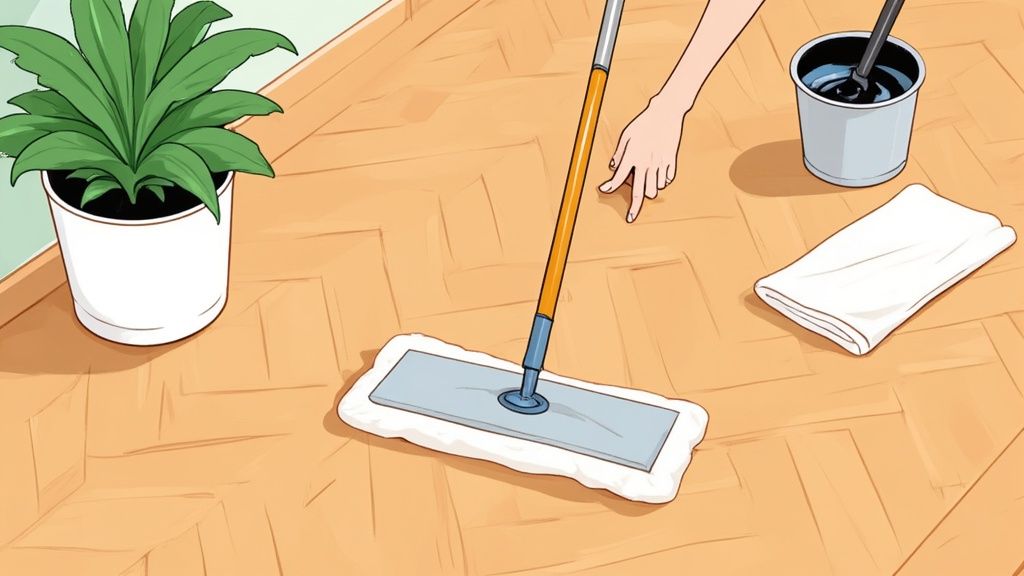
When you're dealing with parquetry floors, the key is to remember that regular, gentle cleaning beats an aggressive deep clean any day of the week. You'll want to focus on dry cleaning with a soft brush or vacuum to get rid of grit, followed by a very light damp-mop using a pH-neutral cleaner. This approach protects that beautiful, delicate finish.
Above all, avoiding excess water is absolutely crucial. Too much moisture can cause the wooden blocks to swell, leading to lasting damage to those intricate patterns.
Your Essential Parquet Floor Care Checklist
Caring for parquet flooring isn't about intensive scrubbing; it's about building consistent, gentle habits. Those stunning geometric designs that make parquet so desirable are also brilliant at trapping dust, grit, and dirt. If you let it build up, that debris basically acts like sandpaper underfoot, creating micro-scratches that dull the finish and damage the wood itself over time.
This is exactly why looking after your floor starts with daily attention, not just a big weekly clean.
Before you even think about reaching for a mop, getting a solid dry-cleaning routine down is the most important thing you can do. For many UK homes where parquet is a treasured original feature, this daily upkeep is the best defence against premature wear and tear. In fact, most experts would agree that vacuuming parquet floors 2 to 3 times a week is essential to stop dirt from getting wedged between the wooden blocks. This simple, regular removal of abrasive bits and pieces is the number one step in how to clean parquetry floors safely.
Gathering Your Supplies
Having the right tools ready to go makes the whole process easier and, more importantly, safer for your floor. I’ve seen the damage that can be done by using the wrong kit, like an abrasive cleaner or an old-school, soaking-wet string mop—it can cause problems you just can't fix. Your goal is to clean effectively while protecting your investment.
If you're looking for some broader tips on wood floor care that work well alongside these parquet-specific pointers, this general guide on how to clean hardwood floors is a useful read.
My Key Takeaway: The best way to look after parquet is to be proactive. Gentle, frequent cleaning with the right tools will always serve you better than aggressive, infrequent deep cleans.
To make things simple, here’s a quick checklist of everything you'll need to keep your parquet looking its absolute best.
Essential Supplies for Cleaning Parquetry Floors
This table breaks down the must-have tools and materials you'll want on hand for safe and effective parquet floor cleaning.
| Tool/Material | Recommended Type | Why It's Essential |
|---|---|---|
| Vacuum Cleaner | Canister or upright with a soft brush head attachment. | A hard plastic head or a beater bar will scratch and even dent the wood. A soft brush gently lifts dust without causing any harm. |
| Broom | Soft-bristled broom or a dust mop. | Perfect for quick, daily sweeps to pick up surface dust and pet hair without scratching the floor's delicate finish. |
| Mop | Microfibre flat-head mop with a washable pad. | Microfibre is fantastic because it uses very little water, traps dirt really well, and won't over-saturate the wood. |
| Cleaning Solution | pH-neutral, wood-specific cleaner (or a DIY mix). | Harsh, acidic, or alkaline cleaners can strip the protective sealant, leaving your floor vulnerable to stains and moisture. |
| Cloths | Soft, clean microfibre cloths. | A must-have for immediately wiping up spills and for spot-treating scuffs without leaving lint behind or causing scratches. |
With these items in your cleaning cupboard, you're well-equipped to handle day-to-day maintenance and keep your floors in pristine condition for years to come.
Preparing Your Parquet for a Deeper Clean
Before a single drop of cleaning solution ever touches your beautiful parquetry, the most crucial step is a thorough dry clean. I can't stress this enough. Think of any leftover grit or dust as tiny, sharp pieces of sandpaper. If you start mopping while they’re still on the surface, you’ll just be grinding them into the wood. Over time, this creates a web of fine scratches that completely dulls that gorgeous parquet pattern.
This isn’t about a quick, casual sweep; it’s a strategic removal of all loose debris.
The first practical thing to do is clear the room as much as you can. Lift dining chairs out, roll up any rugs, and shift small furniture or floor lamps out of the way. This gives you a clear, unobstructed run at the entire surface, ensuring no dust bunnies can hide under a table leg.
Choosing Your Dry-Cleaning Tool
When it comes to getting rid of that loose dirt, you have two excellent choices: a soft-bristled broom or a vacuum cleaner. A broom is great for a quick daily tidy-up, especially for gathering pet hair and crumbs. But for a proper pre-clean like this, a vacuum fitted with a specialised hard floor head attachment is far superior.
Why the specific attachment? Your standard vacuum head often has a stiff, rotating beater bar designed to agitate carpet fibres. On your parquet, this can easily cause scratches or even tiny dents. A proper hard floor tool, on the other hand, uses soft bristles to gently lift dust and suction it away without a hint of damage. The vacuum’s suction power is also much better at pulling dust from the tiny crevices between the wooden blocks where it loves to settle.
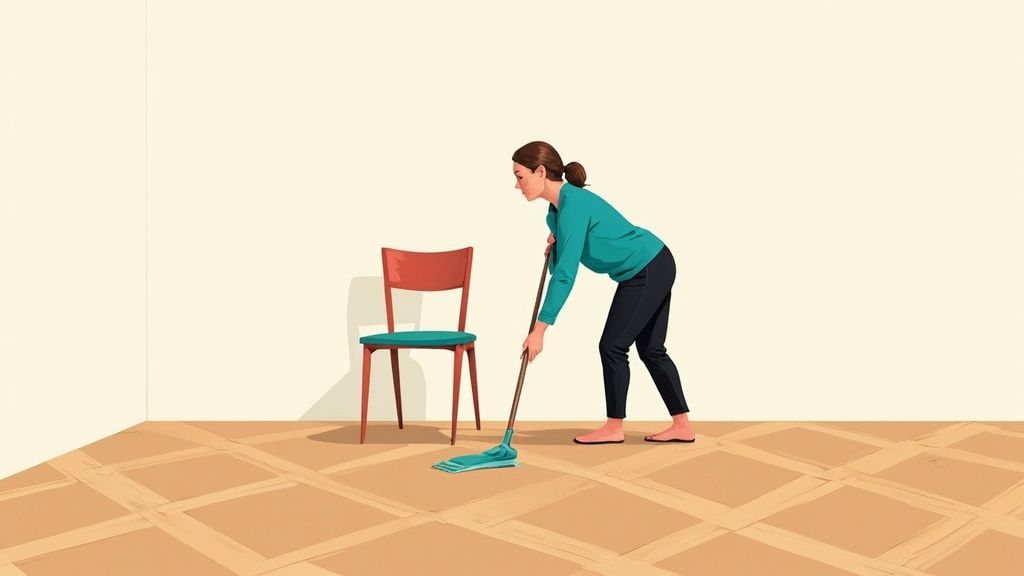
Expert Tip: Pay close attention to the edges of the room and corners. I always use the vacuum's crevice tool to run along all the skirting boards. It's amazing how much dust and debris gathers in these spots.
A Methodical Approach
For the most effective clean, work methodically. Start at the corner furthest from the door and make your way backwards in a consistent pattern. It’s a simple trick, but it guarantees you won't walk over the areas you've just cleaned, undoing your hard work. This kind of detailed preparation is a core principle we follow for all floor care, and you can see similar advice in our post about how to clean wood floors.
Taking these preparatory steps seriously is what separates a quick wipe-down from a truly restorative clean. Of course, for those rare times when your floors need more than routine care, considering professional deep clean services can be a fantastic way to bring them back to life. Ultimately, it’s this careful prep that keeps your parquetry looking magnificent for years to come.
The Gentle Art of Mopping Parquet Floors
Once you’ve banished every last bit of dust, it’s time to move on to mopping. This is where a lot of people, with the best of intentions, can go seriously wrong. When it comes to parquetry, you have to remember that water is its natural enemy. The aim isn't to 'wash' the floor in the way you would with tiles, but to gently damp-mop it. Think of it less as a scrub and more as a delicate, moisture-controlled wipe.
Too much water is a fast track to disaster. It can easily seep into the tiny seams between the wooden blocks, causing them to swell, warp, or even lift away from the subfloor. This is the sort of damage that often requires professional intervention to fix. That's why the classic string mop and a bucket full of soapy water is the worst possible choice for this task—it holds far too much water and offers very little control.
Mastering the Damp Mop Technique
Your greatest ally here is a microfibre flat-head mop. These are miles better than traditional mops because their pads are specifically designed to clean effectively using minimal moisture. The technique is straightforward but absolutely vital: lightly mist the microfibre pad with your cleaning solution, or if you prefer, dip it and wring it out until it’s almost bone dry to the touch.
Crucial Tip: A correctly wrung-out mop pad shouldn't leave any visible water streaks or droplets behind. All you should see is a faint sheen on the wood that evaporates in less than a minute. If you can see any standing water, your mop is far too wet.
When you begin, always try to move the mop with the grain of the wood within the parquet’s pattern. It’s best to work in small, manageable sections, starting from the corner of the room that’s furthest from the door and working your way backwards. This simple trick stops you from walking all over your freshly cleaned floor.
Choosing the Right Cleaning Solution
What you clean with is just as important as how you clean. Harsh, all-purpose cleaners, or any product that’s highly alkaline or acidic, can strip the protective finish right off your parquet. This leaves the timber exposed and vulnerable to damage. You absolutely need a pH-neutral cleaner that has been formulated specifically for wood floors.
Here are a couple of excellent, safe options to consider:
- Store-Bought Wood Cleaner: Look for products that are clearly labelled as "pH-neutral" and "safe for sealed wood floors." Always follow the dilution instructions on the bottle to the letter.
- DIY Vinegar Solution: For a homemade option, a very weak vinegar mix can work. Combine about 60ml of white vinegar with 4 litres of warm water. Be careful not to overuse this, as even diluted vinegar can dull some floor finishes over time.
This visual guide helps break down how often you should be carrying out these tasks.
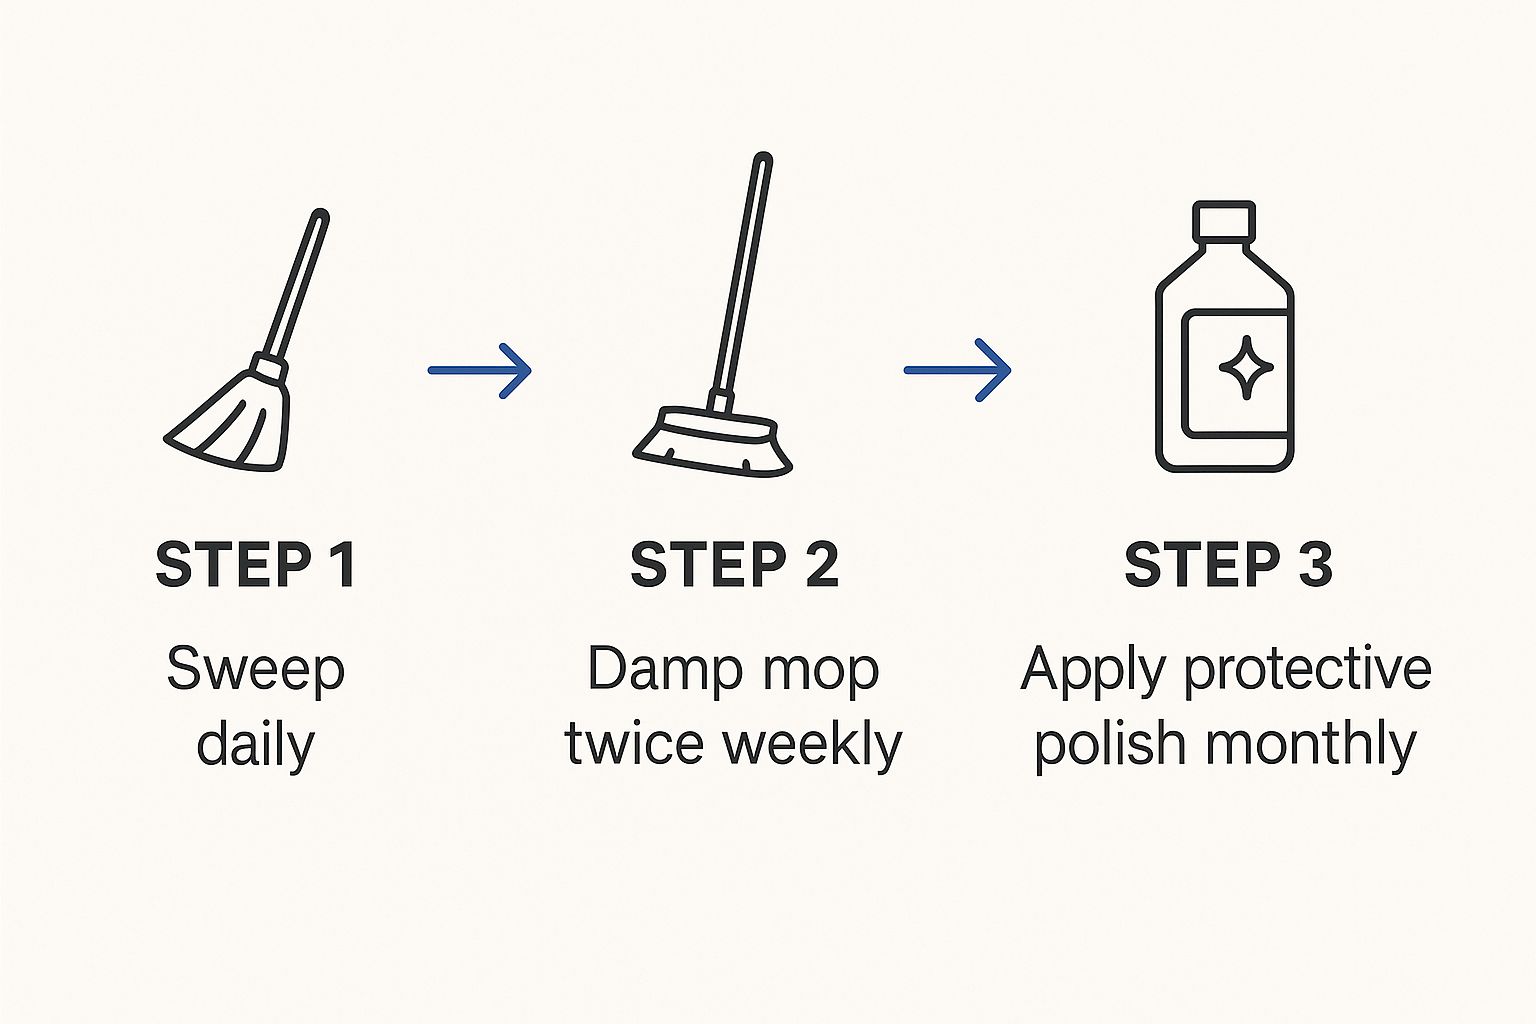
As the graphic shows, damp-mopping is something you do quite infrequently. It really drives home the point that daily dry cleaning is the most important thing you can do for your parquet. By mastering this gentle mopping method and sticking to a routine, you’re protecting your investment for years to come. If your floor is looking a bit tired and needs more than just a clean, our expert guide on hardwood floor cleaning and polishing provides more in-depth advice on restoration.
How to Tackle Scuffs, Stains and Spills
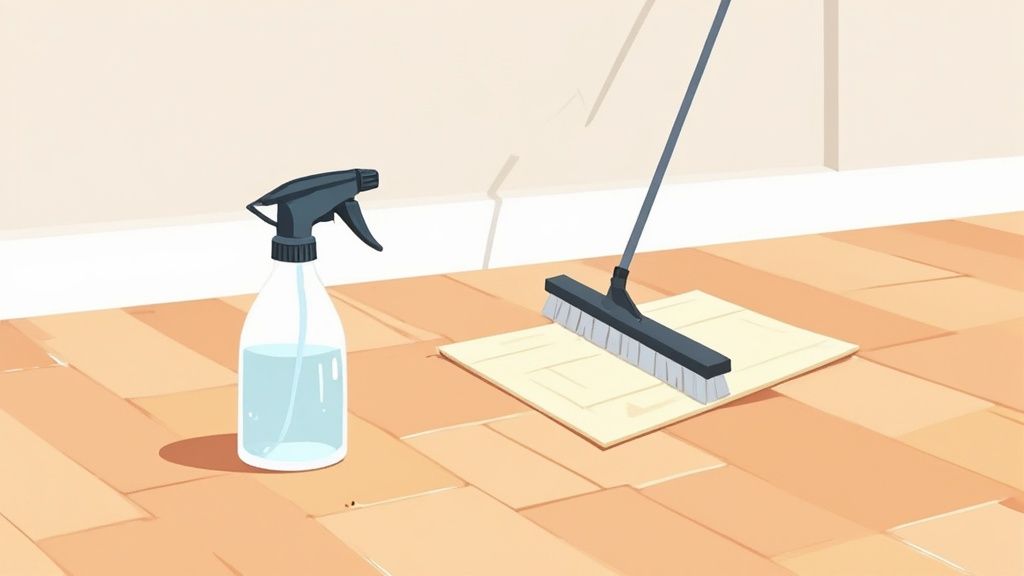
Even when you’re incredibly careful, life happens. A dropped utensil, a guest’s shoe, or a child’s toy can leave an unsightly mark on your otherwise immaculate parquetry. The key is not to panic. Instead, act swiftly and appropriately, using targeted techniques that won’t damage your floor’s delicate finish.
The right approach depends entirely on the type of finish protecting your wood. A lacquered (or varnished) floor has a hard, protective layer sitting on top, while an oiled finish actually penetrates the wood itself. Knowing which one you have is crucial before you start any spot treatment.
Dealing with Minor Scuff Marks
For those frustrating black scuff marks, usually left by rubber-soled shoes, your first line of defence is surprisingly simple. Before reaching for any chemicals, just grab a clean, soft microfibre cloth and try to buff the mark out with firm pressure. Often, the friction alone is enough to lift the rubber residue.
If that doesn't quite do the trick, another fantastic method is to use a clean tennis ball. Its slightly abrasive, felt-like surface is perfect for grabbing onto the scuff mark without scratching the floor's finish. Simply rub the tennis ball over the mark until it vanishes. It’s a gentle yet remarkably effective trick.
My Personal Tip: Always start with the least aggressive method first. A simple cloth or tennis ball solves over 90% of common scuff issues I see in my work, preventing unnecessary wear on the floor's sealant.
Handling Sticky Residues and Spills
Sticky spills from food or drinks need immediate attention to stop them from hardening or staining. For most minor spills, a damp microfibre cloth is all you need. If the residue is greasy or particularly stubborn, put a tiny amount of your pH-neutral wood floor cleaner on the cloth and try again.
For more specific challenges, knowing the right approach is key. Accidents happen, and for tricky situations like a wax spill from a candle, you can find many helpful techniques for removing melted candle wax from various surfaces.
Here’s a quick guide for common problems:
- Greasy Spills: Dab immediately with a dry cloth to absorb as much of the oil as you can. Then, follow up with a cloth dampened with a pH-neutral cleaner.
- Water Marks: If a small water spill has left a white ring on a lacquered finish, it means moisture is trapped in the sealant. Gently rubbing the area with a dry, soft cloth can sometimes resolve this.
- Sticky Residue: For things like sticker adhesive, lightly dab the spot with a cloth moistened with mineral spirits. Immediately wipe it clean with a damp cloth and then dry the area completely. Always test this in an inconspicuous spot first!
Understanding how to manage these minor incidents confidently is a core part of learning how to clean parquetry floors. While these tips are great for wood, different surfaces have their own unique needs. For example, if you want to learn more about fabric care, check out our guide on how to remove stubborn carpet stains. This kind of targeted care keeps your floor looking fantastic without always needing a full-scale clean.
Long-Term Protection for Your Parquet Floor
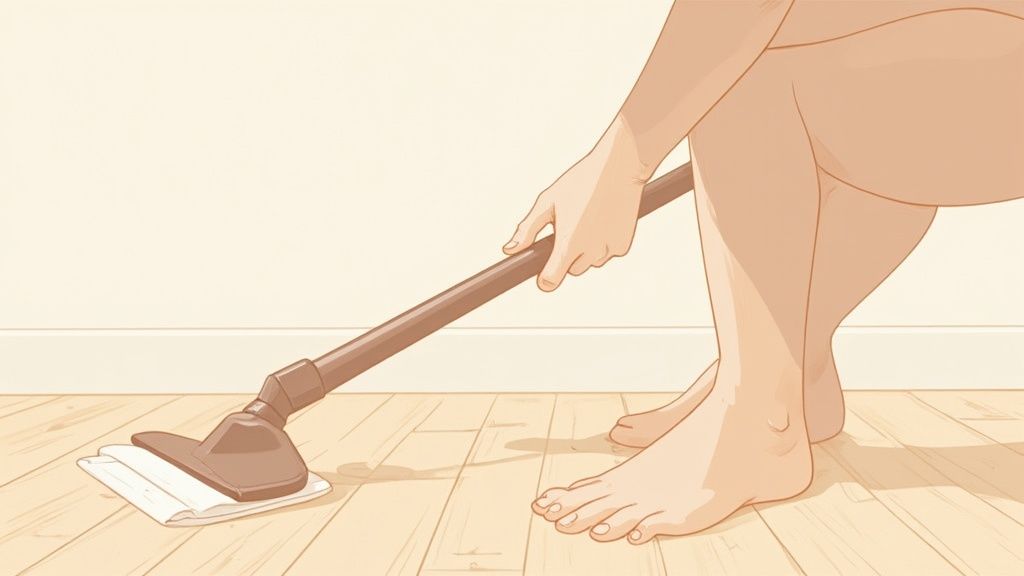
Getting your parquet floor beautifully clean is one thing, but keeping it that way is another challenge entirely. The real secret to a stunning floor for years to come lies in shifting your mindset from reactive cleaning to proactive protection. Think of it as defending your beautiful wood against the daily grind, which will save you a huge amount of cleaning effort down the line.
It’s your floor's personal defence strategy. The most common culprit for damage isn't one big accident; it's the thousands of tiny scuffs and scrapes from furniture. That’s why fitting high-quality felt furniture pads on the legs of every single chair, table, and sofa is an absolute must. It’s a cheap and simple job that prevents countless scratches over the years.
Creating Protective Barriers
Your next line of defence should be at every entrance. A good, sturdy doormat is like a security guard for your floor, trapping the vast majority of grit, dirt, and moisture before anyone even steps on the wood. I always recommend placing one outside the door and another one just inside for maximum effect.
For those really busy routes through your home – like the path from the living room to the kitchen or down a hallway – think about using stylish runners or area rugs. This protects the busiest spots from wearing down prematurely, which helps preserve the finish across the entire floor. It’s a tactic that works for more than just wood; we give similar advice in our guide to eco-friendly carpet cleaning, where protecting high-traffic zones is just as important.
It's clear people are realising the value of proper floor care. The UK's floor cleaning market was valued at about £340 million back in 2018, and it's expected to jump to nearly £620 million by 2025. This tells us that more and more homeowners are investing in the right equipment and methods to look after valuable flooring like parquet. You can explore more insights from Grand View Research to see the full breakdown.
Managing Your Home's Environment
Beyond physical barriers, the invisible environment inside your home has a huge impact. Wood is a natural, living material; it breathes, expanding when it's humid and contracting when it's dry.
Key Insight: Try to keep your home's humidity stable, ideally somewhere between 30% and 50%. During damp British winters, a dehumidifier can stop the wood from swelling and warping. In drier summer months, a humidifier can prevent it from shrinking and causing unsightly gaps to appear between the blocks.
Knowing When to Call in the Professionals
No matter how meticulous you are, the protective finish on your parquet will wear down over time. Needing a professional to re-oil or re-lacquer your floor isn't a failure on your part—it’s just a necessary step in its lifecycle.
Here’s a rough idea of when you might need to think about it:
- Lacquered Finish: For a lacquered floor in a home with average foot traffic, you’ll likely need it professionally refinished every 7-10 years.
- Oiled Finish: Oiled floors need a bit more TLC. A fresh coat of maintenance oil is usually a good idea every 2-4 years to keep the wood nourished and protected from within.
Sticking to this kind of long-term plan is the best way to ensure your parquet floor remains a magnificent centrepiece in your home for decades.
Common Parquet Cleaning Questions Answered
Even with the best cleaning routine, you’re bound to have questions about looking after your parquetry. Getting to grips with the finer details means you can handle any little issue with confidence, without worrying you might be doing more harm than good.
This section tackles the most common queries we get from clients. Think of it as a go-to guide for troubleshooting the things people worry about most, from which tools are safe to use to making your own effective cleaning solutions.
Can I Use a Steam Mop on My Parquet Floor?
This is a question we hear all the time, and our answer is always the same: a firm and definite no. You should never, ever use a steam mop on a real wood floor, and that goes double for intricate parquetry.
The combination of intense heat and moisture that a steam mop produces is a recipe for disaster. It forces hot vapour into the tiny gaps between the wood blocks, causing them to swell, warp, and even lift away from the subfloor. This damage is often permanent and can completely ruin the floor's beautiful pattern.
How Often Should I Deep Clean My Parquet?
It's a common misconception that more cleaning is always better, but that simply isn't true for wood flooring. For the average home, a deep clean—meaning a proper damp-mopping session—is only necessary every one to two months. If your home sees very little foot traffic, you might only need to do it quarterly.
Key Takeaway: Over-cleaning with water is just as damaging as not cleaning at all. The real secret to great-looking parquet is frequent dry cleaning. Sweeping or vacuuming two or three times a week is far more important for day-to-day care.
What Is the Best Homemade Cleaner for Parquet?
You can mix up a safe, cheap, and surprisingly effective cleaner using plain white vinegar. The most important thing is getting the dilution right so you don’t risk harming your floor's finish over time.
A good, safe ratio to start with is:
- 60ml of white vinegar
- 4 litres of warm water
Mix this solution in a bucket, but always remember to apply it with a microfibre mop that has been wrung out until it's almost dry. The vinegar's mild acidity is fantastic for cutting through general grime without leaving streaks or residue. Because it is acidic, however, you should use it sparingly; a pH-neutral cleaner remains the safest choice for more regular use.
While DIY methods are great for maintenance, there are times when only a professional touch will do. The UK's cleaning sector is a huge industry, generating around £55 billion in 2018 and employing a massive number of people. This just goes to show how many homeowners rely on experts for specialised jobs like deep floor restoration. You can learn more about the UK's cleaning industry statistics to see the full picture.
Of course, these tips are for wood, but it's always good to know how to tackle other surfaces. Our guide on essential carpet cleaning tips has some excellent advice for your softer flooring.
At AG Carpet Specialists, we have the professional equipment and years of experience to bring your wood floors back to their best. If your parquet flooring needs more than just a routine clean, contact us today for a free quotation and see what a difference our specialist care can make. Visit us at https://www.agcarpetspecialist.co.uk.



