
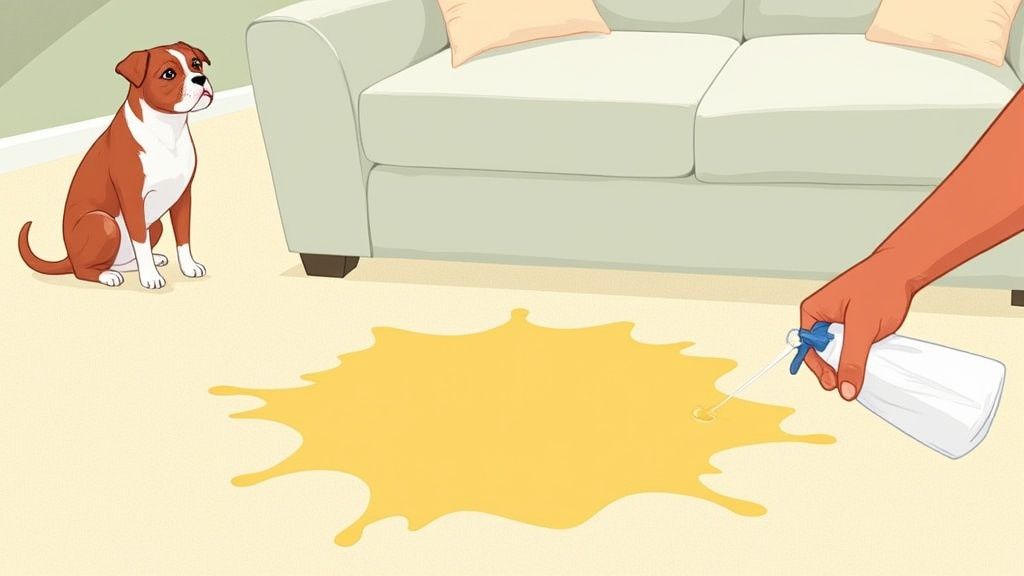
If you've ever battled a pet urine stain, you know the frustration. You clean it, the stain disappears, but that unmistakable odour returns with a vengeance. The secret to winning this fight lies in understanding a single, stubborn ingredient: uric acid. This is the nasty compound that forms odour-causing crystals deep within your carpet fibres, and it’s why standard cleaners just don’t cut it.
The Science Behind Stubborn Pet Urine Odours
So, why does that smell seem to have a life of its own, reappearing days or even weeks after you thought it was gone? It’s all down to the unique chemical cocktail that is pet urine. This isn’t just a simple liquid spill; it’s a complex substance designed by nature to leave a lasting mark.
When your pet has an accident, the urine doesn’t just sit on top of the carpet. It immediately starts seeping downwards, travelling through the carpet fibres, into the absorbent underlay, and in really bad cases, right down to the subfloor. This deep saturation is the first big hurdle in cleaning pet urine in carpet properly.
Unpacking The Chemical Components
Pet urine is made up of several key elements, and each one brings a unique cleaning challenge to the table. Right away, the warm, acidic liquid becomes a perfect breeding ground for bacteria. As these bacteria multiply, they produce that sharp ammonia smell—often the first tell-tale sign that an accident has happened.
But the real villain behind that lingering, long-lasting odour is uric acid. This is what makes pet urine so notoriously difficult to get rid of. Unlike other components, uric acid isn't water-soluble. As the urine dries, it forms potent, odour-filled crystals that latch onto carpet fibres.
It’s these crystals that cause the smell to reappear on humid days. Moisture in the air essentially "reactivates" them, releasing a fresh wave of that awful urine smell long after you’ve cleaned up.
This explains why so many standard carpet shampoos and household cleaners just don’t work. They might remove the visible yellow stain (caused by a pigment called urochrome) and mask the smell for a bit, but they leave the uric acid crystals behind. Sooner or later, the problem will come back.
Why Immediate Action Is Crucial
The longer urine is left to sit, the tougher the problem gets. We've seen countless cases where untreated urine has crystallised not just in the carpet and underlay, but in the sub-floor as well. This makes the odour far worse and actually encourages pets to urinate in the same spot again.
It also explains why using heat—like from a steam cleaner—is one of the worst mistakes you can make. The heat can permanently fuse the urine's proteins to the carpet fibres, essentially setting the stain and making it nearly impossible to remove. For a closer look at how we tackle this, our guide on pet urine carpet cleaning has some valuable insights.
To really get to grips with what you're up against, it helps to understand the individual components of pet urine and the specific problems they cause.
Understanding Pet Urine Components and Their Effects
This quick-reference table breaks down the main chemicals in pet urine and shows why a specialised cleaning approach is non-negotiable.
| Component | Effect on Carpet | Cleaning Challenge |
|---|---|---|
| Urea | This sticky waste product binds easily to carpet fibres. | It contributes to the initial stain and provides a food source for bacteria to thrive on. |
| Ammonia | Produced as bacteria breaks down the urea in the urine. | This creates that initial sharp, pungent odour that’s so difficult to mask. |
| Uric Acid | Forms non-soluble salt crystals as the urine dries out. | These crystals are the true source of recurring odours and are resistant to normal water-based cleaners. |
| Urochrome | The pigment that gives urine its signature yellow colour. | This is responsible for the visible stain that can permanently dye light-coloured carpet fibres. |
| Creatinine | Another waste product that adds to the chemical mix. | Helps form a sticky residue that attracts more dirt and grime to the spot over time. |
As you can see, each component requires a different strategy. Simply scrubbing the surface isn't enough to tackle the deeply embedded crystals and bacteria.
Building Your Pet Stain Removal Toolkit
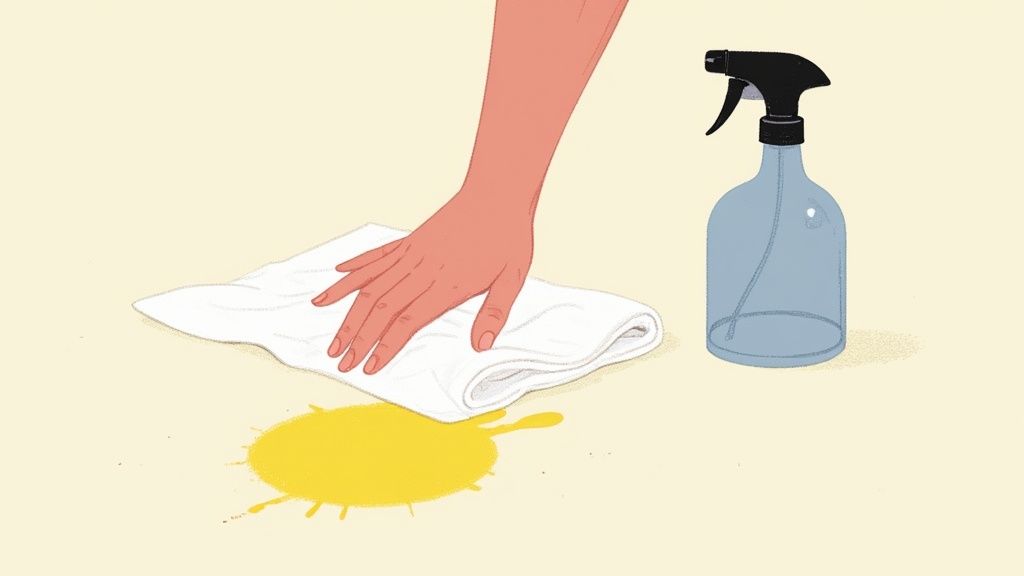
When you discover a pet accident, the last thing you want is to be rummaging through cupboards looking for supplies. Acting quickly is half the battle, and that means having a dedicated, well-stocked pet stain removal kit ready to go. Think of it as your emergency response for cleaning pet urine in carpet.
Being prepared transforms a moment of panic into a manageable task. A good toolkit isn't just about grabbing a few paper towels; it's about having the right tools that work together to lift the stain, neutralise the odour, and protect your carpet from lasting damage. Let's build your ideal kit.
Core Blotting and Absorption Supplies
Your first goal is always to remove as much liquid as possible before it soaks deep into the underlay. For this, high-absorbency materials are absolutely essential.
- White Microfibre Cloths: Forget old, coloured towels that might transfer dye onto your carpet. White microfibre cloths are highly absorbent and let you see exactly how much urine you are lifting out.
- Plain White Paper Towels: A thick, good-quality roll is a must-have for the initial blotting phase. You'll likely use quite a lot, so don't skimp here.
- Disposable Gloves: It’s always best to protect your hands from direct contact with urine. A simple box of disposable gloves keeps the whole process hygienic.
These items form your first line of defence, allowing you to physically remove the bulk of the problem before any cleaning solutions are even applied.
Choosing Your Cleaning Solutions
This is where many people go wrong, reaching for any old household cleaner under the sink. To effectively tackle pet urine, you need specific formulas designed to break down its unique chemical components.
The biggest mistake we see is treating a pet urine stain like a simple spill. Standard carpet shampoos might clean the visible mess, but they are powerless against the uric acid crystals that cause those lingering odours. You need a product that chemically neutralises the source of the smell.
Here’s a breakdown of the most effective options:
- Enzymatic Cleaners: This is your primary weapon. These solutions contain beneficial bacteria and enzymes that literally 'eat' the organic proteins in urine, completely breaking down the uric acid crystals. They don't just mask the odour; they eliminate it at the source.
- Oxygen-Based Cleaners: These work by releasing oxygen to break down stains and odours. They are excellent for removing the visible yellow discolouration but can be less effective on the deep-seated uric acid smell than a true enzymatic cleaner.
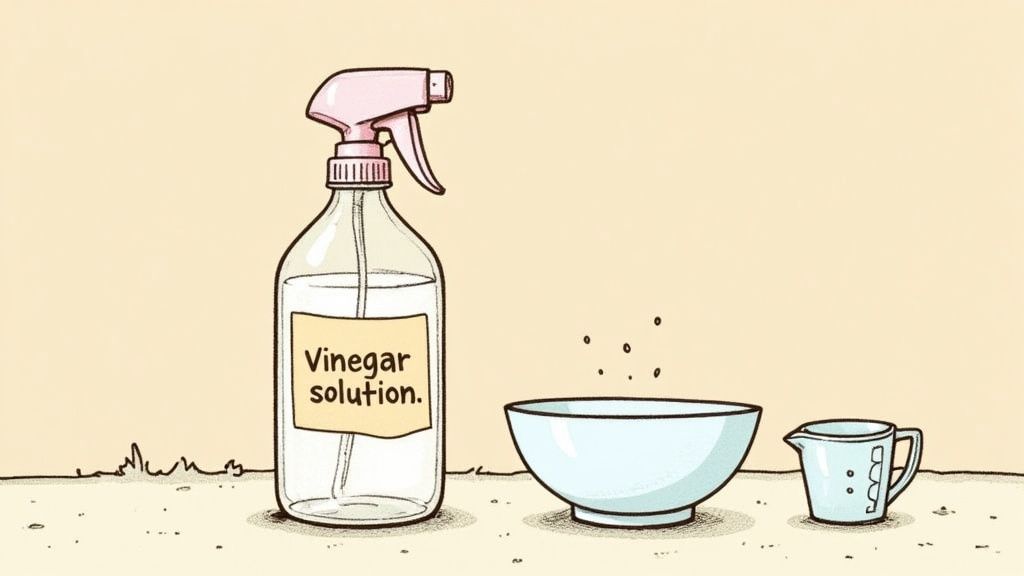
- White Vinegar Solution: A simple 50/50 mix of white vinegar and water can be a great initial neutraliser. The acidity helps to counteract the ammonia in fresh urine, making it a useful first step before you apply your main cleaner.
It's vital to choose products that are not only effective but also safe for your furry family members. For more information, you can explore our detailed guide on safe carpet cleaning for pets. Having both an enzymatic cleaner and a simple vinegar solution on hand will prepare you for any situation.
Dealing with Fresh Pet Stains The Right Way
The moment you find a fresh pet accident, the clock is ticking. What you do in the first few minutes is honestly the most critical factor in stopping a small mishap from becoming a permanent stain and lingering odour. When it comes to cleaning pet urine in carpet, swift and proper action is your greatest ally.
The first instinct for many is to panic and start scrubbing. This is the worst thing you can do. Frantically scrubbing just grinds the urine deeper into the carpet fibres and can even spread it into the underlay, making a small spot a much bigger problem. Your goal is to lift the urine out, not push it further in.
First Things First: Blot, Blot, and Blot Again
Your immediate priority is to get as much of the liquid out as you can. This isn't just a quick dab; it’s a methodical process of drawing the urine up and out of the carpet before it can properly set.
Grab a good stack of plain white paper towels or a clean, thick white cloth. Place it directly over the wet patch and apply firm, consistent pressure. Don't be afraid to stand on it for a few seconds to really maximise absorption.
As you do this, you'll see the liquid wicking up into the cloth. Once a section of your cloth is saturated, shift to a clean, dry part or get fresh paper towels and go again. Keep repeating this until the cloth or towel is coming away almost dry. You’ll be amazed at how much liquid you can pull out this way, which drastically reduces the amount of cleaning solution you'll need.
Applying Your Cleaning Solution
Once you’ve blotted the area as dry as possible, it's time to treat what’s left. Whether you're using a simple 50/50 mix of white vinegar and water or a professional-grade enzymatic cleaner, how you apply it is key.
A light spray on the surface won't cut it. You have to remember that the urine has soaked down into the carpet pile. For your cleaner to work, it needs to reach the same depth.
Make sure to apply the cleaner generously, covering an area about two inches wider than the original spot. Urine tends to spread out underneath the surface, so treating a slightly larger area ensures you’re tackling the entire affected zone, even the bits you can't see.
Let the solution sit for a good 10-15 minutes. This dwell time is essential, as it gives the cleaner a chance to get to work breaking down the uric acid crystals and ammonia. For those really tough smells, especially from cats, our guide on how to get rid of cat pee smell has some more targeted advice.
Rinsing and Removing the Residue
After the cleaner has done its job, you need to get it—and the dissolved urine—out of your carpet. If you leave cleaning solution behind, it can become sticky and attract dirt over time, creating a brand new stain.
Take a fresh, damp white cloth and start blotting the area again. This acts as a 'rinse' cycle, diluting the cleaning solution and lifting it out of the fibres. For a more thorough job, you can pour a small amount of cool, clean water on the spot and then use a wet-dry vacuum to extract all the moisture.
Your aim is to get the carpet as dry as you can. Keep blotting with dry cloths until nothing more is transferring.
The Finishing Touches
With the stain treated and the area rinsed, a couple of final steps will help neutralise any last traces of odour and ensure everything dries perfectly.
Here’s what to do next:
- Sprinkle baking soda lightly over the still-damp patch. It’s a brilliant natural deodoriser and will absorb moisture and smells as the area dries.
- Let it air dry completely. This could take several hours, or even overnight. It’s best to keep pets and people off the area while it dries. A nearby fan can help speed things along.
- Vacuum thoroughly once you're sure the carpet is 100% dry. This will lift away the dried baking soda and help fluff the carpet fibres back up, blending the clean spot seamlessly with the rest of the room.
A Proven Strategy For Old Set-In Urine Stains
We’ve all been there. You move a piece of furniture and discover an old, dried-in urine stain. It’s a uniquely frustrating moment. The visible mark might be faint, but the real problem—dormant uric acid crystals—is lurking deep in the fibres, just waiting for a bit of humidity to unleash that unmistakable odour.
Tackling these set-in messes requires a completely different game plan than dealing with a fresh accident. You can't just spray and pray.
Rehydrating the Stain to Reactivate Crystals
The first, non-negotiable step is to bring those stubborn uric acid crystals back to a liquid state. This is called rehydration, and it's essential for getting a proper clean.
Grab a spray bottle and mix a simple solution of one part plain white vinegar to three parts warm (not hot) water. The vinegar’s mild acidity starts to break down the alkaline salts in the dried urine, giving you a head start.
Saturate the stained area and a couple of inches around its border. Don’t be shy; you need the liquid to penetrate as deeply as the original urine did. Let this sit for at least 10 minutes. This gives it time to seep into the carpet padding and 'wake up' the odour-causing crystals.
Once the time is up, grab a clean, white microfibre cloth and blot the area firmly. The goal isn't to dry it completely, but to soak up the excess liquid. Now, you’re ready for the real workhorse: an enzymatic cleaner.
The Power of Enzymatic Cleaners Explained
Unlike standard detergents that just mask smells, enzymatic cleaners are your secret weapon. These are bio-based formulas packed with beneficial bacteria that produce enzymes specifically designed to break down organic matter—like the proteins found in pet urine.
Think of the enzymes as microscopic Pac-Men, hunting down and literally consuming the uric acid and proteins that cause the stain and odour. They don't just cover up the smell; they dismantle it at a molecular level, turning it into simple, harmless things like carbon dioxide and water. It's the only way to permanently get rid of old stains.
The problem of pet urine damage is incredibly common. In fact, UK carpet cleaning services report that around 30-40% of their domestic call-outs are directly related to pet stains and odours. This just shows how often superficial cleaning fails when the urine has soaked deep into the carpet and underlay.
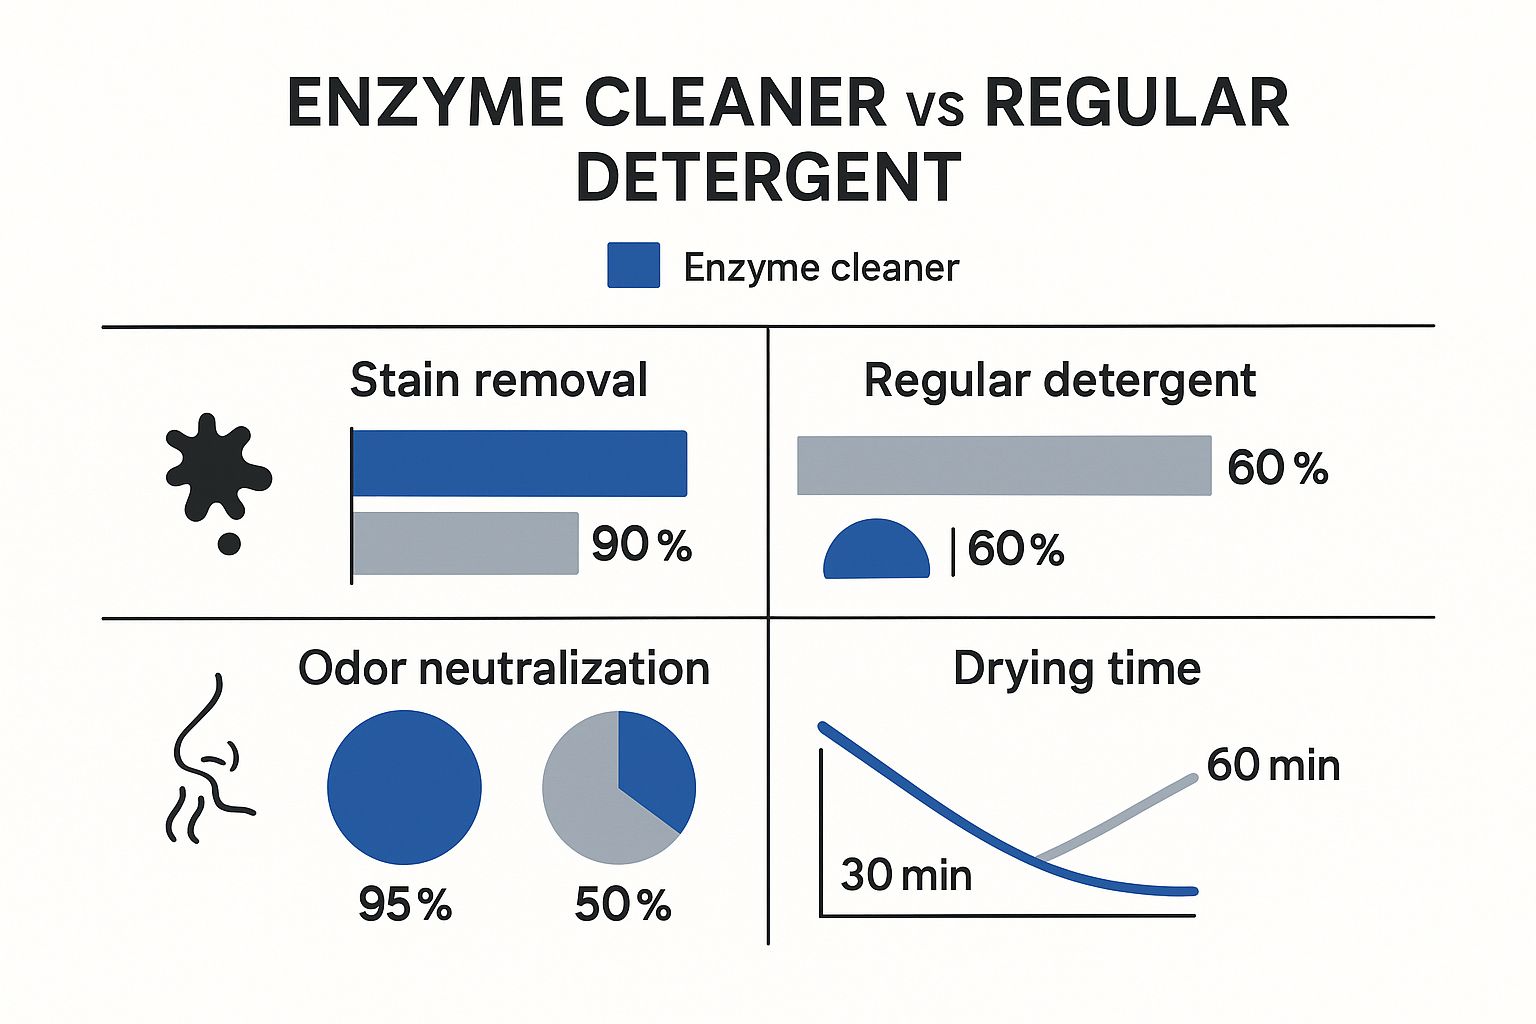
As you can see, when it comes to truly neutralising odours and removing the stain for good, there's no contest.
DIY Solution vs Professional Enzyme Cleaner
Many people are tempted to reach for household items first, but how do they really stack up against a purpose-built product? Here’s a quick comparison.
| Feature | DIY Vinegar/Baking Soda | Professional Enzyme Cleaner |
|---|---|---|
| Odour Removal | Temporarily neutralises smells; may not eliminate them. | Permanently eliminates odours by breaking down uric acid. |
| Stain Removal | Can lighten fresh stains but often struggles with old ones. | Highly effective on both old and new organic stains. |
| Deep Cleaning | Surface-level action; rarely reaches the carpet padding. | Penetrates deep into fibres and padding to destroy crystals. |
| Preventing Re-Soiling | Can leave a residue that attracts more dirt. | Breaks down attractants, discouraging pets from remarking. |
| Overall Effectiveness | A decent first-aid measure for fresh, minor accidents. | The only reliable solution for set-in, deep-seated stains. |
While a homemade solution has its place for a brand-new puddle, it simply doesn't have the power to deal with a dried-in problem. For that, you have to bring in the specialists—the enzymes.
The Saturation and Dwell Time Method
For an enzymatic cleaner to work its magic on an old stain, it needs two things: a generous application and plenty of time. This isn't a quick spray-and-wipe job.
- Saturate the Area: After rehydrating and blotting, apply your chosen enzymatic cleaner liberally over the entire stain. Again, go slightly beyond the visible spot to catch any unseen spread. The carpet should feel damp, but not completely waterlogged.
- Cover and Wait: This is the most important part. Cover the treated area with a damp, clean towel or even some plastic wrap. This stops the cleaner from evaporating, keeping the enzymes active and working for much longer.
Most enzymatic cleaners need a significant 'dwell time'—anywhere from 12 to 24 hours is ideal for old, stubborn stains. This prolonged contact is what allows the enzymes to fully penetrate the carpet fibres and padding to break down every last uric acid crystal.
During this time, it's a good idea to block off the area so pets and family members don't walk over it. Let the enzymes do their job undisturbed.
Final Extraction and Drying
Once the dwell time is up, the final step is to remove the cleaner and all the broken-down residue. If you let the solution dry in the carpet, it can leave a sticky patch that attracts new dirt.
First, remove the cover and use clean, dry cloths to blot up as much moisture as you can. Use firm pressure to pull the liquid out from deep within the padding. If you have a wet-dry vacuum, now is the perfect time to use it for a much more effective extraction.
After that, let the area air dry completely, which might take a day or two. You can speed things up by aiming a fan at the spot to improve air circulation. Once it is 100% dry—and not a moment sooner—vacuum the area thoroughly to lift the carpet fibres and restore their texture. For more expert advice, check out our full guide on how to remove dog urine smell from carpet.
Critical Mistakes That Can Ruin Your Carpet
When you’re faced with a pet accident, it’s natural to want to act fast. That sense of urgency, however, can lead to some hasty decisions. Unfortunately, a few of the most common cleaning impulses can do far more harm than good, turning a manageable spot into a permanent problem.
Knowing what not to do is just as important as knowing the right steps for cleaning pet urine in carpet. Many well-intentioned efforts fail because they inadvertently set the stain, damage the carpet fibres, or only tackle the surface-level issue. Avoiding these critical errors will save you a world of frustration and potentially costly repairs down the line. Let's look at the mistakes that can really ruin your carpet.
The Dangers of Applying Heat
One of the most catastrophic mistakes you can make is applying any form of heat to a urine stain. This means you should absolutely never use a steam cleaner or even hot water to treat the area. While it might seem like a powerful way to deep clean, it has the opposite effect.
Pet urine is packed with proteins. When you apply heat, you trigger a chemical reaction that permanently bonds these proteins to your carpet fibres. Think of it like cooking an egg in a frying pan—once the heat is applied, the liquid solidifies, and you can't reverse the process.
Applying steam to a urine stain essentially 'cooks' the stain into your carpet. This action can permanently set the stain and lock in the odour, making it almost impossible for even professional cleaners to fully remove.
This single misstep can create a permanent yellow mark and an odour that no amount of scrubbing will ever fix. Always stick to cool or lukewarm water for any rinsing or cleaning you do.
Using Harsh or Incorrect Chemicals
When panic sets in, it’s tempting to reach for the strongest cleaner under the sink. But products like bleach or cleaners containing ammonia are a recipe for disaster on carpets.
- Bleach: While it's a powerful disinfectant, chlorine bleach will permanently strip the colour from your carpet fibres. You'll be left with a noticeable, discoloured patch that looks far worse than the original stain ever did.
- Ammonia-Based Cleaners: Using an ammonia-based cleaner is completely counterproductive. Pet urine already contains ammonia, so adding more can actually strengthen the odour signal, encouraging your pet to re-soil the very same spot.
Many general-purpose household cleaners simply aren't formulated to break down the specific chemical compounds in urine. They might clean the surface, but they leave uric acid crystals behind, guaranteeing the smell will return.
The Pitfall of Insufficient Saturation
Another frequent error is being too timid with your cleaning solution. A light spritz on the top of the carpet fibres is never going to be enough to solve the problem. You have to remember that the urine has soaked deep down into the carpet pile and, most likely, into the underlay beneath.
For any cleaning solution—especially an enzymatic one—to be effective, it must penetrate to the same depth as the urine. If you only treat the surface, you’re leaving behind the source of the problem deep within the carpet. This creates a frustrating cycle where the odour keeps returning, no matter how many times you clean the top layer. Be generous with your application to ensure you're tackling the entire problem.
Understanding these common mistakes is a huge part of responsible homeownership. Taking proper care of your carpets and flooring is just one aspect of the importance of regular property maintenance that keeps your living space healthy and well-preserved. By avoiding these pitfalls, you protect your investment and ensure your cleaning efforts are actually successful.
Your Pet Urine Questions Answered
When you’re faced with a pet accident, it’s completely normal for questions to pop up, even when you think you have a solid game plan. You might wonder if you’re using the right products or if that faint smell will ever truly disappear. This section is here to clear up the most common queries we get from pet owners, offering practical advice to help you tackle cleaning pet urine in carpet with confidence.
A big question we often hear is about using a standard carpet shampooer or steam cleaner. It’s a tempting idea, but you absolutely must avoid any machine that uses heat on an untreated urine stain. The high temperature can cause a chemical reaction, permanently bonding the urine proteins to your carpet fibres. This sets the stain for good and makes the smell nearly impossible to get rid of later on.
Once you’ve fully treated the area with a good enzymatic cleaner to break down all the nasty stuff, then a carpet cleaner using cool water can be a great final step. It’s perfect for rinsing and extracting any lingering cleaning solution from deep within the pile.
Finding Those Hidden Sources of Odour
What do you do if you can smell urine but can't see a single stain? This is a very common problem, especially if you’ve moved into a home where pets lived before, or in rooms that don’t get much natural light. Old, dried urine stains are often invisible to the naked eye but still give off a powerful odour.
The best way to track down these hidden spots is with an ultraviolet (UV) or blacklight. It’s surprisingly simple.
- Wait for it to get dark, and turn off all the lights in the room for the best results.
- Slowly scan the UV torch across your carpet, holding it about a foot or two from the surface.
- The salts in dried urine will glow under the UV light, usually showing up as a dull yellow or even a greenish colour.
This trick is a real game-changer. It shows you exactly where you need to focus your cleaning efforts, making sure you don’t miss a single spot and can finally get rid of that persistent smell for good.
The Truth About Home Remedies
Another question that comes up a lot is whether a DIY mix of baking soda and vinegar actually works. For a brand-new, fresh accident, this combination can be a great first-aid measure. The vinegar helps to neutralise the immediate ammonia smell, and the baking soda is brilliant for soaking up moisture.
While a handy trick for a fresh puddle, a DIY solution won't solve the underlying problem. It simply doesn't have the enzymes needed to break down the uric acid crystals, which are the real cause of those smells that keep coming back.
For older stains or stubborn smells, a professionally formulated enzymatic cleaner is always the best choice. If you want a deeper dive, our complete guide to carpet cleaning for pet urine provides more expert techniques. This ensures you’re truly eliminating the problem at its source, not just covering it up.
If you're dealing with a stubborn pet stain that just won’t shift, or you want to ensure your carpets are properly cleaned and hygienic, it might be time to call in the professionals. The team at AG Carpet Specialists has the expertise and commercial-grade equipment to restore your carpets safely and effectively. Contact us today for a free quotation and enjoy a fresher, cleaner home.



