
To get that brilliant, long-lasting shine on your hardwood floors, you absolutely have to start with careful preparation. I’ve seen it time and time again—this is the groundwork that makes all the difference, turning a tedious chore into a truly rewarding restoration.
But before you even think about grabbing a mop, the most critical first step is figuring out your floor's finish. This one detail dictates every single product choice you’ll make.
Setting the Stage for a Flawless Finish
Trust me on this: successful floor care is 90% preparation. Rushing this initial phase is the number one reason I see people end up with a streaky, dull, or even damaged floor. Think of it like an artist preparing a canvas; you wouldn’t just start slathering paint on, would you? Your hardwood floors deserve that same thoughtful approach.
Proper prep goes beyond just moving the sofa. It’s about doing a detailed inspection and a really thorough initial clean. You need to get the surface completely free of any little bits of debris that could get in the way of the cleaning and polishing.
First Things First: Identify Your Floor's Finish
This is the single most important thing you’ll do. Using a cleaner or polish meant for a polyurethane finish on an old waxed floor can create a sticky, ugly mess that’s a nightmare to fix. The three most common finishes you'll encounter are polyurethane/polyacrylic, penetrating oil sealer, and traditional wax.
Not sure what you have? Don't worry, there's a simple way to figure it out. Use this quick reference table to identify your finish before you buy any products.
How to Identify Your Hardwood Floor Finish
Use this simple reference to figure out your floor's finish type—the most important step before choosing your cleaning and polishing products.
| Finish Type | What It Looks Like | The Easiest Way to Test |
|---|---|---|
| Polyurethane/Polyacrylic | A modern, plastic-like sheen. It forms a protective layer on top of the wood. | In a hidden corner, place a drop of water. If it beads up and sits on the surface, you have a hard finish like polyurethane. |
| Penetrating Oil Sealer | A more natural, low-lustre look. The oil soaks into the wood to protect it from within. | That same drop of water will slowly soak into the wood after a few minutes, leaving a darker spot. |
| Wax Finish | Often found on older floors, it has a low-gloss, soft-looking sheen. It can feel slightly waxy. | Scrape a bit with a fingernail in an inconspicuous area. If a waxy substance comes up, you've got a wax finish. |
Knowing this distinction is your key to picking the right, safe products for a fantastic result. It really does make all the difference.
Clear and Clean the Area Thoroughly
Once you know your finish type, the physical work can begin. First, get everything off the floor—all furniture, rugs, and any other items. This gives you a clear, open space to work in and stops you from accidentally getting polish on your belongings.
Next up is the initial clean. And I don’t just mean a quick sweep. The goal here is to remove every last particle of dust, grit, and pet hair that could scratch the floor when you start mopping or polishing. Use a soft-bristled broom or a vacuum with a proper hardwood floor attachment. A big no-no is using a beater bar with stiff bristles, as it can easily cause micro-scratches. Make sure to get right into the corners and along the skirting boards where dust loves to collect.
This visual guide shows the simple workflow for getting your floors looking their best.
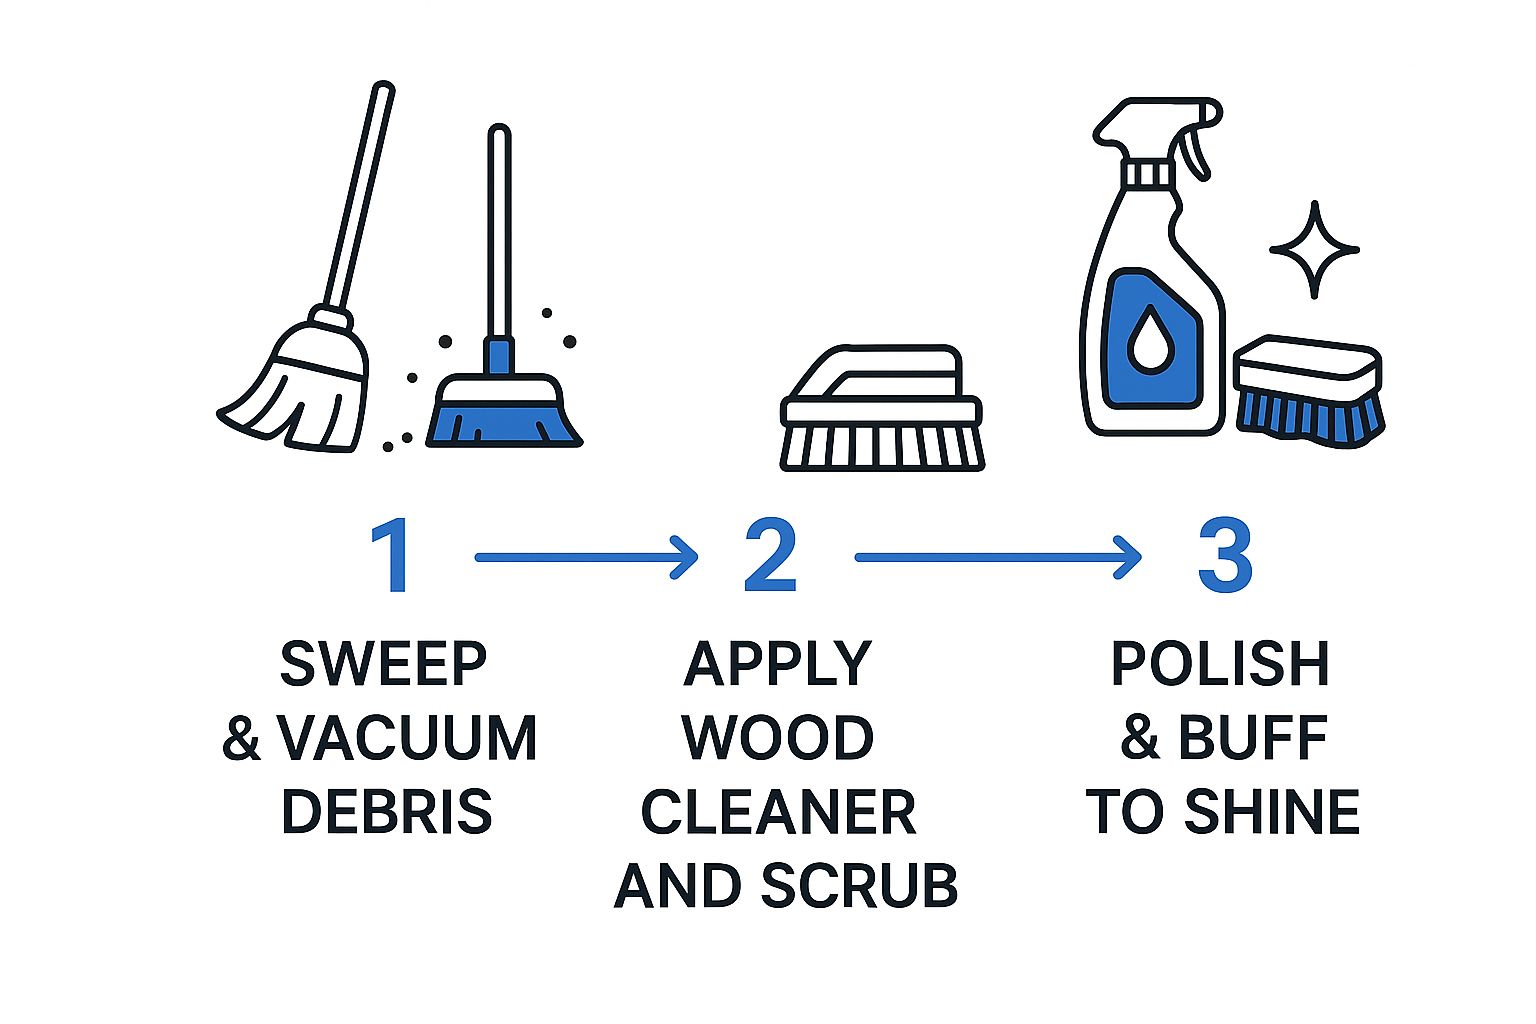
As you can see, polishing is the final touch, something you only do after the surface has been meticulously swept, vacuumed, and cleaned.
The Final, Crucial Step: Spot-Testing
Never, ever apply a new cleaner or polish to your entire floor without testing it first. This is a non-negotiable step. Find a hidden spot—maybe inside a cupboard, under where the sofa usually sits, or in a corner that’s always covered by a rug.
Apply a small amount of the product just as the instructions say, and let it dry completely. Then, check for any discolouration, dullness, or sticky residue. This one simple action can save you from a very costly, floor-wide disaster. It's a vital step for both DIY home enthusiasts and seasoned professionals.
The importance of getting this right is huge. The UK's professional cleaning industry generated around £55 billion in 2018, with a massive workforce of about 1.47 million people. It just goes to show how many people rely on expert services for jobs just like this.
For more home maintenance tips and industry news, you can also check out our latest updates.
The Art of Safely Cleaning Your Hardwood Floors
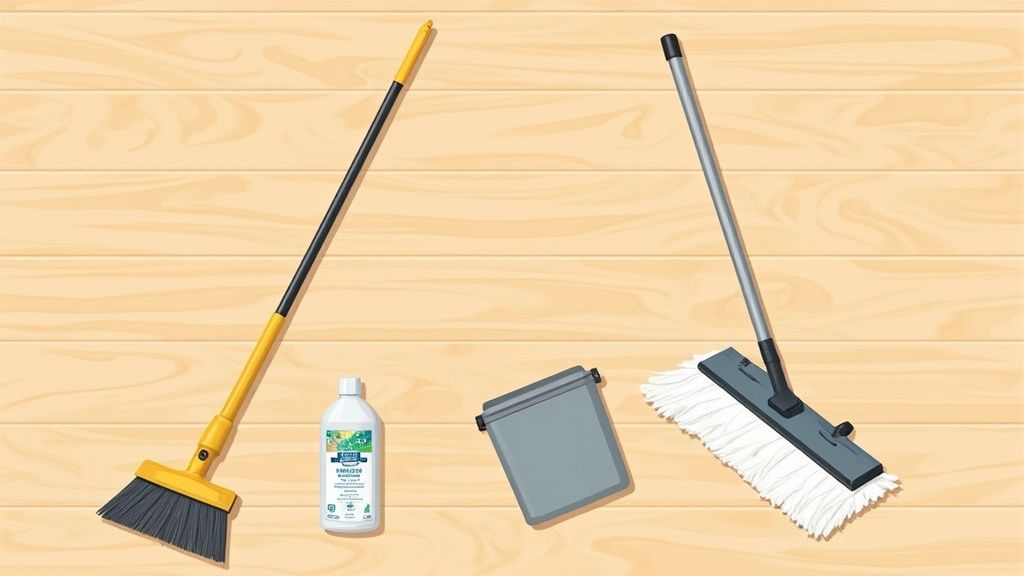
Now that you’ve prepped the surface, you’re ready for the main event: cleaning and polishing your hardwood floors. The real aim here isn't just to get the dirt up, but to do it without causing any damage. Forget about reaching for those aggressive, all-purpose cleaners under the sink. Over time, they can strip the protective finish right off your beautiful wood.
Instead, the professional approach is all about using the right tools and solutions that work with the wood, not against it. This is where you’ll learn the techniques that protect your investment for years to come.
Choosing Your Cleaning Solution
The chemistry of your cleaner really does matter. Harsh products, whether they're too acidic or too alkaline, can easily dull the finish and, in some cases, even damage the wood fibres themselves. This is precisely why pH-neutral cleaners are the gold standard for sealed hardwood floors. They clean brilliantly without upsetting the delicate balance of your floor’s protective layer.
You don't always need to buy a specialised product, either. For a simple, eco-friendly option that's perfectly safe on most modern polyurethane-sealed floors, a homemade solution works wonders.
- Eco-Friendly Recipe: Just mix about 60ml of white vinegar into a 4-litre bucket of warm water.
- Why it Works: The vinegar provides just enough gentle acidity to cut through everyday grime without being harsh. The secret is in the heavy dilution.
A Word of Caution: Never, ever use this vinegar solution on oiled or waxed floors, as it can strip the finish right off. For those types of floors, you must stick to products specifically designed for them. If you're ever in doubt, a shop-bought, pH-neutral cleaner is your safest bet.
Mastering the 'Damp, Not Wet' Mopping Technique
If there's one golden rule in cleaning hardwood floors, it's this: water is the enemy. Too much moisture can seep between the planks, causing them to swell, warp, or discolour over time. This is why you absolutely must master the art of damp mopping.
Your best tool for this job is a microfiber flat-head mop. Unlike old-fashioned string mops that just hold far too much water and can be quite abrasive, a microfiber pad picks up dirt efficiently while using the bare minimum of moisture.
To get the technique spot on, I always recommend the two-bucket method. It’s a simple trick that stops you from just spreading dirty water all over your clean floor.
- Bucket One: Fill this with your chosen cleaning solution.
- Bucket Two: Fill this with clean, plain water for rinsing the mop.
Dip your mop into the cleaning solution, then wring it out until it’s barely damp to the touch. It shouldn’t drip at all. Mop a small section of your floor, always following the grain of the wood. Before you dip the mop back into the solution, rinse the dirty head thoroughly in the second bucket, wringing it out completely. This simple step ensures you’re always working with a clean tool.
For a bit more detail, our team has put together a comprehensive look at how to clean wood floors that you might find very useful.
Handling Specific Spills and Sticky Spots
Life happens, and spills are just a part of it. The key is to act fast. If you've got a sticky patch, maybe a dried drop of juice, resist the urge to scrub aggressively or grab a harsh chemical.
Instead, just moisten a soft microfiber cloth with your cleaning solution and place it over the spot for a few minutes. This will gently soften the residue, allowing you to wipe it away without any risk of scratching the finish. It’s a patient approach, but it preserves the integrity of your floor's polish. The same goes for any liquid spill—blot it up immediately with a dry, absorbent cloth to stop it from soaking in.
Bringing Back a Lasting Shine with Polish
So, you’ve given the floors a really thorough clean, and they’re looking fresh and free from grime. But what if they still seem a bit lacklustre, or you can see a web of tiny surface scratches? This is where polishing comes in. It’s the final step that truly restores that deep, satisfying lustre and, just as importantly, adds a crucial layer of protection.
It’s easy to get polishing and refinishing mixed up, but believe me, they are worlds apart. Polishing is just routine maintenance, much like waxing a car. You're doing a simple, low-effort job that fills in those microscopic scratches and gives the shine a boost. Refinishing, on the other hand, is major surgery for your floors. It involves sanding everything right down to the bare wood to deal with deep gouges and serious wear and tear.
For most homes, a regular polish is all you'll ever need to keep your floors looking their best.
Choosing the Right Polish for Your Floor
For any DIY project, a water-based polish is your best bet. These modern formulas are a far cry from the smelly, difficult solvents of the past. They have very low odours, which makes them much more pleasant to use inside your home, and the clean-up is a breeze—just water is all you need.
Always, and I mean always, match the polish to your floor’s finish, which you should have figured out earlier. Using the wrong type can leave a cloudy film or, worse, stop the polish from sticking properly at all. A polish designed for polyurethane floors is the most common and will be the easiest to find.
Here's a crucial tip from experience: steer clear of any products that promise to clean and polish in one go. I know it’s tempting, but they rarely do either job well. More often than not, they leave behind a sticky residue that just attracts more dirt over time. True hardwood floor care involves two distinct stages: cleaning, then polishing.
Applying Polish for a Streak-Free Finish
Now for the application—this is where your technique really makes a difference. The goal is a thin, even coat without any streaks, drips, or bubbles. Your best tool for the job is a flat-head mop fitted with a clean, soft microfibre applicator pad. Never, ever reuse a pad you’ve used for cleaning.
Get started in the corner of the room furthest from the door. This way, you can work your way out without stepping all over your lovely fresh polish.
Pour a small amount of polish directly onto the floor in a gentle 'S' shape. It’s easy to pour too much at once, but this leads to puddles and an uneven finish, so less is more. Then, using your applicator, gently spread the polish across the floor.
- Always follow the grain: Your strokes should be long, smooth, and in the same direction as the wood planks. This little trick helps the polish blend in naturally and prevents those tell-tale streaks.
- Maintain a wet edge: As you move onto the next section, make sure you slightly overlap your previous stroke. This technique is key to creating a seamless, uniform shine across the whole room.
- Work methodically: Mentally divide the room into small, manageable sections. Polishing one small area at a time ensures you apply the product evenly before it has a chance to start drying.
Following this careful approach will help you avoid that patchy, amateur-looking finish. If you come across significant scratches or damage that a simple polish can't hide, it might be time to call in the professionals. Our guide on wood floor restoration can help you decide when a more intensive approach is needed.
Patience During Drying and Curing
Once you’ve applied that final stroke, the most important thing you can do is simply wait. Most water-based polishes will feel dry to the touch within an hour, but that’s only the beginning. Make sure you read the product instructions for specific drying times.
Drying just means the water has evaporated. Curing is the real magic—it’s the chemical process where the polish hardens into a durable, protective layer. This can take anywhere from 24 hours up to a week. During this curing time, it’s best to keep heavy furniture or rugs off the floor. You can usually walk on it (in socks!) after a few hours, but the finish is still vulnerable to scuffs until it’s fully cured.
The desire to maintain a beautiful home has certainly driven up demand for quality services. In the UK, the number of cleaning companies shot up by 64% between 2010 and 2023, partly because of specialised needs like hardwood floor care. With 40% of people under 35 now hiring cleaners, it shows a real appreciation for well-kept living spaces.
Protecting Your Floors for the Long Haul
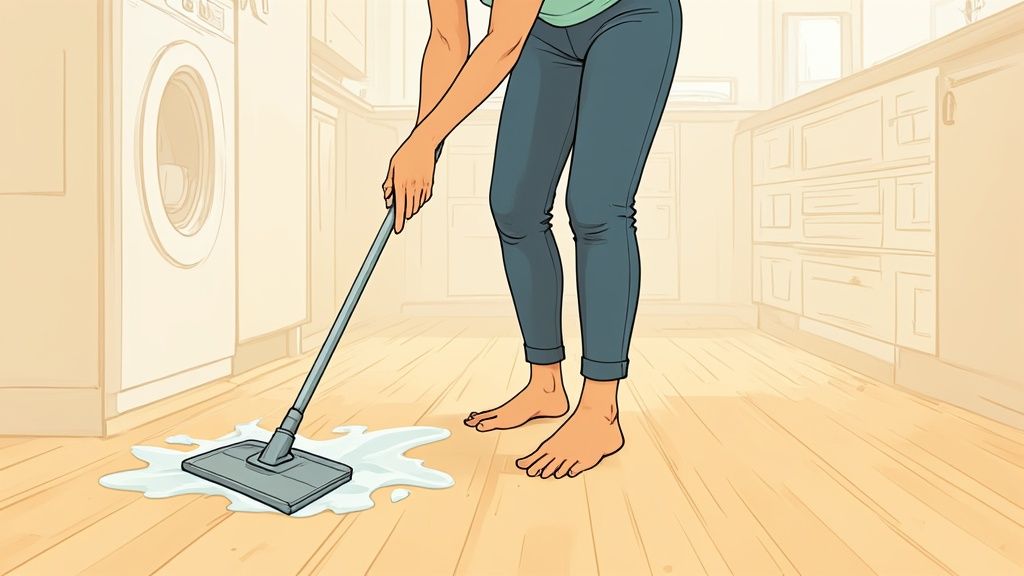
You’ve put in all that effort to deep clean and polish your floors, and they look fantastic. The last thing you want is for all that hard work to be undone by everyday life. I’ve found that the secret to keeping hardwood floors looking pristine isn't about those big, one-off cleaning sessions. It’s all about the small, smart habits you build into your daily routine.
Think of it less as a project and more as an ongoing care plan. These simple, proactive steps are your best defence against the daily grind that can quickly dull that beautiful finish you've just restored.
Your First Line of Defence: Doormats
Honestly, the most effective thing you can do starts right at your front door. A good-quality doormat isn't just a nice-to-have; it's essential. Its main job is to grab all the tiny bits of grit, dirt, and moisture that get tracked in on people's shoes. Without a mat, those little particles act just like sandpaper, scratching your finish with every single step.
For best results, use a two-mat system. Place one rugged mat outside the door to handle the worst of the mud and debris, and then another one just inside to catch anything that sneaks past. It’s a surprisingly simple trick that keeps the biggest culprits off your gleaming floors.
Stop Scratches from Furniture
Scratches and dents from furniture are probably the most common—and most preventable—damage I see on hardwood floors. The legs of chairs, tables, and sofas can easily gouge the wood, especially when they’re moved around.
This is where felt furniture pads become your floor's best friend. They are cheap, incredibly easy to apply, and create a soft barrier that makes a world of difference.
- Chairs: Make sure you put pads on every single chair leg, particularly in busy spots like the kitchen or dining room.
- Tables and Sofas: Even heavy furniture that rarely moves needs protection. It can shift slightly over time, causing unseen damage.
- Check them often: These pads can wear out or pick up grit themselves, so it’s a good idea to check and replace them every few months.
It’s a tiny, simple action that prevents thousands of micro-scratches over the years. This kind of attention to detail is what separates floors that look good for a month from floors that look good for a decade.
Control Your Home's Climate
Wood is a natural material, and that means it breathes. It expands when it's humid and contracts when it's dry. Big swings in your home's humidity are a major cause of long-term problems like gapping between the floorboards, cupping, or even swelling. The ideal indoor humidity level for hardwood is between 35% and 55%.
In the dry winter months, a humidifier can add much-needed moisture back into the air, stopping the wood from shrinking and creating unsightly gaps. On the other hand, during a damp British summer, a dehumidifier will pull excess moisture out, preventing the wood from swelling. Keeping the environment stable is one of the biggest secrets to a floor's longevity.
Of course, keeping your whole home clean helps protect your floors too. For more practical advice on other areas, you might find these easy tips for sparkling windows and other home surfaces useful.
Create a Custom Maintenance Schedule
A one-size-fits-all cleaning routine just doesn't work. The right schedule for cleaning and polishing your hardwood floors really comes down to your family’s lifestyle and how much you use a particular room.
People are definitely paying more attention to specialised floor care these days. The UK floor cleaning equipment market was valued at USD 449.1 million in 2018 and is expected to reach USD 818.6 million by 2025. It shows a clear shift towards people investing in the right tools to look after their homes properly.
To get you started, here is a straightforward calendar you can adapt to fit your home's unique needs.
Your Hardwood Floor Maintenance Calendar
A good maintenance plan depends entirely on how much foot traffic an area gets. A hallway will need more frequent attention than a rarely used guest bedroom.
| Maintenance Task | Low-Traffic Areas (e.g., Guest Room) | High-Traffic Areas (e.g., Hallway, Kitchen) |
|---|---|---|
| Sweep or Vacuum | 1-2 times per week | Every 1-2 days |
| Damp Mop | Once per month | Once per week |
| Check Furniture Pads | Every 3-4 months | Every 1-2 months |
| Polish Floor | Every 6-12 months | Every 2-4 months |
This schedule is a great starting point. The key is to pay attention to how your floors actually look and feel, and don't be afraid to adjust the frequency to keep them looking their absolute best.
Common Hardwood Cleaning Mistakes To Avoid
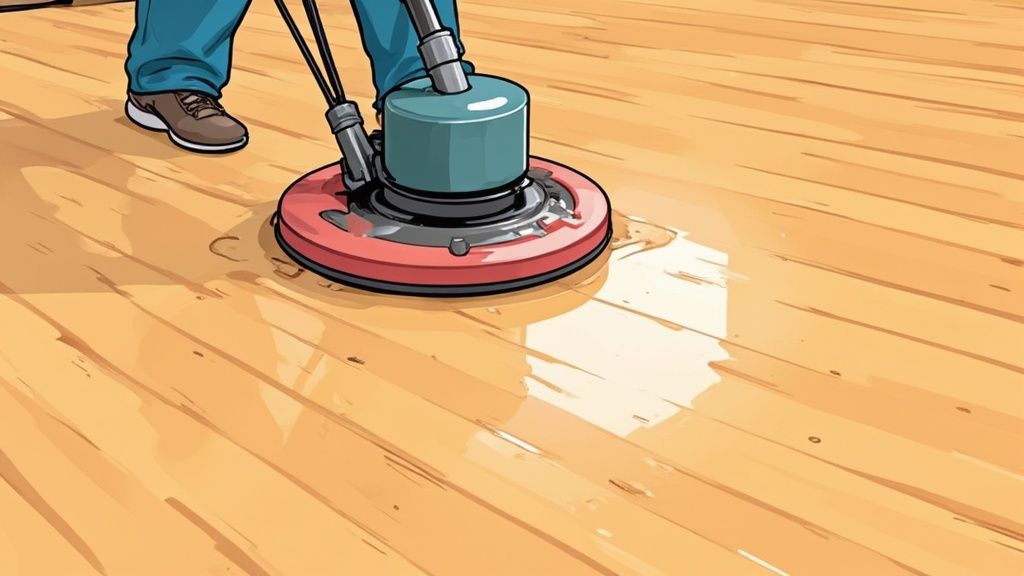
Even with the best intentions, it’s surprisingly easy to make a small mistake that causes lasting damage to your beautiful hardwood floors. We’ve seen it all, so think of this as your essential guide to sidestepping the most common and costly pitfalls. Knowing what not to do is just as important as knowing the right steps.
So many of these mistakes happen when people use products or tools that seem perfectly logical but are completely wrong for wood. One simple error can be enough to strip the finish, cause nasty discolouration, or even lead to the wood warping.
The Problem With Steam Cleaners
Steam cleaners are brilliant for sanitising hard surfaces like tiles and grout, so it’s easy to see why you might think they’d be great for wood, too. This is one of the most damaging mistakes you can make. The combination of intense heat and high-pressure steam forces moisture deep into the seams between floorboards.
That moisture gets trapped under the finish and inside the wood itself. The result? Over time, the planks can swell, cup, or buckle. It will almost certainly damage the protective finish, leaving behind a cloudy, milky look that’s impossible to shift without completely refinishing the entire floor.
Do this instead: Stick to a damp mopping technique with a microfibre mop and a proper pH-neutral cleaner. This cleans the surface effectively without forcing water into the wood’s core, preserving both the finish and the timber.
The Wrong Cleaning Solutions
Reaching for a generic all-purpose cleaner or a traditional oil soap might seem like a quick fix, but these products are notorious for causing issues on modern, sealed hardwood floors. They simply aren't formulated for a polyurethane or polyacrylic finish.
These cleaners often leave a dull, hazy residue that builds up over time. Instead of a lovely shine, you get a sticky film that actually attracts more dust and dirt. This residue can be incredibly stubborn to remove and completely hides the natural beauty of the wood grain. The same goes for any cleaner that contains ammonia or abrasive particles.
Using Abrasive Tools and Ignoring Spills
It can be tempting to grab something more aggressive, like a scouring pad or steel wool, to tackle a stubborn scuff mark. Please, never do this. These tools are far too abrasive and will instantly scratch and remove the floor's protective finish. You’ll be left with an obvious dull patch that stands out a mile.
Just as damaging is the "I'll sort it later" approach to spills. Liquid is the enemy of wood. Even a small puddle of water, juice, or wine can quickly seep into the grain if left unattended, leading to dark, permanent stains. If the spill is large enough, it can even cause the wood to warp.
- Don't: Use steel wool or harsh scouring pads for scuffs. This will permanently scratch the surface.
- Do: For a tough scuff, try rubbing it gently with a clean tennis ball. Alternatively, apply a tiny amount of your approved cleaner to a microfibre cloth and buff the area lightly.
- Don't: Leave spills to sit on the floor. The longer they stay, the deeper the potential damage.
- Do: Blot any liquid up immediately with a clean, dry cloth. Always work from the outside of the spill inward to stop it from spreading.
Understanding these common mistakes is crucial for looking after all the flooring in your home. While wood needs a specific touch, the principle of using the right tools applies everywhere. For example, our team has also shared some valuable https://www.agcarpetspecialist.co.uk/2025/06/24/carpet-cleaning-tips/ that can help you care for other surfaces. By avoiding these simple errors, you’ll ensure your hardwood floors remain a stunning feature for years to come and sidestep the need for expensive repairs.
Your Hardwood Floor Care Questions Answered
Even with the best guide in hand, some practical questions always pop up when you're actually on your hands and knees, ready to clean or polish. Over the years, we’ve heard just about everything, so here are some straightforward answers to the most common queries we get from homeowners.
How Often Should I Polish My Hardwood Floors?
This really comes down to how much life your floors see day-to-day. For high-traffic areas like your hallway or kitchen, a fresh coat of polish every 2-4 months is a good rule of thumb. This keeps that protective layer intact and stops the shine from looking tired and worn down.
On the other hand, in rooms that don't get much footfall, like a guest bedroom or a formal dining room, you can usually get away with polishing just once every 6-12 months. The best way to know for sure? Let your floors tell you. If they look dull and scuffed even after a good clean, that's their way of asking for a polish.
Is It Safe to Use Vinegar on All Hardwood Floors?
This is a big one. While a heavily diluted vinegar and water mix is a popular eco-friendly cleaning tip, it's definitely not a one-size-fits-all solution. For modern floors with a tough, sealed polyurethane surface, it’s generally safe. However, it can cause real problems for other types of finish.
If you have older floors with a wax or oil finish, the acidity in vinegar can easily strip that protection away, leaving them looking flat and feeling vulnerable.
The Golden Rule of Floor Care: Always, always test any new cleaning product on a small, hidden spot first. This includes a simple vinegar mix. A safe ratio to start with is about 60ml of white vinegar to 4 litres of warm water, and always use a mop that's just barely damp, never soaking wet.
What Is the Difference Between Polishing and Refinishing?
Knowing the difference here is key, as it can save you a lot of time and money.
-
Polishing: Think of this as routine upkeep you can easily handle yourself. You’re simply applying a liquid polish that fills in those tiny, microscopic scratches and brings back the lustre. It's a quick, refreshing treatment for your floors.
-
Refinishing: This is a major restoration project and one that's best left to the professionals. It involves sanding the floor right down to the bare wood to remove the old finish, along with deep gouges and stubborn stains. After that, a new stain and several coats of a protective sealant are applied. It's a much more intensive and costly process, typically only needed every 10-20 years.
If you're looking at deeper damage that polishing just won't sort out, it might be time for a professional opinion. For a more detailed chat about your specific flooring, feel free to contact our team for expert advice.
Are Robot Vacuums Safe for Hardwood Floors?
Yes, for the most part, modern robot vacuums are designed with hardwood in mind. The main thing to look for is a model that uses soft, rubberised brushes instead of stiff bristles, which could cause fine scratches over time.
While good suction is vital for picking up dust, you'll want to avoid any models with aggressive beater bars designed to dig deep into carpets. Robot vacuums are fantastic for daily maintenance and keeping on top of pet hair, but they don’t replace the need for a proper deep clean with a damp mop and the occasional polish.



