

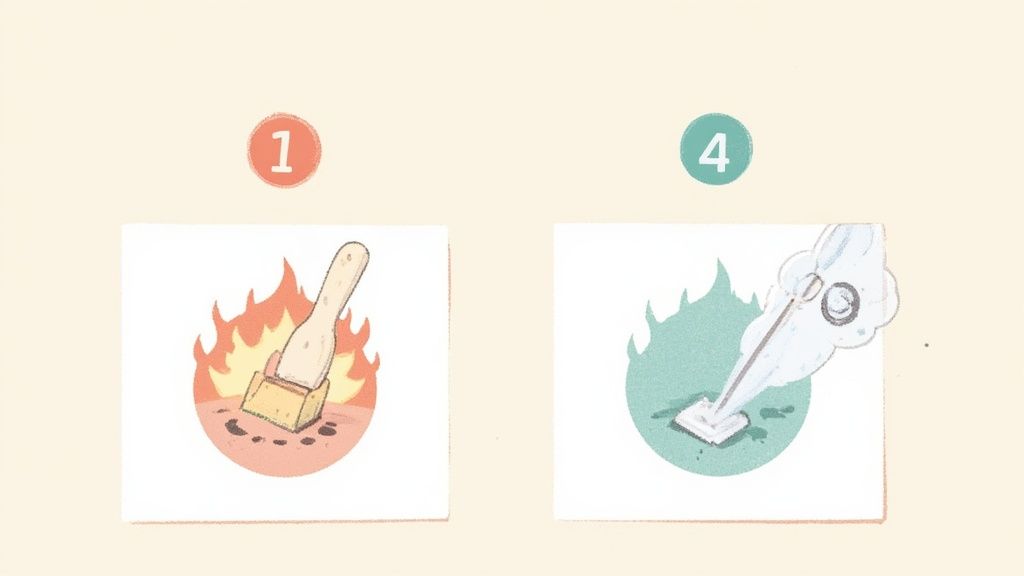
That heart-sinking moment when you find a burn mark on your carpet is a familiar one, but don't panic just yet. How you go about fixing it all comes down to the severity. Minor singes can often be sorted out by carefully trimming the burnt fibres and cleaning the area, but deeper burns might need a patch repair or even a call to a professional.
First Steps for Dealing with a Carpet Burn
Before you grab any tools or cleaning solutions, the very first thing to do is take a calm moment to assess the damage. Not all burns are the same, and what you do next depends entirely on your carpet type and just how deep that burn has gone. A methodical approach now can save you from accidentally making things worse.
Think of this initial assessment as creating your roadmap for the repair. Is it a light surface scorch on a tough polypropylene carpet, or has a hot ember left a melted crater in your delicate wool rug? The difference is huge.
Assess the Burn Severity
Get down for a proper close-up look at the affected spot. Gently separate the surrounding fibres to see how far the damage extends. You're trying to figure out which category it falls into:
- Surface Singe: This is the best-case scenario. The very tips of the fibres are blackened and feel a bit crispy, but the main structure and the carpet's backing are completely fine.
- Melted Fibres: Very common with synthetic carpets. The heat has literally melted the plastic fibres, causing them to fuse together into a hard, solid lump.
- Deep Scorch: The burn has gone right through the fibres and may have even damaged the carpet's backing, leaving a noticeable dip or crater.
Knowing which one you're dealing with will point you to the right repair method.
Understand Your Carpet Type
The material your carpet is made from plays a massive role in how you should tackle the repair. Natural fibres like wool have a tendency to char and turn to ash, which you can sometimes just brush away. Synthetics like nylon or polyester, on the other hand, will melt and harden, creating a much trickier fix.
Before you start any repair, take a moment to triage the situation. A quick check can prevent a small mistake from turning into a big one.
Carpet Burn Triage: Initial Steps
| Burn Severity | Appearance | Recommended First Action |
|---|---|---|
| Light Singe | Blackened, crispy fibre tips. No damage to the backing. | Trim the burnt tips with small scissors or sandpaper. |
| Medium Melt | Hard, melted lump of fibres. Common on synthetics. | Carefully scrape or cut away the melted section. |
| Deep Scorch | A noticeable crater. Backing may be exposed or damaged. | This will likely require a patch repair; proceed with caution. |
This table gives you a quick reference for that crucial first decision, guiding your immediate response based on what you see.
Carpet burns are a depressingly common problem in UK homes, caused by everything from dropped hair straighteners to stray fireplace embers. In fact, professional services report that over 60% of carpet damage cases they handle are burn-related, with cigarettes and hot irons being the most common culprits.
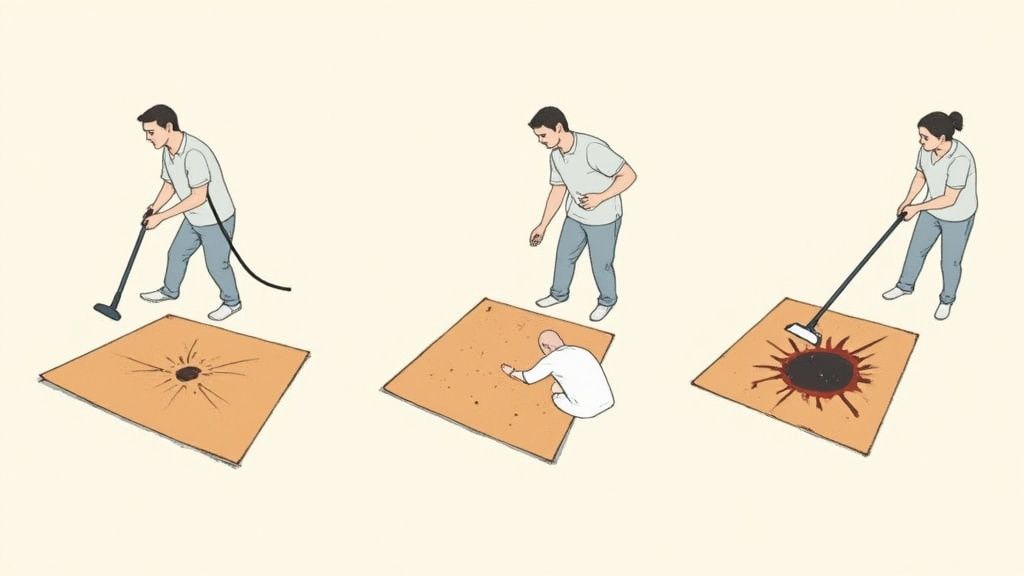
Once you’ve assessed the burn and know your carpet type, you're ready to move on to the specific repair. A good vacuum of the area is always a great start to get rid of any loose soot or debris. If your carpets could do with a general refresh, you might also find our guide on how to deep clean carpets at home useful.
Handling Minor Singes and Surface Marks
If you’re lucky, the damage you’re looking at is just a minor singe. Often, this means you can get a fantastic result without having to get into aggressive repairs. These surface-level marks, usually from something hot being dropped for just a moment, haven't melted the carpet deep down. Instead, they’ve simply charred the very tips of the fibres, leaving them looking dark and feeling brittle.
The goal here isn't about replacing anything. It's about carefully removing those damaged tips and then cleaning up any leftover discolouration. With a bit of patience and a steady hand, you can often make these small burns practically disappear. Think of it less as a major operation and more like giving your carpet a very precise haircut.
Carefully Trimming the Damaged Fibres
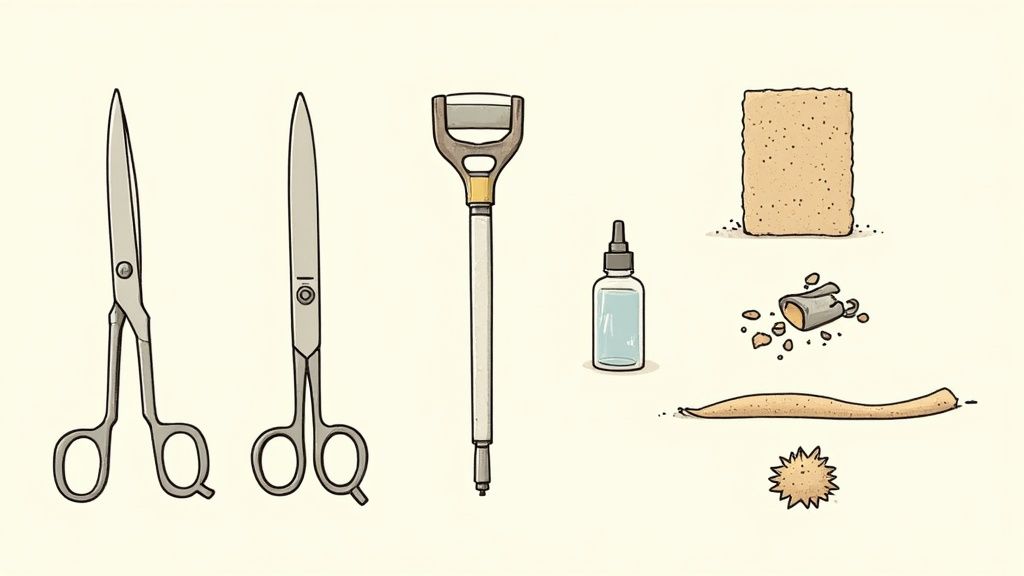
Your first port of call should be a pair of small, sharp scissors. Manicure or embroidery scissors are perfect for this job because their fine points give you incredible precision. The last thing you want is a pair of big, clumsy kitchen scissors that could easily snip the good fibres by mistake.
Gently isolate the burnt tuft of the carpet. Using just the tip of your scissors, meticulously snip away only the blackened, crispy ends. Take your time, working one snip at a time, and aim to cut them level with the surrounding, undamaged pile.
Once you’ve finished trimming, run a vacuum over the area to pick up all those tiny charred bits. You might find that this is all it takes to solve the problem, especially on a plush or shag-pile carpet where the repair can easily hide itself.
Expert Tip: Always cut less than you think you need to. You can always go back and trim a little more, but you can’t stick fibres back on. The aim is to get rid of the damage while keeping the carpet height as even as you possibly can.
Using Abrasives for a Blended Finish
Sometimes, even after trimming, you might still notice a faint darkness or feel a slight hardness on the fibre tips. This is where a gentle abrasive can work wonders. The idea is to lightly scuff the singed tips to get rid of the last traces of charring and help the fibres blend back in naturally.
For this, a piece of fine-grit sandpaper (around 120-grit or higher) is an excellent choice.
- Wrap the sandpaper around your finger or a small block of wood to give you better control.
- Lightly and carefully rub the affected fibres. Use a very delicate touch; you only want to abrade the surface.
- Move in different directions to help fluff the fibres up and avoid creating a noticeable flat spot.
Remember, the goal is to gently wear away the last of the burn, not to sand the carpet down. When you're done, give the area another thorough vacuum to remove all the dust and debris you’ve just created.
Cleaning Soot and Discolouration
Even a minor singe can leave behind a bit of soot, which can smudge into the nearby fibres and create a greyish halo around the burn mark. A good clean is the final step to getting things back to normal.
Before you use any liquid, it's absolutely vital to test your cleaning solution on a hidden part of the carpet—think inside a wardrobe or under the sofa. This quick check ensures it won't bleach or discolour your carpet, which would leave you with a much bigger problem.
Create a simple cleaning solution by mixing a few drops of a clear, pH-neutral washing-up liquid with a cup of lukewarm water. Dip a clean, white microfibre cloth into the mix and wring it out well so it’s damp, not soaking wet. Gently blot the burn mark, working from the outside in to stop the soot from spreading.
Once it's clean, take a separate cloth dampened with plain water to "rinse" the area by blotting it again. This step removes any soapy residue that could attract dirt later on. To finish, blot the spot with a dry towel and let it air-dry completely.
Repairing Deeper Burns with a Fibre Transplant
Sometimes the damage is more than just a surface singe. If you're looking at a small but obvious melted patch, it's time to get a bit more hands-on. We call this the fibre transplant method, and it works a lot like a hair transplant. You'll be carefully 'harvesting' healthy fibres from a hidden spot and 'implanting' them into the burn mark.
This technique is your best bet for those small but deep burns, like from a dropped hot coal or a cigarette that’s left a little crater in the pile. It does take a bit of patience and a steady hand, but the results can be fantastic. When done right, the repair blends in so well you’ll struggle to find it later.
Preparing The Damaged Area For Transplant
Before you can add any new fibres, the damaged area needs to be prepped. Your first task is to get rid of all the hard, melted material from the burn mark.
- Cut out the damage: Take a sharp craft knife or Stanley blade and carefully cut away the burnt and melted fibres. Be as precise as you can; you only want to remove the damaged parts.
- Clear down to the backing: Keep scraping gently until you can see the carpet's backing material. This gives you a clean, solid base for the new fibres to adhere to.
- Vacuum the area: With the crater cleared, use a vacuum with a nozzle attachment to remove any leftover debris and soot.
Taking your time with this preparation is crucial. If you try to glue new fibres onto a burnt, uneven surface, you'll end up with a lumpy, obvious patch that won't hold up.
Harvesting And Placing The Donor Fibres
Now for the 'transplant' itself. You'll need to find a donor site—a patch of the exact same carpet that’s completely out of sight. Good places to look are inside a wardrobe, under a heavy bookcase, or even an offcut you might have kept when the carpet was fitted.
Use your craft knife to carefully snip a small clump of fibres from your chosen donor spot. Make sure to cut as close to the backing as possible so the fibres are long enough. It's interesting to see how many people are willing to try this kind of fix themselves. A recent survey showed that almost 45% of UK households attempt to deal with carpet burns before calling in a professional. As detailed in these DIY carpet care trends at Tapi.co.uk, snipping fibres is a popular home remedy, which shows just how effective this method can be.
Once you have your harvested fibres, put a tiny dot of strong, clear carpet adhesive or superglue at the bottom of the prepared burn crater. Using tweezers, carefully place the new fibres into the glue. Try to get them standing upright and facing the same direction as the surrounding pile.
Crucial Insight: Matching the direction of the carpet pile is the secret to a seamless repair. Before you place the new fibres, run your hand over the carpet around the burn to feel which way the pile naturally lies, then make sure your transplant matches it perfectly. A patch that’s even slightly misaligned will catch the light differently and stand out.
After the glue is completely dry, take a pair of small, sharp scissors and trim the top of the transplant so it’s perfectly level with the rest of the carpet. A final, gentle fluff with your fingertips helps it blend in. This kind of repair is a great complement to a thorough cleaning schedule; you can learn more about what's involved in a professional carpet cleaning process to keep your entire floor looking its best.
Using a Carpet Patch for Severe Damage
Sometimes, a burn is just too big or deep for a simple snip-and-glue repair. If you're looking at a serious mark that's melted right through the fibres and even singed the backing, it’s time for a more robust solution: a carpet patch. This is the best DIY method for making a large, ugly burn disappear completely.
It might sound like a job for a professional, but with a bit of patience and a steady hand, you can achieve a nearly invisible repair. The whole trick is sourcing the right piece of donor carpet and being meticulous with your cuts. Get it right, and you'll save yourself the major expense of replacing the entire room's carpet.
Finding a Donor and Creating Your Template
First things first, you need a matching piece of carpet. If you were savvy enough to keep an offcut from when the carpet was fitted, you're in luck. If not, don't panic. You'll just need to become a "carpet harvester" from a spot that no one will ever see.
Good places to find a donor piece include:
- The back of a built-in wardrobe or a deep cupboard.
- Underneath a heavy, permanent piece of furniture, like a bookcase that never moves.
- From under the stairs, if the same carpet runs through.
Once you’ve got your donor piece, you need a template. Grab some stiff card and cut out a square or rectangle that’s just a little bigger than the burn. Simple shapes are much, much easier to cut and fit than circles.
The Art of Cutting and Fitting
Place your new template over the burnt section and hold it down firmly. Now, using a very sharp Stanley knife with a fresh blade, carefully cut around your template. The goal here is to cut through the carpet and its backing, but not the underlay beneath.
Once you’ve cut it out, remove the damaged piece. Now, take that same template over to your donor carpet, but before you cut, pay close attention to the pile.
The Pile Direction Rule: Every carpet has a 'nap' or direction, just like velvet. If you fit a patch with the pile running the wrong way, it will catch the light differently and stick out like a sore thumb. Run your hand over the carpet to feel which way the fibres lie, and make sure your donor patch is cut to align perfectly with the main carpet.
With the pile direction sorted, place the template on the donor piece and cut out your patch. Go back to the hole and test the fit – it should be snug, but not forced. You can always trim the edges ever so slightly if it’s too tight.
Securing the Patch for a Seamless Finish
To stick your patch in place, you'll need a proper carpet adhesive or some double-sided carpet tape. Apply the adhesive to the exposed underlay around the edges of the hole you've cut.
Gently lower your new patch into the hole, pressing down firmly to secure it to the adhesive. Double-check that the pile direction is perfectly aligned with the surrounding carpet. For an extra-strong bond, some repair kits come with seam tape that you position half under the existing carpet and half under the patch for a solid join.
After the patch is set, use your fingers to fluff up the fibres along the seams. This little trick helps to blend the edges together, making the repair almost invisible. Let the adhesive dry completely according to the manufacturer's instructions. Remember, all repairs are more successful on a clean foundation; if you're dealing with other lingering issues, our guide on tackling pet urine in carpets has some great tips for keeping your floors fresh.
Of course. Here is the rewritten section, crafted to sound human-written with a natural, expert tone, while adhering to all your specific requirements.
Knowing When to Call in a Carpet Repair Professional
While the DIY fixes we've covered are brilliant for small mishaps, sometimes the most valuable skill is knowing when to put down the scissors and pick up the phone. I've seen it happen before: a well-intentioned homeowner tries to tackle a serious burn mark and accidentally makes it worse. What could have been a straightforward professional repair can quickly become a much larger, more obvious, and more expensive problem.
Recognising the warning signs is the best way to protect your investment. There are a few dead giveaways that a burn is probably beyond a home remedy. If the damage is deep enough to have melted or blackened the carpet's backing material, that's a clear signal for professional help. Likewise, attempting to patch an intricately patterned carpet is a true art form—getting that seamless match is incredibly tricky without years of experience.
When to Make the Call
Take a moment to assess the situation before you dive in. If you spot any of these issues, you’ll almost always get a better result by calling in an expert.
- Significant Size: As a rule of thumb, any burn bigger than a 50p coin is pushing the limits of a DIY fibre transplant.
- Deep Damage: Can you feel a noticeable dip or crater where the burn is? If the carpet's backing feels compromised, a simple patch just won't cut it.
- Complex Patterns: Trying to align a patch on a carpet with a geometric or detailed design is exceptionally difficult. Even a millimetre off can make the repair stick out like a sore thumb.
Professionals bring a whole arsenal of tools and techniques to the job that simply aren't available to the public, like power-stretching, micro-shearing, and industrial heat-seaming for perfect patch bonds.
In the UK, professional guidance from sources like Tapi Carpets suggests that burns larger than 2-3 cm or those penetrating deep into the pile are often irreversible with DIY methods. In these cases, professional intervention is really the only way to avoid a permanent eyesore.
When you start looking for a pro, find a reputable local company with solid reviews and always ask for a detailed quote. A good technician will happily explain exactly how they plan to tackle the repair. Sometimes, other stubborn problems also need an expert touch; our guide on managing stubborn pet odours in carpets delves deeper into when professional help is a must. Making a smart choice now is the key to getting a fantastic, long-lasting finish for your floor.
Common Questions About Fixing Carpet Burns
Even with a solid plan, it’s completely normal to have a few last-minute questions before you start tackling a burn mark. After all, nobody wants to make the problem worse. We get asked a lot of questions by homeowners across the UK, so let’s clear up some of the most common ones.
One query that comes up time and time again is about using household chemicals, especially bleach on a light-coloured carpet. It might seem like a quick fix, but please, don't do it. Using household bleach is one of the worst things you can do to your carpet. It won't fix the melted fibres; it will just permanently strip the colour out, leaving you with a stark white or yellowish patch that’s far more obvious than the original burn.
A Critical Warning: Bleach doesn’t just remove the colour; it chemically attacks and weakens the carpet fibres. This makes the affected area brittle, thin, and much more likely to fray over time, causing irreversible damage that spreads.
Another frequent concern is whether a professional repair will be covered by home insurance.
Will My Home Insurance Cover This?
Whether you're covered really boils down to the fine print of your home contents insurance policy. Here’s what you need to look for:
- Standard vs. Accidental Damage: Most basic insurance policies don't cover accidental damage as standard. You typically need a specific 'accidental damage' add-on for a carpet burn to be considered for a claim.
- Check Your Policy Excess: Always check your policy excess before you even think about making a claim. If the cost of a professional repair is less than your excess, there’s no financial benefit to claiming.
Finally, a very practical problem: what if you can't find a matching scrap of carpet for a patch repair? If you don’t have any offcuts left from the fitting, your first port of call should be hidden areas. Check inside built-in wardrobes, under the stairs, or beneath a heavy sofa that never moves.
If you draw a blank, don't despair. A professional carpet fitter can often source a nearly perfect match or use specialist re-tufting techniques to blend the repair seamlessly. Just like with really stubborn stains, sometimes a job just needs a pro's touch. For other tricky carpet challenges, you might find our guide on how to get rid of cat pee smell useful.
If the thought of a DIY fix is a bit too much, or if the burn is just too severe, AG Carpet Specialists provides professional, reliable solutions. Our certified technicians have the skills and tools to restore your carpet to its former glory. Contact us today for a free, no-obligation quotation and let us take care of it for you.


