
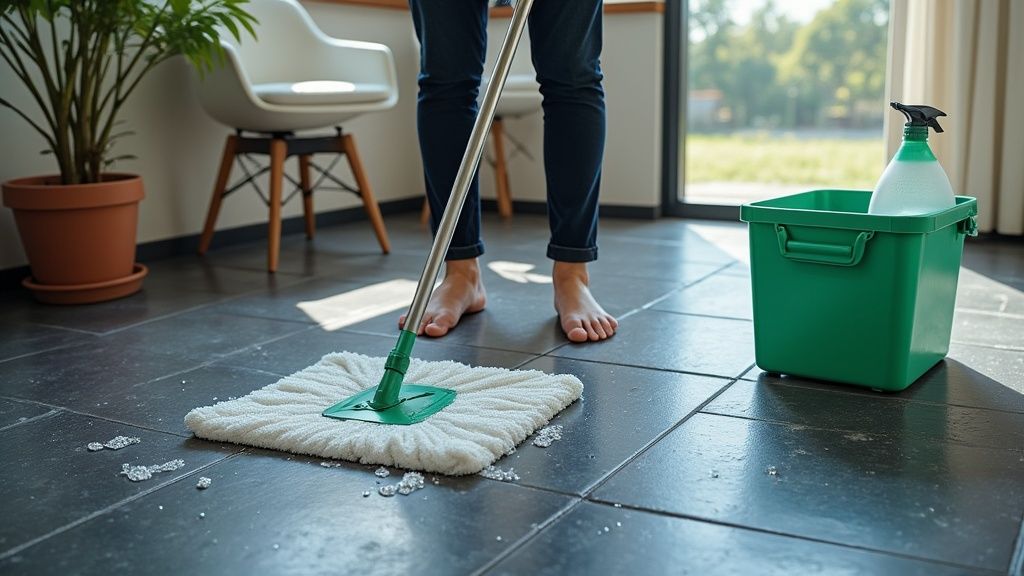
Looking after slate tile flooring really comes down to a simple, consistent routine. If you can get into the habit of frequently sweeping up grit, mopping with a pH-neutral cleaner, and making sure the stone is properly sealed, you're already winning. This simple approach is all it takes to protect the stone's natural beauty and stop any lasting damage from harsh chemicals or abrasive dirt.
Your Essential Guide to Pristine Slate Floors
Slate is a stunning natural stone, and there’s a reason it’s so prized for its unique texture, rich colours, and fantastic durability. But its layered makeup and porous nature mean it needs a specific kind of care to stop it from getting damaged and to preserve its character. Getting to grips with its properties is the first step towards keeping it looking elegant for years to come.
So many homeowners accidentally damage their slate floors by grabbing common household cleaners from under the sink. Products with vinegar, lemon juice, or bleach are either highly acidic or alkaline, and they can cause some serious harm. These chemicals can actually etch the stone's surface, strip away its protective sealant, and leave it looking dull and faded.
Understanding Slate's Unique Needs
To look after slate properly, it helps to know what makes it so different from your average ceramic or porcelain tile. Slate is a metamorphic rock that forms in layers, which is what gives it that characteristic cleft or uneven surface. While it looks incredible, that texture can trap dirt and dust far more easily than a smooth surface.
There are a few key things to keep in mind:
- Porosity: If your slate isn't sealed (or wasn't sealed properly), it can absorb liquids. That means spills like wine or oil can quickly turn into stubborn stains.
- pH Sensitivity: The stone is very sensitive to anything acidic or highly alkaline. The wrong cleaner can permanently change how it looks.
- Softness: Slate is durable, but it’s still softer than something like granite. It can be scratched by sharp objects or even just grit being ground in underfoot.
The Foundation of Long-Lasting Beauty
Proper maintenance isn't just about cleaning; it's about preservation. In the UK, a well-looked-after slate floor can genuinely last a lifetime. A huge part of this is just frequent sweeping. This is especially important right after installation to deal with a natural process called 'spalling', where tiny pieces of the surface flake away. Sweeping them up regularly stops them from being ground back into the floor and causing scratches.
The goal is to work with the stone's natural characteristics, not against them. A gentle, consistent routine will always yield better results than occasional, aggressive cleaning sessions.
A little bit of an introduction to the key tasks involved can really help simplify your routine. This table breaks down what you need to do and when.
Quick Slate Cleaning Routine At a Glance
| Frequency | Task | Recommended Products | Why It's Important |
|---|---|---|---|
| Daily | Sweep or Vacuum | Soft-bristle broom, vacuum with a hard floor setting | Removes abrasive grit and dust that can scratch the surface. |
| Weekly | Damp Mop | pH-neutral stone cleaner, microfibre mop | Cleans without stripping the sealant or etching the stone. |
| Periodically | Deep Clean & Reseal | Professional-grade stone cleaner, impregnating sealant | Removes stubborn grime and tops up protection against stains. |
Following a simple schedule like this takes the guesswork out of maintenance and ensures your floor always looks its best.
With this knowledge, you can choose the right tools and techniques every time. For more tips on looking after the different types of flooring in your home, feel free to check out our latest news and articles. By avoiding these common pitfalls, you can make sure your slate floor remains a striking feature of your home for a very long time.
Assembling Your Slate Cleaning Toolkit
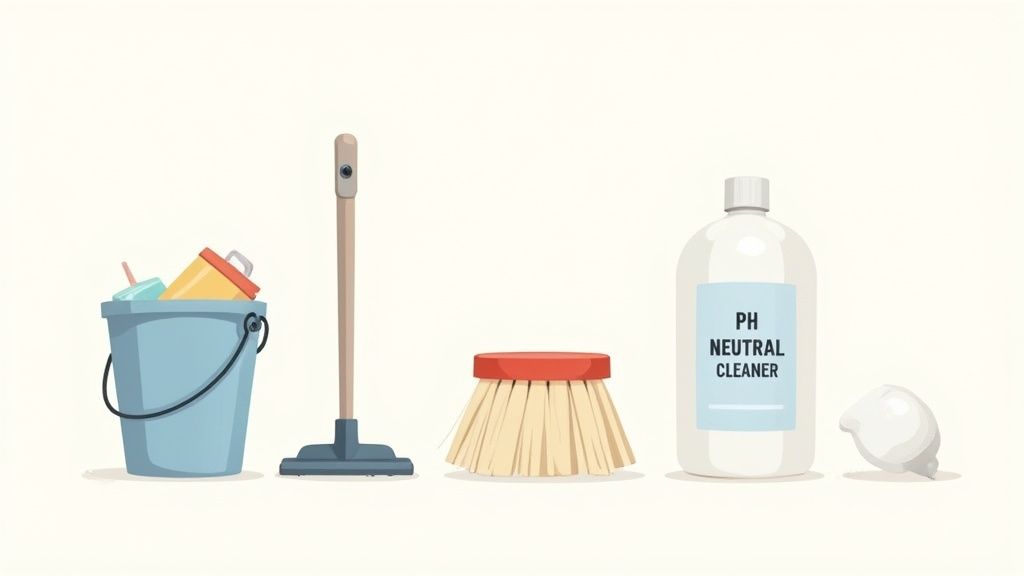
Before you even think about getting the floor wet, let’s get your supplies in order. Having the right tools for the job is every bit as important as the technique you use. The wrong bit of kit can easily scratch the surface or leave behind a residue that dulls the finish. A well-stocked toolkit simply makes the whole process faster, safer, and far more effective.
The first job is always to get rid of any dry debris. Think of dust, grit, and even pet hair as tiny, abrasive bits of sandpaper. If you just start mopping and drag them across the slate, you’re slowly creating fine scratches that build up over time.
Essential Tools for Safe Debris Removal
To get around this, you need tools that are gentle but still get the job done. What you choose here will directly impact the long-term health of your floor.
- Soft-Bristled Broom: This is your day-to-day workhorse. A broom with soft, flexible bristles is perfect for sweeping up surface debris without scuffing the stone. Steer clear of stiff, hard plastic bristles – they’re a recipe for disaster.
- Vacuum Cleaner (with care): A vacuum can be a huge time-saver, but only if you use it properly. You must use a hard floor setting that pulls up the stiff beater bar or spinning brushes. A simple suction-only head or a soft brush attachment is always the safest bet.
- Dust Mop: For a quick daily clean, a large, flat-headed dust mop with a microfibre pad is fantastic. It’s brilliant at trapping the fine dust that a broom can sometimes miss.
Selecting the Right Mopping Equipment
Once all the loose grit and dust is gone, you can move on to wet cleaning. The aim here is to lift the dirt without soaking the stone or just pushing dirty water around. This is where your choice of mop and bucket really comes into play.
A microfibre flat-head mop is, without a doubt, the best tool for cleaning slate floors. Unlike old-school string mops that tend to slosh dirty water about and can leave the floor saturated, microfibre pads are designed to grip and lift dirt particles. They also use much less water, which is a massive bonus for a porous stone like slate, as it helps prevent water spots.
For a truly professional result, use a two-bucket system: one for your cleaning solution and another for rinsing the dirty mop head. This simple trick ensures you’re always cleaning with a fresh solution, not just spreading grime.
Key Takeaway: The single biggest mistake you can make is using the wrong cleaning solution. Standard household cleaners with vinegar, lemon, bleach, or ammonia are either too acidic or too alkaline. They can permanently etch the slate or strip away its protective sealant.
Choosing Your Cleaning Solution Wisely
The cleaning agent you choose is the most critical part of your entire toolkit. Slate is a chemically sensitive stone, and the wrong product can cause damage that’s impossible to reverse.
You must find a cleaner that is pH-neutral, meaning it has a pH level of around 7. This guarantees it will clean gently without having a chemical reaction with the stone or its sealant.
Always look for phrases like "safe for natural stone" or "pH-neutral formula" on the label. If you're ever in doubt, it’s much safer to just use plain warm water than to risk it with a harsh chemical. By putting together this specific toolkit, you'll be perfectly equipped to clean your slate tile flooring safely and keep it looking its best for years.
Your Weekly Slate Floor Cleaning Ritual
This weekly clean is the absolute cornerstone of your maintenance routine. It’s where you go beyond a quick daily sweep and give your floor a proper wet clean. This is how you tackle the grime that builds up over time and keep your slate’s colour and character looking its best for years.
But before a single drop of water touches the floor, you need to start with a thorough dry clean. We’re talking about removing every last bit of loose dust, grit, pet hair, and crumbs. Honestly, skipping this is one of the biggest mistakes you can make. If you don't, mopping just turns all that loose debris into a gritty paste that can scratch the surface of your beautiful slate.
Grab your soft-bristled broom or a vacuum on its hard floor setting. Make sure you get right into the corners, along the edges, and under furniture where dust loves to hide. The goal is a completely clear surface, ready for a proper wash.
The Art of Mopping Slate Correctly
Now the floor is prepped, it's time to mop. The trick here is to clean effectively without soaking the stone or leaving behind a dull film. This all comes down to using the right water temperature, the correct cleaning solution, and a smart technique.
When mixing your cleaning solution, always follow the manufacturer's instructions for the right cleaner-to-water ratio. It's tempting to add a bit extra, thinking it'll clean better, but it's actually counterproductive. Too much cleaner will just leave a sticky film that attracts even more dirt. Stick to lukewarm water, as very hot water can sometimes weaken certain types of sealants over time and doesn't offer any real extra cleaning power for slate.
The two-bucket method is a professional trick that makes a world of difference:
- Bucket One (Solution): Fill this with your warm water and the measured amount of pH-neutral stone cleaner.
- Bucket Two (Rinse): Fill this with clean, plain warm water.
This simple system stops you from dipping a dirty mop straight back into your clean water. You’ll dip your microfibre mop into the solution, clean a small patch of floor, and then rinse the dirty mop head thoroughly in the rinse bucket before going again. It sounds like a minor detail, but the results speak for themselves.
Mastering Your Mopping Technique
When you're cleaning slate tiles, it's best to work in small, manageable sections. Always start in the furthest corner of the room and work your way back towards the door—that way, you won't walk all over your freshly cleaned floor.
Your mop should be damp, not sopping wet. Wring the mop head out until it no longer drips. Remember, slate is porous. Leaving puddles of water sitting on the surface can lead to water spots or, even worse, penetrate the stone if your sealant is starting to wear thin.
Use gentle, overlapping strokes. If your slate has a more textured, riven finish, you might need to mop in a figure-eight pattern or from different directions. This helps the mop get into all the little indentations where dirt can get trapped.
A common mistake is letting dirty water air-dry on the floor. This is what causes those frustrating streaks and a hazy finish. The final drying step is just as crucial as the cleaning itself.
After cleaning a section, you can even go over it with a separate, clean mop head that's just been dampened with plain water. This acts as a final rinse, making absolutely sure no cleaning residue is left behind.
The Crucial Final Step: Drying for a Perfect Finish
The last step is arguably the most important: drying the floor. This is what prevents water spots, streaks, and the build-up of mineral deposits that can leave a dull film over the beautiful natural stone.
You've got two great options here. You can either use a stack of clean, old towels or a dry microfibre mop head. Simply go over the entire floor one last time, soaking up any leftover moisture. This also gives the slate a slight buff, enhancing its natural lustre and leaving you with a perfectly clean, streak-free surface every single time. It's this final touch that elevates a simple clean to a professional-standard finish.
Tackling Tough Stains and Grime Buildup
Even with the best weekly routine, life has a way of leaving its mark on our floors. A splash of olive oil in the kitchen, a trail of muddy boot prints from the garden, or just that slow, unavoidable buildup of grime in a busy hallway. These things are bound to happen. This is when we need to go beyond a routine mop and tackle specific problems head-on to get your floor looking uniformly clean again.
The secret is to match your cleaning method to the stain. An oily mark requires a completely different approach to, say, a bit of dried mud. The biggest mistake people make is reaching for an aggressive, all-purpose cleaner, which is the fastest way to strip your slate's protective sealant or even damage the stone itself.
Identifying and Treating Common Stains
Different spills need different solutions, but the golden rule is always to start with the mildest method first. Only move on to something stronger if needed. This simple approach protects your floor and, more often than not, saves you a lot of time and effort.
- Organic Stains (food, mud, leaves): These are usually the easiest to sort out. A simple paste made from baking soda and water is a fantastic first line of defence. Just mix it to the consistency of thick porridge, apply it directly to the stain, and let it do its work for 10-15 minutes.
- Greasy or Oily Marks: For those kitchen splatters or greasy footprints, your normal floor cleaner probably won't cut it. You need something with degreasing properties. While a highly diluted, pH-neutral washing-up liquid can sometimes work, a specialised stone degreaser is always your safest and most effective bet.
- Water Marks and Mineral Deposits: If you live in a hard water area, you’ll be familiar with those chalky white marks, especially around plant pots or pet bowls. These are mineral deposits left behind when water evaporates. Whatever you do, avoid household limescale removers. Instead, try gently buffing the area with a dry microfibre cloth or use a cleaner specifically made for removing mineral deposits from natural stone.
This little diagram shows the basic steps for safely tackling most stains you'll encounter on the surface.
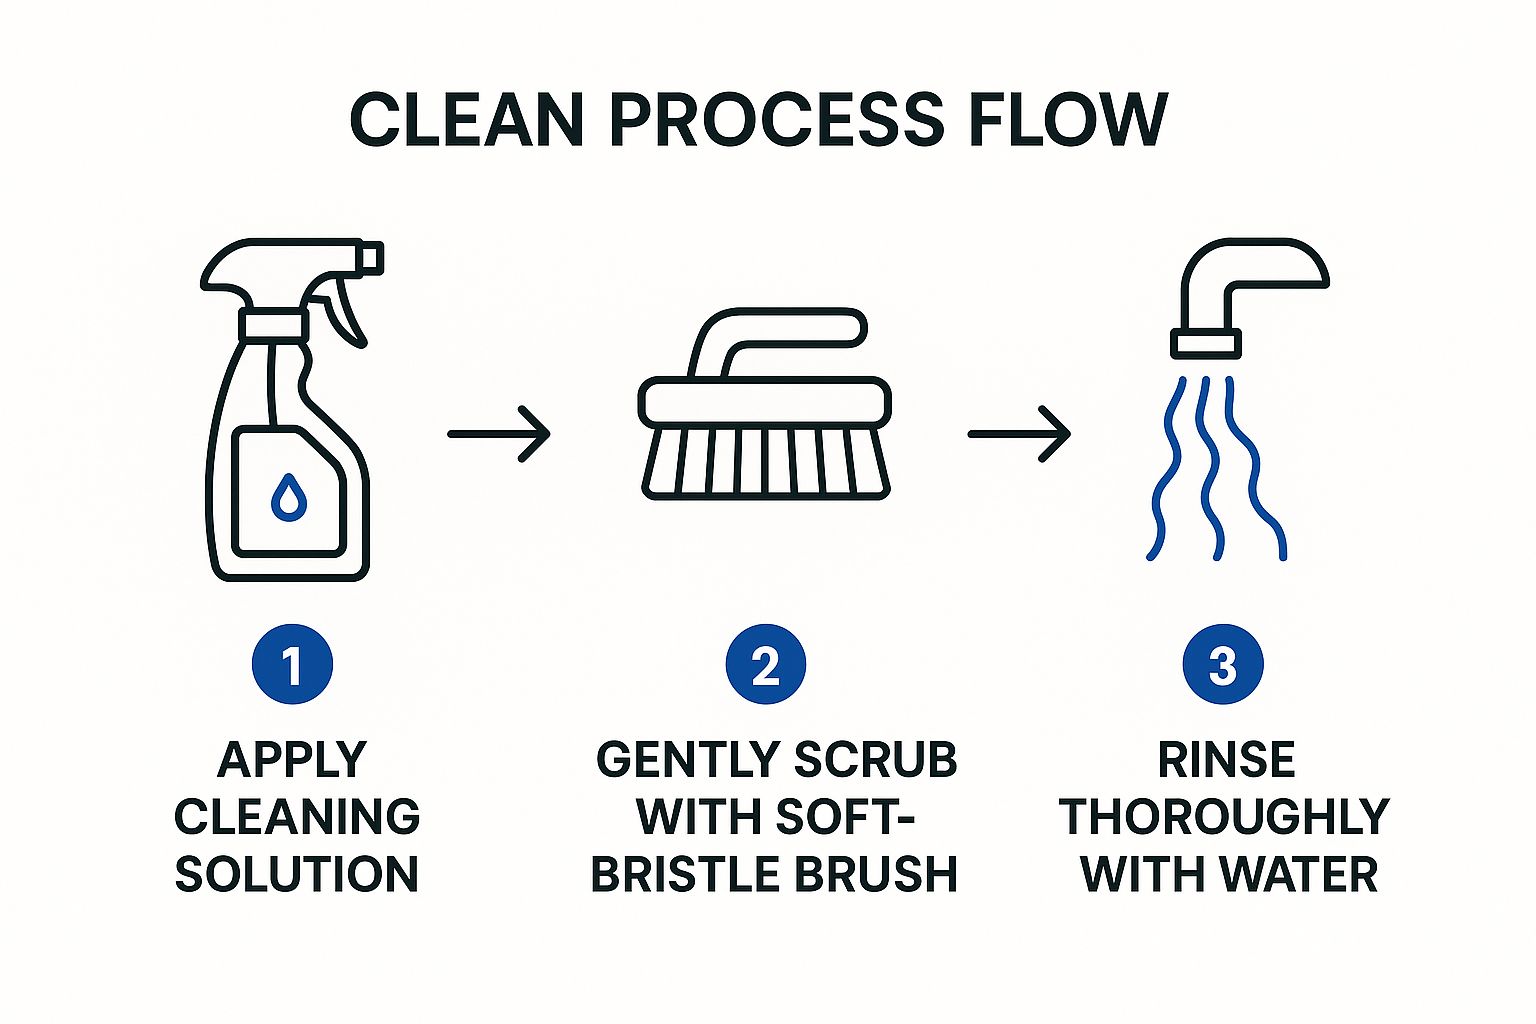
It’s a great visual reminder of the core principle of slate care: apply a safe solution, use gentle agitation, and always rinse thoroughly to get rid of any residue.
Deep Cleaning Grimy Grout Lines
More often than not, it’s the grout lines that make a floor look dirty, not the slate tiles. Grout is porous and often light-coloured, making it a real magnet for dirt. Cleaning it properly requires a careful touch to avoid scratching the surrounding slate.
Never use a wire brush or harsh, acidic grout cleaners. Instead, grab a dedicated pH-neutral grout cleaner or whip up some more of that trusty baking soda paste. Apply it along the grout lines, let it sit for a few minutes to break down the grime, and then give it a gentle scrub with a stiff nylon brush or even an old toothbrush. It's best to work in small sections, wiping away the dirty residue with a damp cloth as you go.
Prevention is a massive part of long-term maintenance. A 2023 survey of UK homeowners found that an impressive 78% of those who used appropriate pH-neutral cleaners and did regular deep cleans reported far less grime buildup. They also found their floors much easier to look after. For more professional insights into stone floor care, floorseal.co.uk is a great resource.
It just goes to show that a proactive approach makes a huge difference to your floor's lifespan and how happy you are with it.
When to Use a Commercial Slate Cleaner
While homemade solutions are brilliant for minor spills, there are times when a specialised commercial cleaner is the right tool for the job. For stubborn, ground-in dirt or widespread grime in a high-traffic area, a professional-grade, heavy-duty stone cleaner is designed to penetrate and lift deep-seated dirt without harming the slate.
Always read the label and choose a product specifically marked as safe for natural slate. It's also vital to do a spot test in a hidden area first—perhaps under a rug or a piece of furniture. This quick check ensures it doesn't react badly with your particular type of slate or its sealant.
While we're focused on hard floors here, knowing how to handle tough spots is a universal skill. If you're tackling similar issues on other surfaces, you might find our guide on carpet patching and repair useful for dealing with different materials. By arming yourself with these targeted strategies, you can confidently handle almost any stain that comes your slate floor's way.
The Critical Role of Sealing and Protecting Slate
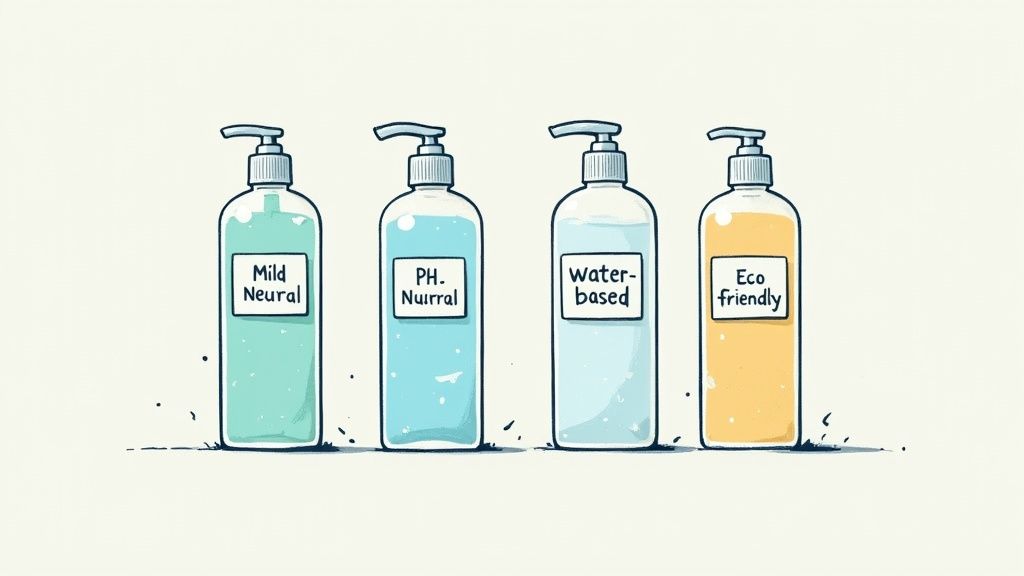
Think of your cleaning routine as the day-to-day care that keeps your floors looking sharp. Sealing, on the other hand, is the long-term investment that protects them for years. It’s a crucial step that shields the stone from the inside out, making your weekly cleans far quicker and more effective.
The reason this is so essential comes down to one word: porosity. Natural slate is like a very dense sponge with microscopic pores that can absorb liquids. Without a protective barrier, a simple spill like red wine, coffee, or oil can seep deep into the stone, leading to a permanent stain that no amount of surface scrubbing can fix.
Sealing fills these pores, creating an invisible shield that stops spills from soaking in. This gives you precious time to wipe them up before they can cause lasting damage. Honestly, it’s the single most important thing you can do to preserve the beauty of your slate tile flooring.
Does Your Slate Floor Need Sealing?
Before you rush out to buy sealant, you need to know if your floor actually needs it. A previously sealed floor might still have plenty of life in its protective layer, so it's always best to check first.
The water-drop test is your best friend here. Just sprinkle a few drops of water onto a tile in a high-traffic area and watch what happens for the next 10-15 minutes.
- If the water beads up: Congratulations, your sealant is still doing its job perfectly. The water is sitting right on top of the protective layer, unable to penetrate the stone.
- If the water soaks in and darkens the slate: This is a clear sign that the sealant has worn away. The stone is now porous and vulnerable to stains, meaning it's definitely time to reseal.
A well-sealed floor not only resists stains but also makes routine cleaning a breeze. Dirt and grime sit on the surface instead of getting trapped in the stone's texture, allowing your mop to lift them away with minimal effort.
Choosing the Right Sealant for Your Floor
Once you’ve confirmed you need to seal, the next step is choosing the right product. Slate sealants generally fall into two main categories, and the one you pick will depend entirely on the final look you want to achieve.
- Impregnating or Penetrating Sealants: These soak deep into the stone to protect it from within, leaving a completely natural, matte finish. They don't alter the colour or sheen of the slate, making them perfect if you love the stone's raw, earthy appearance.
- Enhancing or Colour-Enhancing Sealants: These also soak into the stone but contain ingredients that deepen and enrich its natural colours. They often provide a subtle satin or "wet look" finish, making the dark tones in the slate appear much richer and more vibrant.
To make it a bit clearer, here's a quick comparison to help you decide.
Comparing Slate Sealant Finishes
Choosing a sealant is all about the final look and how much protection you need for your space. This table breaks down the main differences between the two types to help you find the perfect match for your home.
| Sealant Type | Final Appearance | Best For | Application Frequency |
|---|---|---|---|
| Impregnating (Natural Look) | Matte, no change in colour | Preserving the original, natural look of the slate | Every 3-5 years in low-traffic areas |
| Enhancing (Colour Boost) | Satin or "wet look", deepens colours | Making the slate's colours pop and appear richer | Every 2-3 years in high-traffic areas |
After you've made your choice, you're on your way to a beautifully protected floor that will stand the test of time and daily life.
The Sealing Application Process
Applying sealant isn't difficult, but it does require a bit of patience and a clean workspace. The floor must be impeccably clean and completely dry before you begin; otherwise, you’ll just trap dirt and moisture under the new protective layer, which is a disaster.
Start by giving the floor a deep clean and allow it to dry for at least 24 hours. When you're ready, make sure the room is well-ventilated. Apply the sealant in thin, even coats using a lint-free cloth, a foam brush, or a paint pad applicator. It’s best to work in small, manageable sections, starting at the furthest corner of the room so you don't paint yourself in!
Always follow the manufacturer’s instructions on the number of coats and drying times. Rushing this part can lead to a sticky, uneven finish you’ll regret. Once complete, this protective barrier will be your floor's best defence against whatever life throws at it.
And if you have other challenging cleaning tasks around the house, our professional rug cleaning services can restore even the most delicate items. Taking the time to seal your slate properly will pay off for years to come.
Your Slate Floor Questions, Answered
Even with the best routine in place, sometimes you just run into a problem you haven't seen before. Slate is a beautiful, unique material, and looking after it can throw up some specific challenges. This is where a bit of expert know-how comes in handy.
Think of this section as your personal troubleshooting guide. We’ll tackle the most common questions we get from homeowners, from dealing with strange white marks to settling the debate on modern cleaning gadgets once and for all.
Can I Use a Steam Mop on My Slate Tiles?
This is a question we hear all the time. Steam mops are marketed as a fantastic, chemical-free way to clean, so it's a natural thing to wonder. When it comes to sealed slate floors, however, the answer is a very firm no.
The combination of intense heat and high-pressure steam is the enemy of your floor's protective sealant. It can soften, weaken, and eventually strip it right off. This leaves the porous slate underneath completely vulnerable to stains and moisture damage. Not only does this undo all your hard work, but it can also leave the tiles looking dull and cloudy.
Even if your slate is unsealed, it’s still a bad idea. The heat can force moisture deep into the natural layers of the stone, which can lead to flaking and chipping over time.
Our Expert Advice: Don't risk it. Stick to the tried-and-tested method that professionals use: a microfibre mop, warm (not hot) water, and a good quality pH-neutral cleaner. It's the safest and most effective way to protect the beauty and integrity of your slate floor.
How Do I Get Rid of White Hazy Marks on My Slate?
Seeing a chalky white film creep across your beautiful dark slate can be worrying, but don't panic. It's almost always one of two common issues, and the most frequent culprit is a natural process called efflorescence.
This happens when mineral salts from within the stone or the grout are carried to the surface by moisture. When the water evaporates, it leaves these white, powdery salt deposits behind. You'll often see it in newer installations or in rooms with a bit more humidity.
Here’s how to tackle it:
- Dry Brush First: Grab a stiff nylon brush (never a wire one) and give the dry, hazy patches a vigorous scrub. Often, this is all it takes to break up and sweep away the loose salt.
- Use a Specialised Cleaner: If the haze persists, you’ll need a dedicated efflorescence remover that’s specifically designed for natural stone.
- Rinse and Dry Thoroughly: After cleaning, rinse the area well with clean water and dry it completely. This is crucial to stop the cycle from starting all over again.
Whatever you do, stay away from acidic cleaners like vinegar or your usual limescale remover. They will etch the surface of the slate and cause permanent damage. If the haze looks more milky or streaky and the steps above don't work, you might be looking at an old or poorly applied sealant that's starting to fail. In that case, the floor will likely need to be professionally stripped and resealed.
What Are the Best Eco-Friendly Ways to Clean Slate?
You really don't need a cupboard full of harsh chemicals to keep your slate looking fantastic. For an effective and environmentally friendly clean, simplicity is key. A gentle, homemade solution is usually more than enough for day-to-day maintenance.
Your best eco-friendly cleaner can be made with just two ingredients: warm water and a tiny amount of plant-based, pH-neutral soap like castile soap. A few drops in a bucket of water is all you need to lift daily dirt without leaving a residue or damaging the stone.
For tackling organic stains, like food spills or muddy paw prints, a simple baking soda paste works wonders. Mix baking soda with a little water until it forms a thick paste. Apply it to the stain, leave it for a few minutes, then gently scrub with a soft brush before rinsing the area clean with a damp cloth.
Just remember to test any cleaning solution, whether it's homemade or from a bottle, on a small, hidden spot first. This quick test ensures it won't react badly with your particular type of slate or its sealant. While stone has its own rules, some cleaning basics apply across different materials. If you're tidying up elsewhere, our general carpet cleaning tips might offer some useful insights.
How Often Do I Need to Deep Clean and Reseal My Slate Floor?
There isn't a single, magic number for this—it all comes down to how much use your floor gets.
As a general rule of thumb, giving your floor a good deep clean every 3-6 months is a great idea for the average family home. This will shift the stubborn, ingrained grime that a quick weekly mop just can't handle.
Resealing is a much less frequent job. It’s all about wear and tear.
- High-Traffic Areas: Think kitchens, hallways, and entranceways. These spots might need resealing every 1-2 years.
- Low-Traffic Areas: A room that doesn't see much action, like a formal dining room, could go 3-5 years or even longer between coats.
The best way to know for sure is to do the water test we mentioned earlier. Just sprinkle a few drops of water onto a tile in a busy area. If the water beads up nicely, your sealant is doing its job. If it soaks in quickly and darkens the slate, it’s a clear sign that it’s time for a fresh coat.
At AG Carpet Specialists, we understand that looking after natural stone can be a challenge. If your slate floors need a professional touch to bring back their original character, we’re here to help. Visit us at https://www.agcarpetspecialist.co.uk for a free quotation and let our experts restore your floors.



