
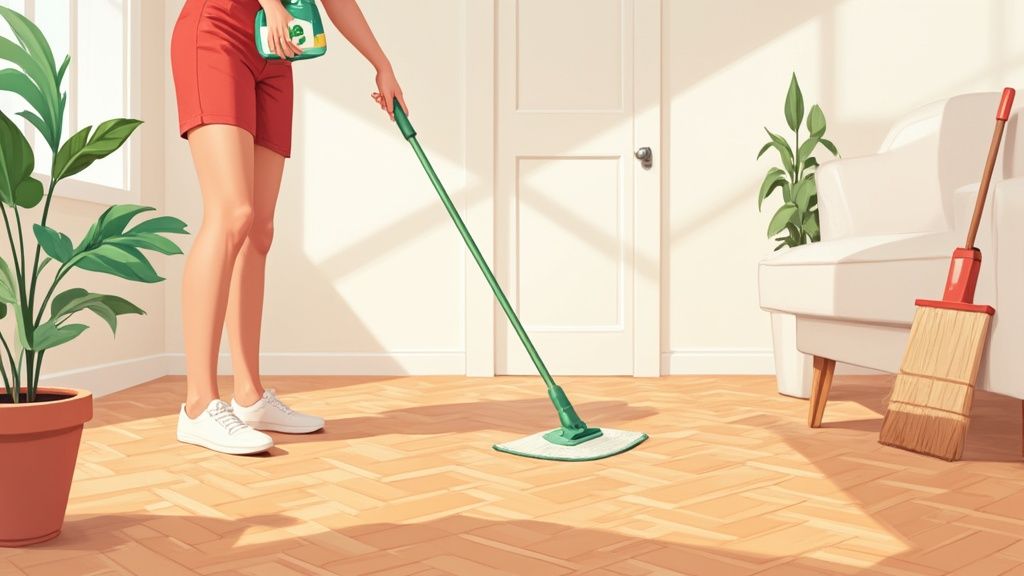
Cleaning a parquet wood floor is a delicate art. The golden rule is to use minimal moisture and steer clear of any harsh chemicals. A simple routine of sweeping with a soft brush, followed by an occasional wipe with a damp mop and a pH-neutral cleaner, is genuinely the best way to keep those intricate patterns looking their best without risking damage.
The Secrets to Preserving Your Parquet Floors
Your beautiful parquet flooring isn’t like standard hardwood planks, and it needs a bit of special attention to match. The stunning patterns are made from smaller pieces of wood glued together. This construction makes them much more vulnerable to swelling, warping, or shifting if they get too wet.
Because of this sensitivity, a gentle and consistent cleaning method is absolutely essential. Generic, harsh chemicals are the fastest way to ruin your floor’s protective finish, dull the wood, and even weaken the adhesive holding those intricate pieces together. The real goal here is to protect your long-term investment, not just give it a quick surface clean.
Establishing a Gentle Cleaning Rhythm
The secret to preserving your parquet for years to come is a simple, consistent cleaning rhythm. Getting into this habit stops the build-up of abrasive dirt and grit that grinds into the wood, causing tiny scratches that eventually dull the entire floor.
Experts here in the UK recommend a straightforward regimen. You’ll want to sweep or vacuum (using a soft brush attachment) two to three times a week, paying extra attention to hallways and other high-traffic areas. When you spot stubborn dirt, a damp microfiber mop is your best friend—but make sure it’s properly wrung out. Excess water is a definite no-go. Always choose a pH-neutral cleaner made for wood, and stay far away from soap-based products, waxes, or steam cleaners.
"The biggest mistake homeowners make is treating parquet like any other floor. Its construction demands a 'less is more' approach—less water, less aggressive cleaning, and fewer chemicals. A dry clean followed by a barely damp mop is truly all it needs."
Quick Guide to Parquet Cleaning Dos and Don'ts
To make things even clearer, here’s a quick summary of the most important rules for keeping your parquet floors in pristine condition.
| Do | Don't |
|---|---|
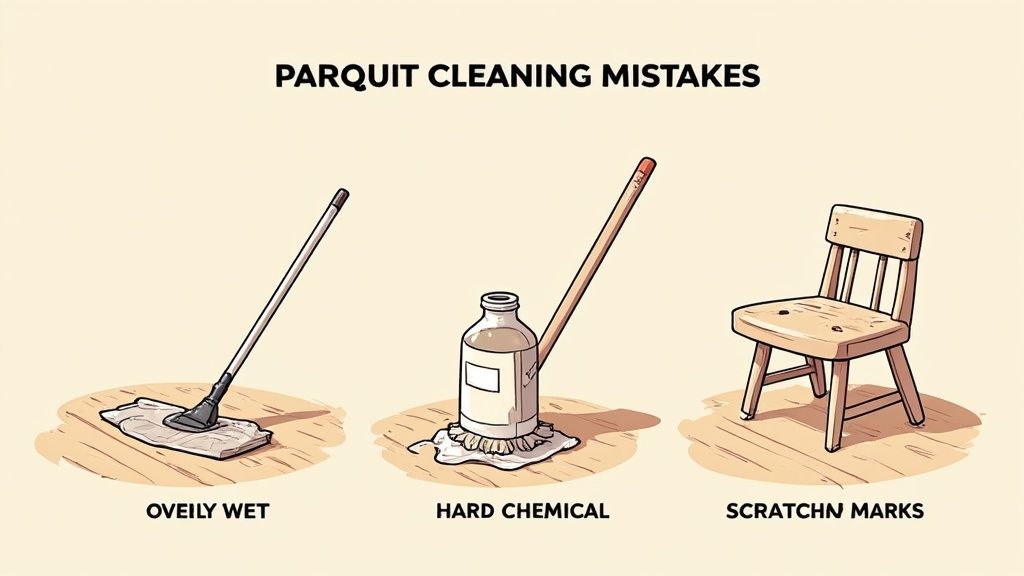
| Sweep or vacuum with a soft brush attachment regularly. | Use a steam cleaner, as the heat and moisture can damage the wood and adhesive. |
| Wipe up spills immediately with a dry, soft cloth. | Let water or spills sit on the floor, as it can cause swelling and warping. |
| Use a pH-neutral wood floor cleaner for mopping. | Use harsh chemicals like bleach, ammonia, or abrasive cleaners. |
| Use a well-wrung-out microfiber mop for damp cleaning. | Soak the floor with water when mopping. |
| Place protective pads under furniture legs to prevent scratches. | Drag heavy furniture across the floor. |
Sticking to these simple guidelines will go a long way in protecting the beauty and integrity of your parquet flooring.
Core Principles for Effective Care
Think of parquet care as finding the right balance between keeping things clean and actively preserving the wood. The principles are simple, but following them is crucial for maintaining your floor’s unique character.
Here are the core ideas to keep in mind:
- Preventative Cleaning: The main focus should be on getting rid of dust and grit before it has a chance to get ground into the floor. This is your most effective line of defence.
- Moisture Control: I can't stress this enough—always use a well-wrung-out mop. Water should never be allowed to pool or sit on the surface, even for a minute.
- Correct Tools: A soft-bristled broom and a good quality microfiber mop are non-negotiable. They clean effectively without scratching or damaging the finish.
- Safe Products: Stick with cleaners specifically designed for wood floors. This will protect the sealant and the wood itself from damage.
For a more comprehensive look at caring for wooden flooring, our guide on how to maintain hardwood floors offers some excellent insights that are just as relevant for parquet.
Building Your Parquet Cleaning Toolkit
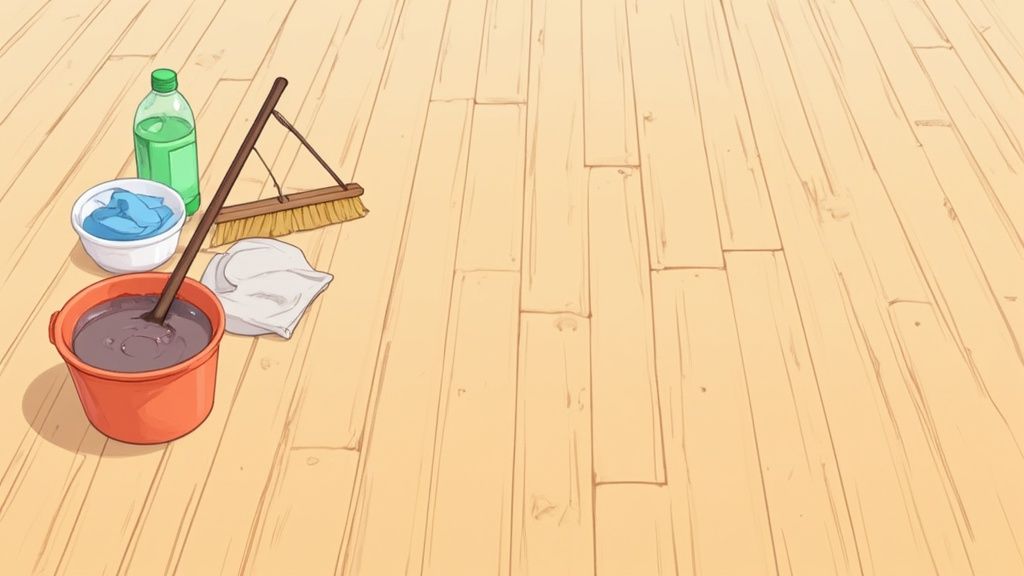
Having the right gear for the job isn't just about convenience; it's about protecting your investment. To clean parquet wood floors properly, you need tools designed to be gentle yet effective. This isn’t a long shopping list, but a curated arsenal where each item plays a specific, vital role.
Your first line of defence against daily grit and dust is a good dry cleaning tool. A soft-bristled broom is a classic and for good reason – it’s brilliant for sweeping up debris without scratching the delicate wood surface. A vacuum cleaner can also be highly effective, but only if it has a soft brush attachment. Crucially, the beater bar must be turned off to prevent it from hammering and damaging the wood.
The UK market for floor cleaning equipment is significant, with vacuum cleaners holding the largest revenue share at 25.36%. This popularity highlights how important they are in our homes, but it also means we have to be careful to use them correctly on sensitive surfaces like parquet. You can find more detail on this trend in this market analysis from Grand View Research.
Upgrading Your Mopping Game
When it comes to a damp clean, the traditional string mop is your parquet floor's worst enemy. It holds far too much water, making it nearly impossible to control moisture and avoid soaking the wood. This is where a microfiber flat mop becomes absolutely essential.
Microfiber’s unique structure is perfect for trapping dirt while absorbing just enough liquid to clean without drenching the floor. A good quality microfiber mop head, wrung out until it is merely damp to the touch, is the single most important tool you can own for preventing water damage. Its flat design ensures a thin, even layer of cleaning solution is applied, which evaporates quickly.
For the best results, have two separate microfiber mop pads ready. Use one for the initial damp clean and a second, completely dry one to immediately buff away any lingering moisture. This two-step process guarantees a streak-free finish and eliminates any risk of water seeping between the wood blocks.
The Essential Finishing Touches
Beyond your broom and mop, a few smaller items will complete your parquet cleaning toolkit and make the job much easier.
- Separate, Lint-Free Cloths: Keep a small stash of soft, lint-free cloths on hand. Use one for applying spot treatments and a different, dry one for immediately blotting up spills.
- A Spray Bottle: If you're mixing a concentrated cleaner, a spray bottle allows for precise, light application. This helps you avoid oversaturating any single area of the floor.
Many of these principles also apply to other types of wood flooring. For those with different but similar surfaces, our guide on engineered wood floor cleaning provides additional valuable tips. With these specific tools, you're perfectly equipped to maintain your parquet's beauty for years to come.
Your Weekly Cleaning Routine That Actually Works
When it comes to keeping parquet floors looking their best, consistency is everything. A simple, weekly routine is your best defence against the slow build-up of dirt and grime that can cause tiny scratches and dull that beautiful finish over time. Here’s a tried-and-tested approach that works wonders without taking up your entire weekend.
First things first, you need to get rid of all the loose debris. This isn't just a quick sweep; the goal is to lift every last bit of dust, pet hair, and abrasive grit from the surface and from between the blocks. A soft-bristled broom does the job well, but I find a vacuum cleaner with a proper hard floor attachment is far more effective. Just make sure the beater bar is switched off to avoid scratching the wood.
With the floor completely clear of grit, it’s time for a damp mop. This is where so many people make a critical mistake – they use far too much water. Remember this golden rule for parquet: your mop head should be wrung out until it feels only slightly damp to the touch. It should never be wet enough to drip.
Mastering the Art of the Damp Mop
How you mop is just as important as the tools you use. Always try to move your mop along the grain of the wood blocks in each section. It’s a simple trick, but it makes a huge difference in preventing streaks and getting an even clean. I always recommend working in small, manageable sections instead of trying to do the whole room in one go.
You’ll also need to adapt your technique to the room. For example, a busy hallway with lots of foot traffic will probably need a slightly damper mop than a spare bedroom that’s rarely used. The key is to be sensible and always stick to the 'less is more' principle with water.
To make sure you're covering all your bases, using a comprehensive cleaning checklist can be a great way to stay on track and ensure no spot gets missed.
The image below gives you a good idea of the gentle motion needed for a perfect, streak-free finish.
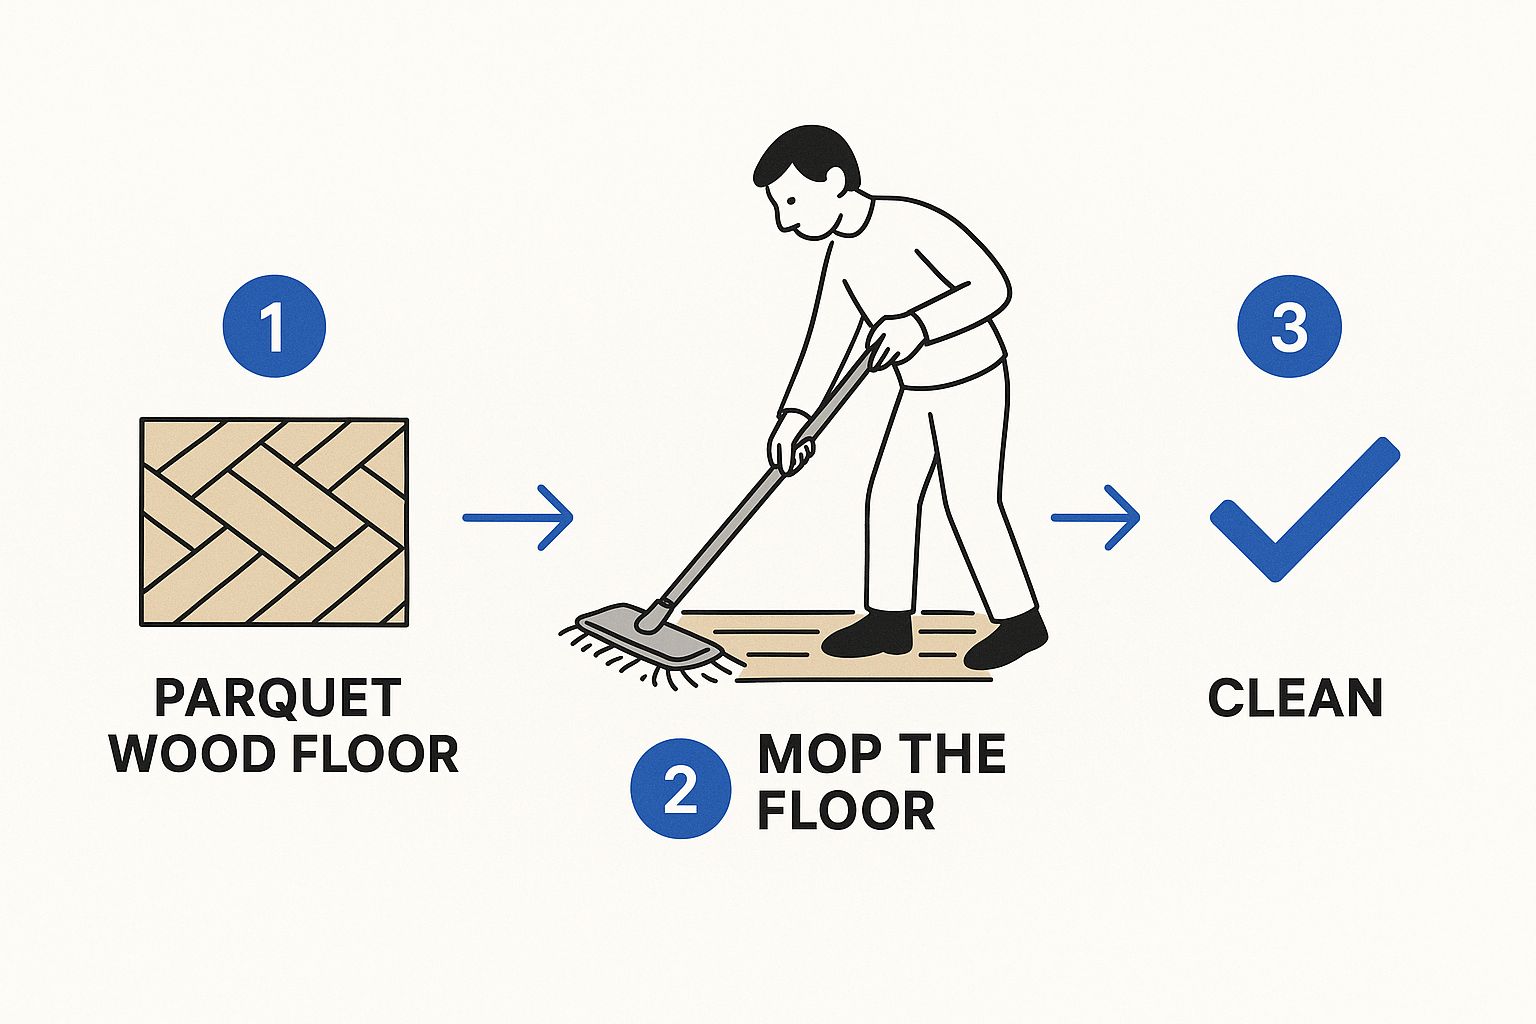
This really shows the careful, controlled approach you need to take to protect the intricate pattern of your beautiful floor.
The Final, Crucial Step: Drying
Whatever you do, don't let your parquet floor air-dry. Even a tiny amount of moisture left sitting on the surface can seep into the seams, which can lead to swelling or discolouration down the line. As soon as you finish mopping a section, go over it immediately with a clean, dry microfibre cloth.
This quick buff at the end does two vital things:
- It lifts away any trace of remaining dampness instantly.
- It brings back the natural sheen of the wood for a lovely, streak-free result.
The most overlooked step in parquet care is immediate drying. People focus so much on the cleaning part that they forget moisture is the primary enemy. A two-minute buff-dry makes all the difference between a good clean and a great one that actually protects your investment.
By sticking to this simple dry-damp-dry method each week, you create a maintenance cycle that really works. Of course, sometimes your floors will need a bit more TLC, and for those times, our guide on the https://www.agcarpetspecialist.co.uk/2025/09/08/deep-cleaning-of-hardwood-floors/ offers some more intensive techniques. This consistent care is what will keep your parquet looking absolutely stunning for years to come.
Handling Spills and Stains Without Panicking
Let’s be realistic, life happens. Sooner or later, a glass of red wine will get knocked over or a bit of greasy food will land on your beautiful parquet floor. It’s not a disaster, but how you react in those first few moments makes all the difference. The key to successful parquet floor cleaning after an accident is to act quickly and, crucially, use the right technique.
When a spill happens, the first instinct is often to grab a cloth and start scrubbing frantically. Please, resist that urge! Wiping or rubbing a spill will only spread the liquid around, pushing it deeper into the wood grain and between the delicate seams of the parquet blocks. For parquet floors, this is particularly bad news, as moisture can cause the wood to swell and weaken the adhesive holding it all together.
The Blotting Technique for Liquid Spills
For any liquid spill, whether it’s water, juice, or that dreaded wine, the golden rule is simple: blot, don’t wipe.
Find a clean, dry, absorbent cloth – a microfibre one is ideal for this – and gently press it down onto the spill. This simple motion lifts the liquid straight up from the surface instead of smearing it across the floor. You'll likely need to repeat this a few times with fresh, dry sections of the cloth until the area is completely moisture-free. This little trick contains the spill and is often all you need to prevent a permanent mark, especially on a well-sealed floor.
The difference between a temporary spill and a permanent stain is often just a few minutes. Immediate blotting prevents moisture from penetrating the floor's finish, which is your primary line of defence against discolouration and warping.
Tackling Greasy Marks and Scuffs
Greasy stains from food or those annoying dark scuff marks from shoes call for a slightly different approach, but the core principle of gentle care is the same. Whatever you do, avoid harsh, abrasive cleaners. They can strip the floor’s protective finish and leave you with a dull, damaged patch that’s far worse than the original mark.
For most common incidents, you might find the solution is already in your home:
- Greasy Food Stains: For oily spots, place a clean cloth over the stain and gently press it with a warm iron set to its lowest setting. The gentle warmth can help draw the oil out of the wood and into the cloth. Always test this method on an inconspicuous area first, just to be safe.
- Shoe Scuffs: Believe it or not, many dark scuffs can be removed by simply rubbing them with a clean tennis ball or even a standard pencil eraser. The light friction is usually enough to lift the mark without scratching the floor’s finish.
- Sticky Residue: If you’re dealing with something like sticker residue, a tiny amount of mineral spirits on a cloth can help dissolve the adhesive. Use it very sparingly, wipe the area with a clean damp cloth afterwards, and then dry it immediately.
While these DIY methods work wonders for minor mishaps, some stains are just more stubborn. If a stain has managed to get through the finish, or if you’re just not sure how to handle it, the best course of action is to consult a professional. Trying to fix a deep-set stain with the wrong product can often make the problem much worse. Knowing when to call in an expert is a key part of looking after your parquet floors properly.
Choosing Safe and Effective Cleaning Solutions
When you've got a beautiful parquet floor, the last thing you want to do is guess which cleaning products to use. Staring at a supermarket aisle full of bottles can be confusing, but getting it right is all about protecting that delicate finish. The aim is simple: clean away the dirt without stripping the sealant that guards the timber beneath.
A lot of general-purpose cleaners are far too harsh for wood. They often contain ingredients that will do more harm than good, slowly damaging your floor's protective layer. Watch out for ammonia, bleach, and any abrasive agents on the label – these are the biggest culprits for dulling the finish, causing discolouration, or even scratching the surface over time. Oil-based soaps and wax polishes are just as bad, leaving behind a greasy film that just attracts more dirt and makes the floor dangerously slick.
Why pH-Neutral Cleaners Are Best
Your safest bet for regular cleaning is always a pH-neutral, water-based cleaner made specifically for wood floors. These formulas are designed to be tough on grime but gentle on the finish. Because they have a neutral pH, they won't cause a chemical reaction that can eat away at the sealant, which is what causes that flat, lifeless look you get from acidic or alkaline products.
Another huge plus is that these specialised cleaners are made to evaporate quickly. Less water lingering on the surface means less risk of moisture seeping between the blocks – a major threat to parquet. While many products look similar, it's always worth checking what the manufacturer of your flooring recommends for its specific finish.
Exploring DIY Natural Cleaning Options
If you prefer to go the homemade route, a simple solution can work wonders, but you have to be careful. A highly diluted mix of white vinegar and water is a common go-to, but the ratio is absolutely critical. Vinegar is an acid, and if the mixture is too strong, it will damage the finish.
A good, safe starting point is a very weak solution: try just one tablespoon of white vinegar mixed into four litres of warm water. And never, ever use cleaning vinegar – it’s far too acidic for this job. This gentle mix is usually enough to cut through light dirt without leaving any residue.
Before you even think about mopping your entire floor with a DIY cleaner, you must do a patch test.
- Find a hidden spot, like the floor inside a cupboard or under the sofa.
- Dab a small amount of the solution onto the area with a cloth.
- Wipe it dry straight away and give it 24 hours.
- After a day, check for any dullness, discolouration, or changes to the finish.
This quick test can save you from a very expensive mistake. It’s also worth remembering that some methods, like steam cleaning, are an absolute no-go for parquet. The intense heat and moisture can cause irreparable damage. If you're curious, we break down all the reasons why in our detailed guide on the risks of steam cleaning wooden floors. Making the right choice now is the key to keeping your parquet looking fantastic for years.
Comparing Commercial vs. DIY Cleaning Solutions
Deciding between a professional, store-bought cleaner and a homemade one often comes down to convenience, cost, and the specific needs of your floor. Both have their place, but it's important to understand the trade-offs.
| Feature | Commercial Wood Cleaner | DIY Vinegar Solution |
|---|---|---|
| Effectiveness | Formulated to break down specific types of grime without damaging the finish. | Good for light, general cleaning but may struggle with greasy or stubborn marks. |
| Safety | pH-neutral formulas are extremely safe for sealed wood when used as directed. | Can be acidic and damage the finish if the ratio of vinegar to water is too high. |
| Convenience | Ready to use straight out of the bottle, no mixing required. | Requires careful measuring and mixing before each use. |
| Cost | More expensive upfront, but a bottle can last a long time. | Very inexpensive to make with common household ingredients. |
| Best For | Regular, reliable cleaning; homes with pets or children; tackling built-up grime. | Quick, light touch-ups; households wanting a minimalist, natural cleaning routine. |
Ultimately, a high-quality commercial cleaner offers peace of mind and consistent results. A DIY solution is a great budget-friendly option for light maintenance, as long as you are diligent about testing it and getting the dilution just right.
Long-Term Strategies to Protect Your Floors
Great parquet wood floor cleaning is only half the job; the real secret to lasting beauty lies in proactive, long-term care. By focusing on prevention, you can dramatically cut down on the daily wear and tear that inevitably dulls your floor's finish and leads to damage. Think of these simple habits as your first line of defence, keeping that investment looking magnificent for decades.
It all starts right at your front door. Placing high-quality doormats at every entrance is a must. A coarse exterior mat will catch the worst of the mud and grit, while a softer, more absorbent mat inside will trap the finer dust and any lingering moisture. This simple two-mat system is a powerful barrier, stopping abrasive particles from ever being tracked across your delicate parquet.
Protecting Against Scratches and Scuffs
One of the most common culprits for damage is everyday furniture. The legs of chairs, tables, and sofas can easily inflict deep scratches and ugly scuffs as they shift and move. This is where felt pads are an absolute game-changer.
Applying self-adhesive felt pads to the bottom of every piece of furniture is a quick and inexpensive task that offers an immense amount of protection. For items that get a lot of use, like dining chairs, I’d recommend using nail-in felt glides. They're far more durable and much less likely to peel off. This one small step prevents the constant, grinding friction that wears down your floor's protective sealant.
Protecting your floors isn’t just about the cleaning itself—it’s about creating a safe environment for them to thrive. Simple preventative steps like using felt pads and doormats are far more effective at preserving your floor's beauty than any cleaning routine alone.
Managing Environmental Factors
Beyond physical scuffs and scrapes, the environment in your home plays a huge role in the health of your parquet flooring. Wood is a natural material, and it reacts to its surroundings—especially to sunlight and humidity.
- Sunlight Fading: Constant exposure to direct UV rays can cause the colour of your wood to fade unevenly. This leaves noticeable patches where rugs or furniture used to be. You can significantly slow this process by using blinds, curtains, or a UV-protective film on your windows during the sunniest parts of the day.
- Humidity Control: Wood expands when it's humid and contracts when it's dry. These fluctuations can cause the small blocks of your parquet to warp, cup, or even separate over time. Try to maintain a consistent indoor humidity level, ideally between 35% and 55%, using a humidifier or dehumidifier. This will keep the wood stable and secure.
Beyond your regular cleaning routine, protecting your parquet from things like excessive moisture and mould is crucial for its longevity. You can find more tips on how to avoid mold in your home and damp buildings to keep your floors in pristine condition.
By adopting these preventative habits, you move from a reactive cleaning mindset to a proactive preservation strategy. For more advanced techniques, our guide on wood floor cleaning and polishing offers deeper insights into restoring and maintaining that perfect finish. These long-term efforts are what truly safeguard the timeless elegance of your parquet floors.
Your Parquet Care Questions Answered
Even when you have a solid routine down, specific questions always pop up. It’s completely normal. Here are some quick, straightforward answers to the queries we hear most often, so you can look after your beautiful parquet floors with confidence.
Can I Use a Steam Mop on My Parquet Floor?
This is a big one, and the answer is always a firm no. You should never, ever use a steam mop on any kind of wooden floor, and that goes double for parquet.
The intense heat and pressurised moisture will force water deep between the individual blocks of wood. This causes the timber to swell, warp, and can even break the bond with the subfloor. It's a surefire way to cause irreversible damage that’s incredibly costly to fix.
How Often Do I Really Need to Deep Clean?
Honestly, a proper deep clean is something you should rarely have to do. For the average home, using a dedicated wood floor cleaner for a deep clean is only necessary once or twice a year. You'll know it's time if the floor starts to look particularly grimy or has lost its lustre in a way your weekly clean can't fix.
The key is consistent, gentle maintenance. A light weekly clean prevents the heavy build-up of dirt that makes a deep clean necessary in the first place. This approach is much better for protecting the floor's finish over the long term.
What's the Best Way to Bring Back the Shine?
If your floors are looking a bit dull and lifeless, the first step is always a really thorough clean to get rid of any surface haze or residue. Once that's done, applying a high-quality wood floor polish or a specific restorer product can make a world of difference. Just make sure it's formulated for sealed or finished floors.
Here’s the right way to go about it:
- Always test it first. Find a small, out-of-the-way spot (like under a sofa or in a corner) to test the product. You need to be sure it won't react badly with your floor's finish.
- Apply as directed. Follow the instructions on the bottle, usually working the product in with a clean microfibre cloth or applicator pad.
- Let it dry. Give it plenty of time to dry completely before you walk on it or put any furniture back.
If your floor has deeper scratches and looks seriously worn, a simple polish just won't cut it. At that point, you’re likely looking at a professional screening and recoating to properly restore its original, vibrant finish.
If your parquet floors need a bit more love than a routine clean can provide, the expert team at AG Carpet Specialists can help bring back their natural beauty. Contact us for a free quotation on our professional wood floor restoration services.



