
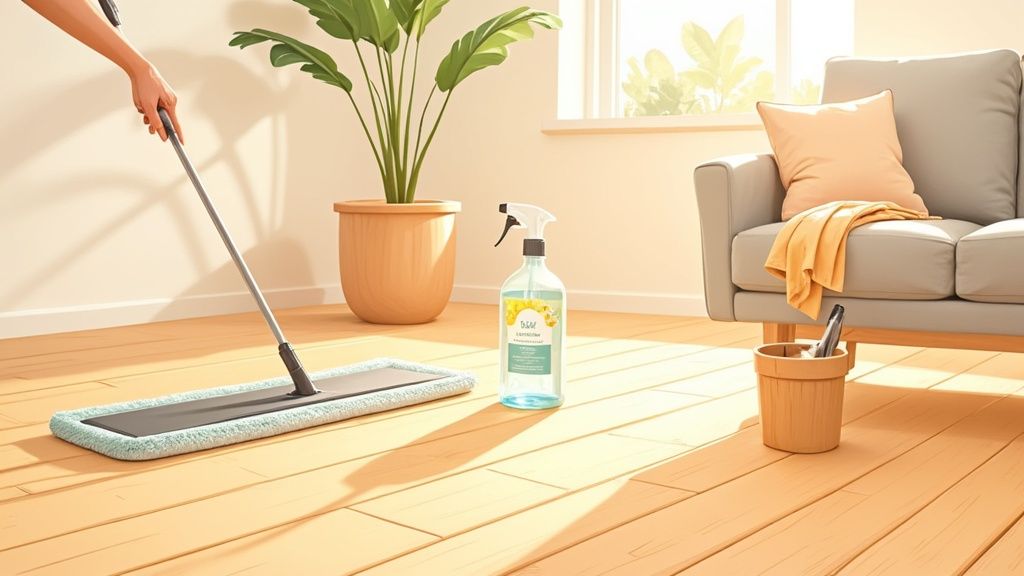
To get engineered wood floors properly clean, you first need to understand their unique construction. This isn't your grandad's solid wood planking; it’s a modern marvel that demands a specific approach. It's all about gentle, moisture-controlled methods and using cleaners that won't harm its protective finish. Soaking the floor is a definite no-go, and sticking to a pH-neutral cleaning solution is key.
What Actually Makes Engineered Wood Floors Different?
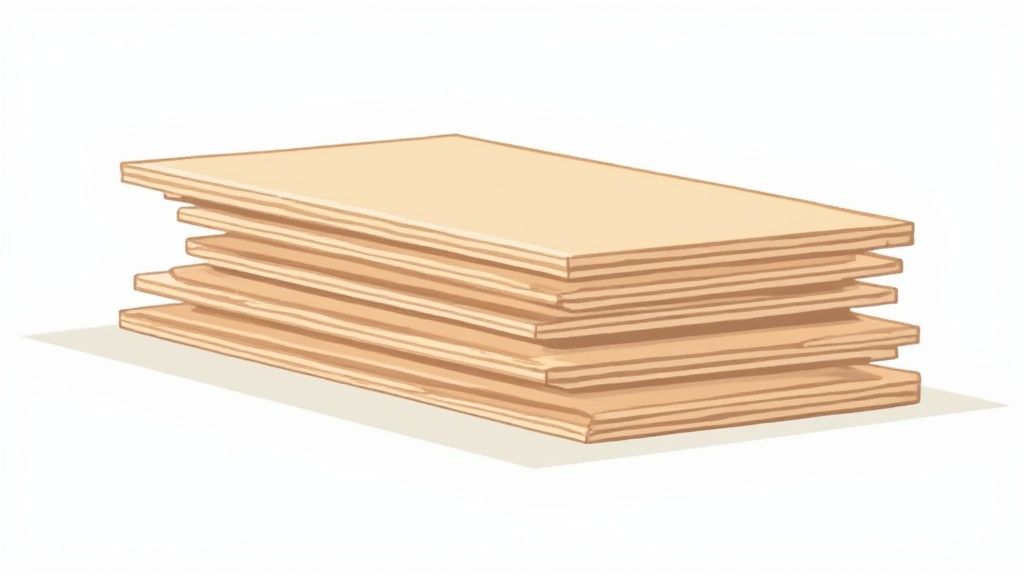
Before you grab a mop and bucket, it's crucial to appreciate what you're working with. Engineered wood was cleverly designed to handle the UK's fluctuating humidity far better than traditional solid wood. Think of it less like a solid piece of timber and more like a high-tech sandwich.
The top layer—the part you see and feel—is a thin veneer of genuine hardwood. This is what gives your floor its authentic beauty and character. Underneath, several layers of high-quality plywood are bonded together, creating an incredibly stable and robust core. This layered structure is the floor's greatest strength, but it's also a vulnerability if you use the wrong cleaning methods.
The Role of The Protective Finish
The finish on your floor is its first and most important line of defence against daily life. Most engineered wood flooring comes pre-finished from the factory with either a lacquer or an oil coating. These aren't just for looks; they seal the wood, shielding it from moisture, stains, and general wear and tear.
-
Lacquered Finish: This creates a durable, almost plastic-like film on the surface. It offers excellent protection against spills and often has a satin or gloss appearance.
-
Oiled Finish: This type of finish penetrates deep into the wood itself, enhancing the natural grain for a more matte, traditional look. While it needs a bit more maintenance, it's much easier to spot-repair scratches and scuffs.
Knowing which finish you have is absolutely essential for effective cleaning. The wrong cleaner can easily strip an oiled finish or leave a dull, hazy film on a lacquered one. We have a detailed guide on cleaning different types of wood floors but the golden rule is always to match your cleaning products to your floor's finish.
Quick Tip: To figure out your finish, find a hidden spot (like under a rug or sofa) and place a tiny drop of water on it. If the water beads up on the surface, you almost certainly have a lacquered finish. If it slowly soaks in or leaves a slightly darker spot, your floor is probably oiled.
The popularity of engineered wood flooring is skyrocketing, and it’s not hard to see why. The UK wood flooring market is projected to grow from USD 1.6 billion in 2025 to USD 3.2 billion by 2031, a massive jump driven by homeowners wanting durable, beautiful interiors. You can learn more about the growth of the UK wood flooring market. This surge means more and more people are facing the exact challenge of keeping these fantastic floors looking their best.
Establishing Your Daily and Weekly Cleaning Rhythm
The real secret to keeping engineered wood floors looking incredible isn’t about some intense, back-breaking scrub. It’s all about getting into a simple, consistent rhythm of care that stops dirt from becoming a problem in the first place. A smart routine feels effortless and keeps your floors in pristine condition with minimal fuss.
The first thing to do is rethink your daily dust removal. Traditional brooms often just push fine dust and grit around, only for it to settle straight back down. Instead, make a dry microfibre flat mop your go-to tool. These mops use static to trap dust, pet hair, and allergens, lifting them cleanly off the surface. This single change can dramatically improve your home's air quality. If you want to learn more, check out our guide on how to reduce allergens in your home.
For those who prefer a vacuum cleaner, the attachment you choose is absolutely critical. Never use the beater bar or rotating brush head from your carpet setting, as its stiff bristles can leave a trail of micro-scratches over time. Always switch to a soft-bristle hardwood floor attachment.
The Power of Preventative Habits
Your cleaning rhythm becomes so much easier when you stop dirt at the source. A few simple habits can make a huge difference, cutting down the time you spend on active engineered wood floor cleaning.
- Effective Doormats: Place high-quality doormats at every single entrance. I recommend a coarse one outside to scrape off mud and grit, and a more absorbent one inside to catch moisture and fine dust.
- A Shoes-Off Policy: Encouraging family and guests to remove their shoes is the single most effective way to protect your floors from abrasive grit and grime. It's a game-changer.
- Furniture Pads: Stick felt pads under the feet of all your furniture, especially items that get moved often, like dining chairs. This is a cheap and easy way to prevent deep scratches and gouges.
This simple infographic visualises the ideal flow for maintaining your floors over time.
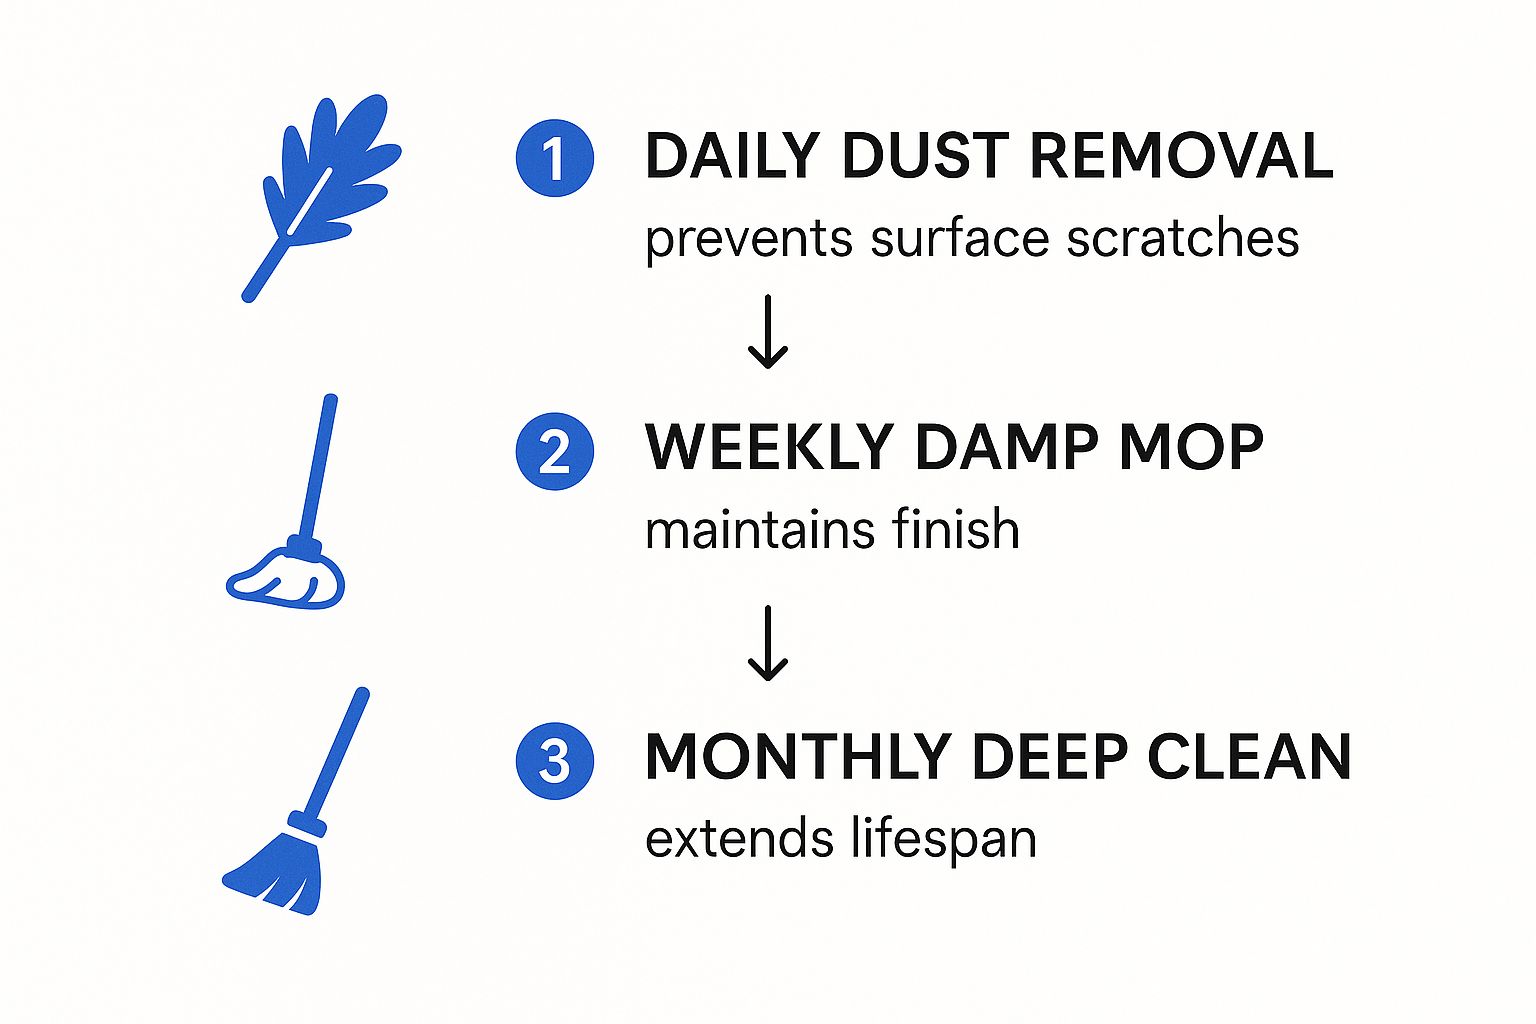
As you can see, the process scales from light daily tasks to more involved monthly care, ensuring your floors get exactly what they need without over-cleaning them.
Mastering the Weekly Damp Mop
Once a week, or more often in high-traffic areas like the kitchen or hallway, it's time for a gentle refresh. The key here is the 'barely-damp' mopping technique. Remember, excessive water is the enemy of engineered wood, as moisture can seep between the planks and damage the core layer.
Your mop head should be so well wrung-out that it feels only slightly damp to the touch. It should never leave visible puddles or water behind on the floor; instead, any moisture should evaporate within a minute or two.
I always recommend using a pH-neutral cleaner specifically formulated for wood floors, mixed exactly according to the product instructions. Mop in the direction of the wood grain to avoid streaks and ensure you’re cleaning with the natural texture of the floor. This simple weekly routine removes the sticky residues and fine dirt that daily dusting can miss, maintaining your floor’s protective finish and beautiful lustre.
Deep Cleaning Your Floors Without Causing Harm
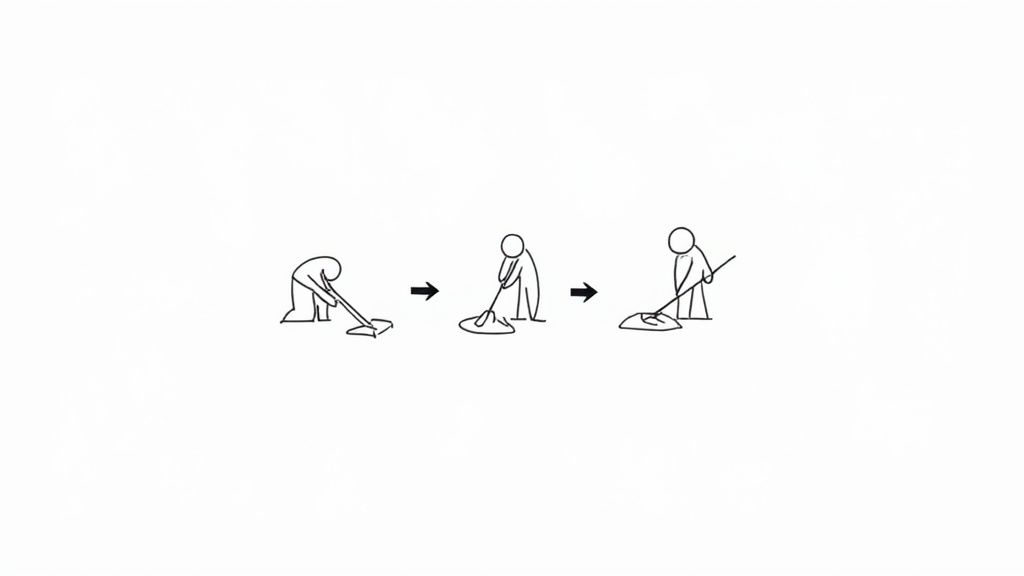
There are moments when your usual sweep and weekly once-over with a damp mop simply won’t do the trick. Maybe you’ve hosted a party, the kids have tracked in goodness-knows-what, or a dull film has slowly settled over your once-gleaming floors. This is the time for a proper deep clean to bring back that original lustre.
The secret to a successful deep clean lies in doing it safely. Your goal is to lift away all that stubborn grime without accidentally stripping the protective finish or, even worse, forcing moisture deep into the wood’s core. Using the wrong products or overly aggressive techniques can quickly lead to expensive, and often irreversible, damage.
The Right Tools and Cleaner for the Job
First things first, let's get your cleaning kit sorted. You can forget about abrasive scrubbing pads, generic all-purpose sprays, and especially vinegar. While it’s often praised as a natural cleaning hero for other household jobs, vinegar is far too acidic for an engineered wood finish. Over time, it will gradually eat away at the protective lacquer or oil, leaving your floor looking dull and vulnerable to damage.
Instead, your most important tool is a pH-neutral cleaner that has been specifically created for wood flooring. This ensures it’s tough enough to cut through dirt but gentle enough not to harm the surface itself.
Crucial Takeaway: A pH-neutral cleaner is the only safe bet for deep cleaning. Common household products like bleach, ammonia, or acidic solutions like vinegar will compromise the protective finish of your engineered wood floor, leading to permanent damage.
With home renovations on the rise, proper maintenance is more important than ever. UK construction output saw a 0.4% increase in just one month in 2023, showing how many homeowners are investing in beautiful, long-lasting flooring like engineered wood. Protecting that investment starts with the right cleaning routine.
Your Deep Cleaning Process
Before you even think about mopping, give the entire floor a thorough vacuum using a soft brush head attachment. This gets rid of all the loose dust and debris, preventing you from scratching the surface by just pushing grit around. Once that’s done, you're ready to start.
- Prep Your Solution: Following the manufacturer's instructions, mix your pH-neutral cleaner with warm water. Don't be tempted to add extra concentrate, as this can leave a sticky residue behind.
- Try the Two-Bucket Method: Get one bucket for your cleaning solution and a second one filled with clean, fresh water. This simple trick stops you from transferring dirty water back onto the floor you've just cleaned.
- Damp Mop in Sections: Dunk your microfibre mop in the solution and then wring it out until it’s barely damp—it shouldn't be dripping. Mop in small, manageable sections, always moving in the same direction as the wood grain to avoid streaks.
- Rinse and Go Again: After cleaning a section, give the mop head a good rinse in your second bucket of clean water. Wring it out well before dipping it back into the cleaning solution for the next area.
- Handle Tougher Marks: For sticky spots or scuffs, you might need to apply a bit more elbow grease. If a mark won't budge, it's far better to look up some expert tips for tackling stubborn stains than to risk scrubbing too hard and damaging the finish.
- Dry as You Go: Never, ever let water pool on your floor. Use a separate, dry microfibre cloth or mop head to wipe up any remaining moisture immediately after you’ve cleaned a section.
It’s just as important to know what not to use. You might have come across advice suggesting steam cleaners, but this is a huge no-no for engineered wood. The intense heat and moisture can cause the layers of wood to separate and warp. We go into more detail about this in our article on the dangers of https://www.agcarpetspecialist.co.uk/2025/07/30/steam-cleaning-wooden-floors/.
Common Cleaning Mistakes That Can Ruin Your Floors
When you're looking after engineered wood floors, what you don't do is often just as important as what you do. So many homeowners, with the best of intentions, reach for familiar cleaning tools and products, only to cause damage that's impossible to reverse. The secret to keeping your floor looking beautiful for years is simply avoiding a few common, but critical, mistakes.
The most frequent error I see is people treating engineered wood as if it’s invincible, like tile or vinyl. It's not. While its layered construction is impressively stable, it has one major weakness: too much moisture. The second water gets between the planks, it can start to weaken the adhesives holding the core together. This leads to swelling, warping, and delamination—where the top wood veneer literally peels away from its plywood base.
The Problem with Steam and Soaking
A classic misstep is using a soaking wet mop. It might feel like you're giving the floor a really deep clean, but you're actually creating puddles that can easily seep into the seams between boards. Your goal should always be a barely-damp mop, one that lets the floor air-dry completely within a minute or two. Anything wetter is a risk you just don't want to take.
Even more destructive is the steam mop. That combination of intense heat and high-pressure moisture is a complete disaster for engineered wood.
Steam forces hot water deep into the core of the planks and the joints between them. This can rapidly break down the glues that hold the floor's layers together, leading to catastrophic failure like bubbling and warping.
Think of it as putting water damage on the fast track. A steam mop might be brilliant for sealed tiles, but for any wood-based flooring, it's a one-way ticket to a very costly replacement. This same logic applies to more complex layouts; you can find more specific advice in our guide on how to properly clean parquet flooring.
Abrasives and Harsh Chemicals Are Off-Limits
Another group of mistakes involves using the wrong cleaning agents and tools. It's tempting to grab a scouring pad for a stubborn mark or use a powerful all-purpose spray, but these will quickly ruin your floor's protective finish.
Here’s what you absolutely must steer clear of:
- Abrasive Scrubbers: Things like steel wool, brushes with stiff bristles, and harsh scouring pads will cover your floor in a web of micro-scratches, permanently dulling the finish.
- Harsh Chemicals: Any cleaner containing ammonia, bleach, or acidic ingredients (like vinegar) will strip away the protective lacquer or oil coating. This leaves the raw wood veneer exposed and defenceless against stains and moisture.
- Wax and Oil Soaps: These products are notorious for leaving behind a sticky, hazy residue. Over time, it builds up, attracts even more dirt, and leaves your floors looking perpetually cloudy.
Always, always stick to a soft microfibre mop and a pH-neutral cleaner made specifically for wood floors. This simple rule will save you a world of trouble and keep your investment looking pristine.
Long-Term Care and Protecting Your Investment
Your beautiful engineered wood floor isn't just a surface to walk on; it's a major investment in your home's appeal and value. While a good cleaning routine is essential, it's the proactive, long-term care that truly protects that investment for years to come. This means thinking beyond the occasional clean-up and considering the everyday stresses your floors face.
True preservation is all about tackling the small issues before they become big, expensive problems. From the tiny scratches left by a pet's claws to the slow, steady wear in a busy hallway, a little bit of preventative maintenance goes a very long way. This approach keeps your floors looking fantastic and helps them last as long as they were designed to.
Handling Everyday Scratches and Dents
No matter how cautious you are, minor scuffs and scratches are just a part of life with any wood floor. For those light surface marks, especially on a lacquered finish, a simple touch-up pen or a wax filler stick that matches your floor’s colour can be a lifesaver. You can find these inexpensive kits at most DIY shops, and they do a great job of filling the scratch and making it blend in with the wood grain.
If you’re dealing with a slightly deeper scratch that hasn't broken through the protective finish, a small amount of a specialised wood oil or polish might do the trick. Just apply it carefully with a microfibre cloth, always working along the grain, and it can help to darken the blemish and make it much less noticeable.
Of course, it's crucial to know when a DIY fix isn't the answer. A deep gouge from a dropped object or a serious dent will likely need a professional touch. Trying to repair significant damage yourself can often make the problem look worse.
Preventative Care Checklist for Engineered Wood Floors
To make life easier, we've put together a simple checklist. These are the small, proactive habits that make the biggest difference in protecting your floors from daily wear and tear, stopping damage before it even starts.
| Action | Frequency | Why It Matters |
|---|---|---|
| Use Furniture Pads | As needed | Prevents scratches and dents when chairs and tables are moved. |
| Trim Pet Nails | Monthly | Reduces the risk of scratches from pets running and playing. |
| Place Doormats | Always | Traps abrasive grit, dirt, and moisture at the entrance. |
| Avoid High Heels | Daily | High heels can concentrate force and cause small dents. |
| Lift, Don't Drag | When moving furniture | Dragging heavy items is a leading cause of deep gouges. |
By incorporating these simple steps into your routine, you create a powerful first line of defence, ensuring your engineered wood floors remain in pristine condition for the long haul.
The Invisible Threat of Humidity
One of the biggest long-term dangers to your engineered wood floor is something you can't even see: humidity. The UK climate is known for being damp, and big swings in your home's indoor moisture levels can have a serious impact on your flooring. While the clever layered design of engineered wood makes it more stable than solid timber, it isn't completely immune.
High humidity can cause the wood fibres in your flooring to swell. This leads to the boards pushing against each other, which can result in buckling or cupping. On the other hand, very dry air, which is common when the central heating is on high, can cause the boards to shrink and pull apart, creating ugly gaps.
The best solution is to keep your indoor environment as stable as possible. For most wood flooring, a relative humidity level between 40% and 60% is the ideal range. You can manage this by using a dehumidifier during those damp summer months and a humidifier in the drier winter. This simple balance can prevent serious, long-term structural problems.
Keeping your floor in great condition often involves more than just cleaning. For a closer look at how to restore its protective layer, you might find our guide to wood floor cleaning and polishing useful.
Your Engineered Wood Floor Cleaning Questions Answered
Even with a solid routine, it’s natural for questions to pop up when caring for your engineered wood floors. Let’s tackle some of the most common queries I hear, so you can feel completely confident in your maintenance plan and avoid any costly slip-ups.
One of the biggest uncertainties is how often a deep clean is really necessary. The truth is, it’s less about a rigid schedule and more about your home’s lifestyle.
- For low-traffic homes, like those with a quiet couple or a single person, a proper deep clean every 4-6 months is usually plenty to handle any gradual build-up.
- For high-traffic homes with children, pets, or lots of visitors, you'll want to aim for a deep clean every 2-3 months to stay on top of the extra grime and wear.
The Truth About Steam Cleaners and DIY Solutions
I get asked this all the time: "Can you use a steam cleaner on engineered wood?" The answer is a firm and absolute no. Steam mops force hot, high-pressure moisture deep into the seams between planks. This is a fast-track to weakening the adhesives that hold the core layers together, which can lead to irreversible bubbling, warping, and delamination.
Another hot topic is homemade cleaners. While many DIY solutions are fantastic for other household tasks, you have to be extremely cautious when it comes to your floors.
Expert Insight: Never use vinegar, ammonia, or bleach-based solutions on your engineered wood floors. The high acidity or alkalinity of these ingredients will strip the protective finish, leaving the wood veneer looking dull, cloudy, and vulnerable to future stains and water damage.
For the safest homemade option in a pinch, stick to a very simple mixture: a gallon of warm water with just a few drops of a pH-neutral washing-up liquid. It’s gentle enough not to harm the finish but effective enough to cut through everyday grime. That said, a professionally formulated wood floor cleaner is always the superior choice for consistent, reliable results. When it comes to engineered wood floor cleaning, remember that a gentle and simple approach is always the winning strategy.
When your floors need more than just a routine clean, trust the professionals at AG Carpet Specialists for expert wood floor restoration and deep cleaning services. Find out how we can bring your floors back to life at https://www.agcarpetspecialist.co.uk.



