
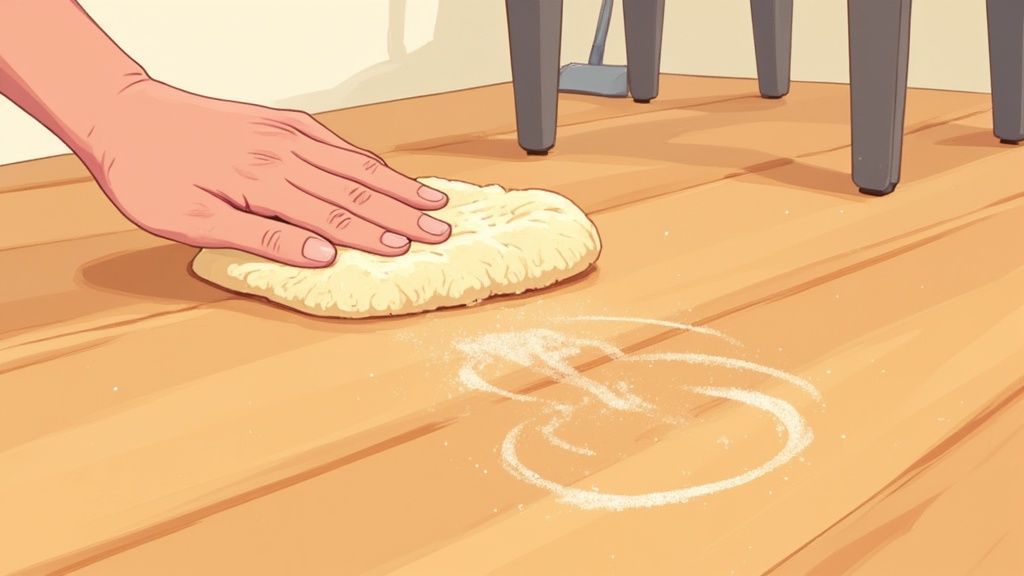
If you want your wooden floors to have that flawless, professional-quality shine, the real work starts long before you open a bottle of polish. The secret is all in the preparation. This initial stage involves clearing the room completely, giving it a meticulous two-step clean to get rid of every bit of dust, and checking for any damage before you apply a single product.
Laying the Groundwork for a Perfect Finish

Before even thinking about cleaners or polish, you need to create the perfect canvas. A truly professional result isn't just about the products you use; it's about the prep work. Honestly, rushing this part is the single biggest mistake I see, and it almost always leads to a dull or streaky finish that just doesn't look right.
Create a Clear Workspace
First things first, get everything out of the room. All furniture, rugs, and anything else on the floor needs to be moved. When you're shifting the heavier items like sofas or cabinets, always slip some furniture pads or sliders underneath. It’s a simple step that prevents you from accidentally creating new scratches you’ll have to deal with later.
With the room completely empty, you get a clear, unobstructed view of the entire floor. This is the perfect moment to give it a quick but thorough inspection.
Expert Tip: Get down on your hands and knees and look at the floor from a low angle. This helps you spot any deep scratches, gouges, or patches where the finish has worn thin. You need to sort these issues out before polishing, because polish will only make them more obvious, not hide them.
Master the Two-Step Debris Removal
Now it's time to get every last speck of dust and grit off that floor. If you skip this, you're basically rubbing tiny, abrasive particles all over the surface when you start cleaning, which is a fast way to create a web of micro-scratches. There’s a reason the pros use a two-step method.
- Initial Sweep: Grab a soft-bristled broom or a dry dust mop first. This is for catching the bigger bits of debris, clumps of pet hair, and those dust bunnies that vacuums sometimes just blow around.
- Thorough Vacuuming: Next, go over the entire floor with a vacuum cleaner on its hard-floor setting. This is crucial—you absolutely do not want a spinning beater bar (the kind for carpets) as it can easily scratch or dull the finish. Use a soft brush attachment for the main area and a crevice tool to get right into the edges and corners where dust loves to hide.
For a more in-depth look at these preliminary cleaning stages, our comprehensive guide offers more great tips on how to clean wood floors the right way before any treatment.
Selecting Your Floor Care Arsenal
Walking down the cleaning aisle can feel overwhelming, but picking the right products for cleaning and polishing your wooden floors is actually simpler than it seems. The most important factor isn't the fancy brand name or the price tag; it’s your floor’s finish. Getting this one detail right is the difference between a beautiful, lasting shine and a sticky, dull mess.
Most modern homes have floors sealed with a polyurethane or similar surface finish. These are brilliant because they’re designed to be tough, resisting water and stains. On the other hand, you might have older or more traditionally finished floors treated with penetrating oils or wax. Each type demands a completely different approach.
Using wax on a polyurethane-sealed floor is a classic mistake. It won't absorb properly and just creates a greasy film that’s a magnet for dust and a nightmare to remove. Conversely, using a water-based cleaner on a waxed floor can strip away its protective layer, leaving the timber vulnerable to damage.
Sealed vs Unsealed Finishes
If you’re not sure what kind of finish you're dealing with, there’s a simple test you can do. Find an out-of-the-way spot, maybe in a corner or under the sofa, and place a single drop of water on it. If the drop beads up and sits neatly on the surface, you almost certainly have a sealed floor. If it slowly soaks in and darkens the wood, your floor probably has a penetrating oil or wax finish and will need more specialised care.
- For Sealed Floors (Polyurethane): Your best bet is to stick to pH-neutral, water-based cleaners made specifically for wood. Steer clear of products that contain ammonia, bleach, or vinegar, as their high acidity can dull and damage the finish over time.
- For Oiled or Waxed Floors: You'll want to use cleaners and polishes designed for these exact finishes. They often contain nourishing oils or waxes that replenish the protective layer without causing any nasty build-up.
Commercial Polish vs Homemade Solutions
While a simple homemade solution of mild soap and water can work for routine cleaning on sealed floors, polishing is a different story altogether. Commercial polishes are scientifically formulated to fill in those microscopic scratches and give you a durable, even shine without leaving any residue behind.
You’ll see plenty of DIY polish recipes online suggesting things like olive oil, but these can turn rancid, leaving behind a sticky, smelly film that is incredibly difficult to shift. When it comes to that final, crucial step of polishing, a quality commercial product is almost always the more reliable choice for achieving a professional-grade finish. This is especially true if you're tackling larger areas and might benefit from using one of the best hardwood floor cleaning machines for a perfectly even application.
Selecting the right product isn't just about looks; it's about protection. A good polish acts as a sacrificial layer, taking the scuffs and scrapes of daily life so your floor’s actual finish doesn’t have to.
The market for floor cleaners is growing fast. In fact, it's projected to expand by over 55% in under a decade, with supermarkets currently holding nearly 40% of all sales. This boom is driven by people wanting effective, eco-friendly products that properly care for wood surfaces. You can discover more about floor cleaner market trends and see just how consumer preferences are shifting.
To help you make the best choice for your floors, we've put together a quick guide.
Cleaner and Polish Selection Guide for Wooden Floors
| Floor Finish Type | Recommended Cleaner | Recommended Polish | Key Considerations |
|---|---|---|---|
| Polyurethane/Varnish (Sealed) | pH-neutral, water-based wood floor cleaner. | Water-based polyurethane polish. | Avoid oil soaps, waxes, or ammonia-based cleaners. These can leave a dull film or damage the seal. |
| Penetrating Oil/Hardwax Oil | Manufacturer-recommended soap or cleaner specifically for oiled floors. | Corresponding maintenance oil or wax refresher. | Regular cleaning products can strip the oil. Replenishing the oil finish is key to protection. |
| Traditional Wax Finish | Solvent-based liquid or paste wax cleaner. | Paste wax or liquid wax polish designed for wood. | Water is the enemy here. Never use water-based cleaners as they can damage the wax and the wood underneath. |
| Laminate/Engineered Wood | Laminate-specific cleaner or a mild, pH-neutral solution. | Polish specifically labelled for laminate or engineered floors. | Never use wax or oil-based products. Avoid excessive water which can cause swelling and delamination. |
Choosing the right combination ensures you're not just cleaning your floor, but actively protecting and preserving it for years to come.
The infographic below really highlights how a consistent, gentle cleaning schedule preserves your floor's lustre far better than sporadic, heavy-duty cleans.
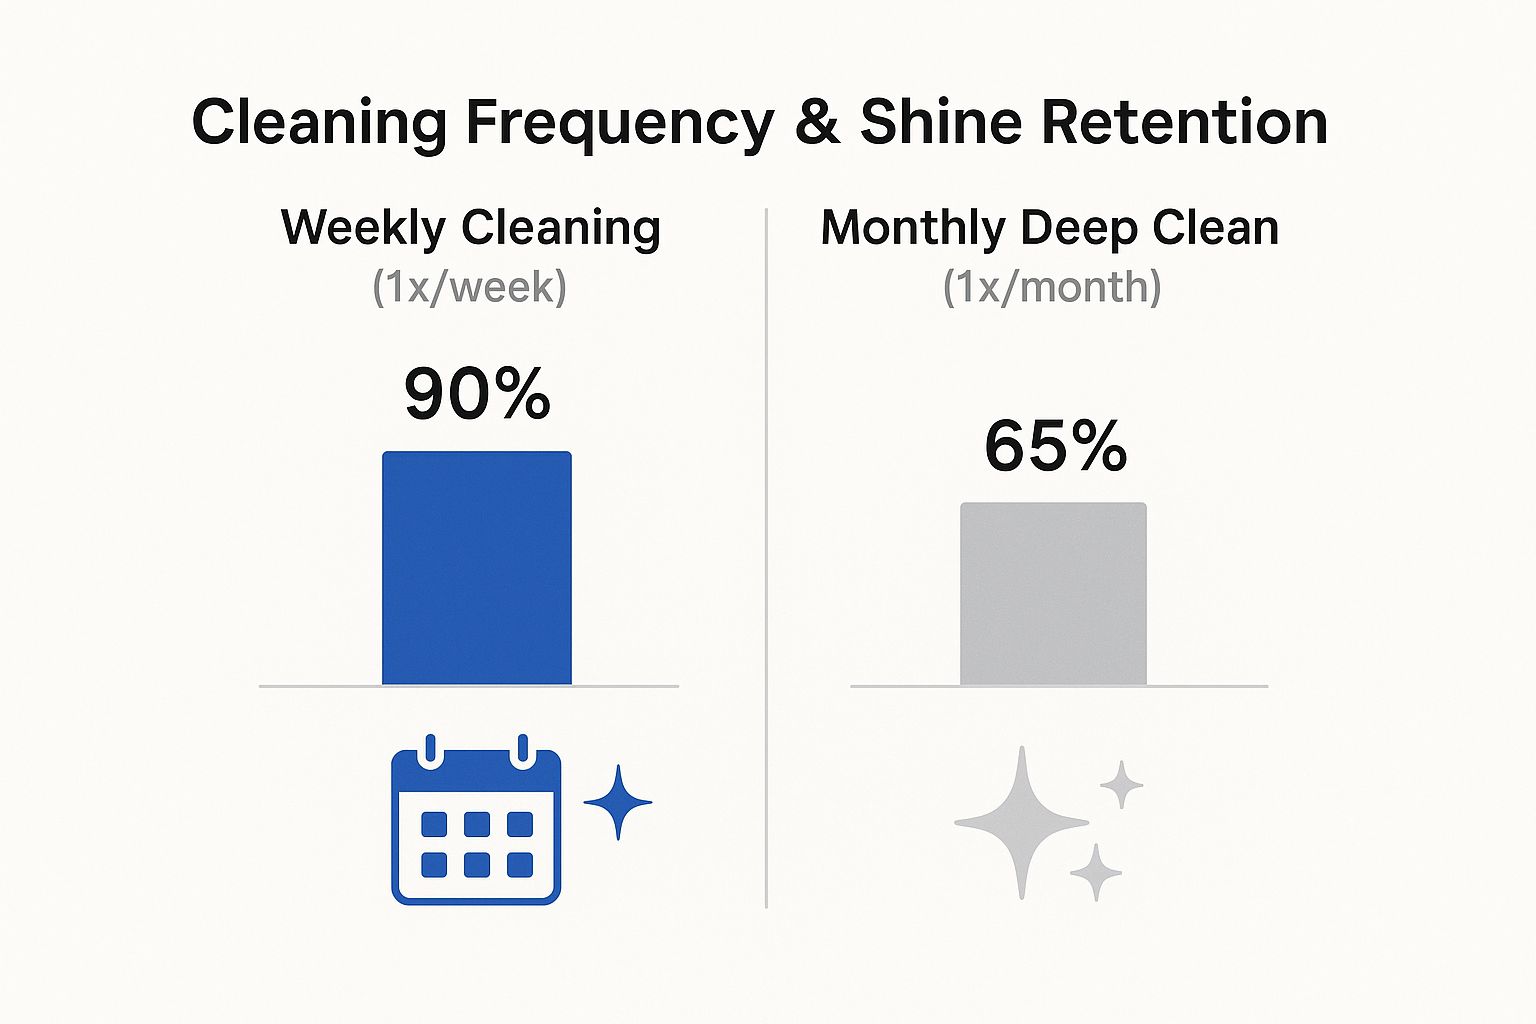
As you can see, frequent light cleaning is much more effective at maintaining that beautiful shine. Infrequent, harsh deep cleans can actually start to degrade the finish over time, which is the last thing you want.
The Art of a Restorative Deep Clean
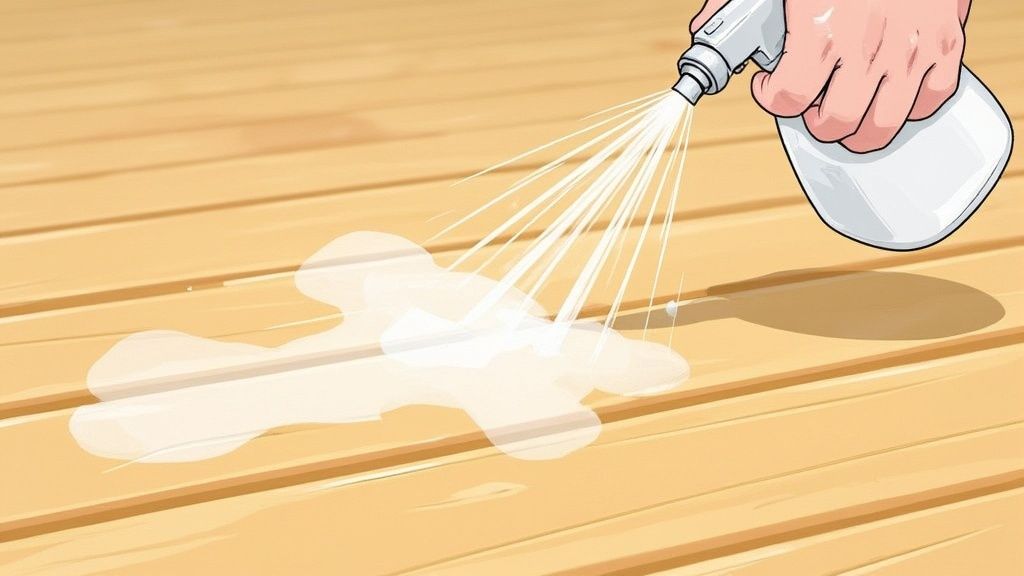
With your products chosen and ready, it's time to get down to the technique itself. If there’s one mistake I see homeowners make time and again, it’s using far too much water. It's an easy trap to fall into, but that excess moisture can seep between the planks, causing them to warp, buckle, or discolour over time.
This isn’t just about a quick wipe-down; we’re aiming for a proper restorative deep clean. The idea is to lift all that embedded grime right out of the wood's grain, leaving a perfectly clean surface that's prepped and ready for polishing. A flawless base is absolutely essential if you want an even, brilliant shine later on.
Embrace the Low-Moisture Method
The golden rule for cleaning wooden floors is simple: damp, not wet. Your mop head should only feel slightly moist to the touch, never dripping wet. Think of it as giving the floor a light, refreshing spritz, not flooding it.
To get this right, wring your microfiber mop out until it’s almost dry. This low-moisture technique is brilliant for lifting dirt and grime without posing any risk to the wood or its delicate finish. By working this way, you also guarantee a quick, streak-free drying time.
A common myth is that more water equals a deeper clean. For wood, the exact opposite is true. Excess water is the number one enemy, compromising the structural integrity of your floor and potentially even voiding its warranty.
A well-executed low-moisture clean is a cornerstone of professional floor care. For those wanting to explore this further, our guide on the deep cleaning of hardwood floors offers even more expert advice.
Work in Manageable Sections
Resist the urge to tackle the entire room in one go. Instead, mentally divide the floor into small, manageable sections—a square metre at a time is a good starting point. Always begin in the corner furthest from the door and work your way methodically out of the room.
This systematic approach has a few key benefits:
- It Prevents Streaks: Working in small patches ensures you don't leave cleaning solution to dry on the surface, which is a common cause of those frustrating hazy marks.
- It Ensures Thoroughness: You can focus all your attention on each small area, making sure every inch is properly cleaned.
- It Avoids Contamination: Crucially, it stops you from accidentally treading on freshly cleaned areas and tracking dirt right back onto the floor.
As you clean, always move your mop along the grain of the wood planks. This little trick helps lift dirt from the tiny grooves in the wood and contributes to a much smoother, more uniform appearance once the floor is dry.
Tackling Common Floor Problems
Even the most well-looked-after floors get the odd scuff mark or sticky spill. The key is to deal with them gently, without resorting to harsh scrubbing that can damage the finish. For more advanced techniques on different wood types, this complete guide to cleaning teak wood has some fantastic tips that can be applied to other floors.
For a typical black scuff mark from a shoe, try rubbing it gently with a clean, dry tennis ball. The soft felt often has just enough abrasion to lift the mark without scratching the finish. If you’re dealing with sticky spots from food or drinks, apply your cleaning solution directly to a microfiber cloth and gently blot and wipe the area until the residue is gone. Always finish by wiping the spot with a separate clean, damp cloth and then drying it immediately.
How to Achieve That Showroom Shine
This is the moment it all comes together. Polishing is the final, rewarding step where all your hard work pays off, turning a clean floor into a stunning centrepiece. This isn't just about adding a bit of shine; you're applying a protective layer that brings the wood's character back to life. Getting the application just right is the key to a durable, flawless finish.
You don't need a lot of fancy gear for this part. A simple, clean microfibre cloth is perfect for getting polish into tight corners or right up against the skirting boards. For the bigger, open areas, a flat-surface mop with a microfibre pad is your best friend. It helps you apply a thin, consistent layer quickly and efficiently, without leaving any streaks behind.
Choosing Your Desired Finish
Before you even open the polish, you need to decide what kind of look you’re going for. Polishes come in different sheens, and your choice will completely change the feel of the room.
- High-Gloss Finish: This gives you a bright, reflective surface that really bounces light around, making a space feel bigger. It's a bold, modern look, but be warned—it can show up dust and footprints more easily.
- Satin or Matte Finish: This offers a more subtle, contemporary lustre. It highlights the natural grain of the wood without that mirror-like shine and is often more forgiving in busy areas as it hides minor scuffs much better.
Mastering the Application Technique
The secret to a result that looks like it was done by a pro is all in applying thin, even coats. Don't just slop it on. Pour a small, S-shaped line of polish directly onto the floor and immediately spread it with your flat-head mop, always moving with the grain of the wood. Putting too much on the mop or the floor will only create a tacky, uneven mess that seems to take forever to dry.
Work in small, manageable sections—about one square metre at a time is ideal. Start in the corner furthest from the door so you don't have to walk over your fresh work. Once you complete a section, move to the next, slightly overlapping your strokes to blend everything together seamlessly. This simple trick prevents those obvious application marks between sections.
A flawless polish isn't about speed; it's about patience. The most common mistake is applying a second coat before the first has completely cured. Rushing this step will trap moisture, resulting in a cloudy or hazy appearance that ruins the finish.
After you've applied the first coat, you have to let it dry completely. Check the manufacturer's instructions, as this could take anywhere from an hour to a full day. Opening a window to get some good ventilation will definitely help speed things up. Once it's fully dry, you can apply a second thin coat if you're after a deeper shine and extra protection—a great idea for hallways and kitchens.
Proper floor maintenance is a huge factor for success in the wood flooring business. While the market isn't seeing massive growth overall, companies that excel in quality maintenance services are reporting growth of over 10%. It just goes to show how much value customers place on effective care. You can learn more about the wood flooring market and its key players to see the full picture.
Getting that showroom shine is a fantastic achievement, but keeping it looking that good requires a bit of consistent effort. For practical tips on looking after your newly polished floor, check out our detailed guide on how to maintain hardwood floors and protect your investment.
Protecting Your Hard Work for the Long Haul
Getting that gorgeous, gleaming finish is one thing, but keeping it that way is another challenge entirely. The real secret to preserving your newly polished floors isn't about more punishing cleaning sessions down the line. It's all about adopting a few smart, consistent habits that protect your investment day in, day out.
This proactive approach is what makes all the difference. It dramatically reduces wear and tear, meaning you can go much longer between the big jobs like deep cleaning and re-polishing. The goal here is simple: stop dirt and scratches before they even get a chance to mark the wood.
Put a Simple Maintenance Schedule in Place
When it comes to floor care, consistency beats intensity every single time. A simple, regular routine can work wonders, preventing the build-up of the abrasive grit and dust that slowly dulls your floor's brilliant shine.
- A Quick Daily Sweep: Grab a soft-bristled broom or a dry microfibre mop and give high-traffic spots like the hallway and kitchen a quick once-over. This literally takes a minute but is probably the single most effective thing you can do.
- The Weekly Vacuum: Give the whole floor a proper vacuum using a soft brush attachment. Make sure to get right into the corners and along the skirting boards where dust loves to hide. This is crucial for holding onto that freshly polished lustre.
- A Monthly Check-Up: Take a moment to inspect the floor for any minor scuffs or dull patches. Catching these early with a quick spot-polish can save you from a full-scale refinishing job later on.
It's clear that more and more people are realising the importance of proper floor care. In fact, the floor cleaning equipment sector is projected to nearly double as homeowners increasingly choose durable flooring like timber. Vacuum cleaners hold the biggest slice of that market, with over 25% of the share, which just goes to show their vital role in the day-to-day upkeep of wooden floors. You can read more about floor care market projections to see how these maintenance trends are shaping up.
Master the Art of Preventative Care
Honestly, the best way to deal with damage is to stop it from ever happening. A few simple, thoughtful additions to your home can act as a powerful first line of defence, shielding your floors from the daily grind.
Start by placing good-quality doormats at every single entrance. They’re brilliant at trapping grit, dirt, and moisture from shoes before anyone can track it across your lovely polished wood. For areas that see a lot of footfall—like the path from the sofa to the kitchen—think about using some stylish runners or area rugs. They can add a bit of character while protecting the finish underneath.
One of the easiest and most impactful changes you can make is to stick felt pads on the bottom of all your furniture legs—chairs, tables, sofas, everything. This simple, inexpensive fix prevents countless scratches caused by furniture being shifted around.
Finally, you need to be lightning-fast with spills. The moment something gets knocked over, use a clean, absorbent cloth to blot the liquid immediately. Always work from the outside of the spill inwards to stop it from spreading. Follow up with a slightly damp cloth and then dry the area completely. Acting fast prevents moisture from seeping into the wood and causing permanent stains or those dreaded water marks.
Common Wood Floor Care Questions Answered
Even with the best guide in hand, a few questions always pop up when you get down to the business of cleaning and polishing your wooden floors. Every floor has its own character, and knowing how to handle these common issues will give you the confidence to get that perfect, long-lasting finish. Here are the answers to some of the most frequent queries we get.
One of the first things people want to know is how often they really need to polish their floors. For busy, high-traffic areas like the hallway, kitchen, or living room, a good deep clean and polish every 3 to 4 months is a solid rule of thumb. This regular care is what maintains the protective layer and stops the shine from dulling under constant footfall.
In rooms that see less action, like a spare bedroom or a formal dining area, you can definitely relax the schedule. Polishing just once or twice a year is often all it takes to keep them looking fantastic.
Dealing with Common Problems
Another big question is how to handle those minor imperfections. What’s the right way to tackle small scratches before you even start polishing? For the most superficial surface scuffs, the polish itself is often enough to fill them in and make them vanish.
If you’re dealing with a slightly deeper scratch, a wood repair marker or a wax stick that matches your floor’s colour is your best bet. Just apply it straight into the scratch, wipe away any excess with a soft cloth, and give the area a gentle buff. It’s a quick fix that stops the blemish from standing out once you’ve applied that final glossy coat.
A common frustration we hear about is a cloudy or hazy look after polishing. This annoying problem is nearly always caused by one of three things: using a cleaner that leaves behind a residue, applying the polish way too thickly, or not letting a previous coat dry completely before adding the next one.
To sort out a hazy finish, you’ll probably need to use a specialised polish remover and start over, making sure this time to apply very thin, even coats.
Can You Use a Steam Mop
We get asked constantly if a steam mop is a safe choice for hardwood floors. The answer is a definite no. In fact, it's a method we strongly advise against. The combination of intense heat and moisture from a steam cleaner can cause serious damage.
Steam forces hot moisture deep into the wood grain and between the planks, which can lead to warping, swelling, or cupping over time. It can also strip the protective finish right off, leaving your beautiful floor exposed and vulnerable. We go into more detail on the risks in our article on why steam cleaning wood floors is such a bad idea. Your best approach is always a damp—not soaking wet—mop and a pH-neutral cleaner made specifically for wood.
If your floors need more than just a polish, the team at AG Carpet Specialists offers professional wood floor restoration to bring back their original beauty. Contact us for a free, no-obligation quotation and see how we can help. https://www.agcarpetspecialist.co.uk



