
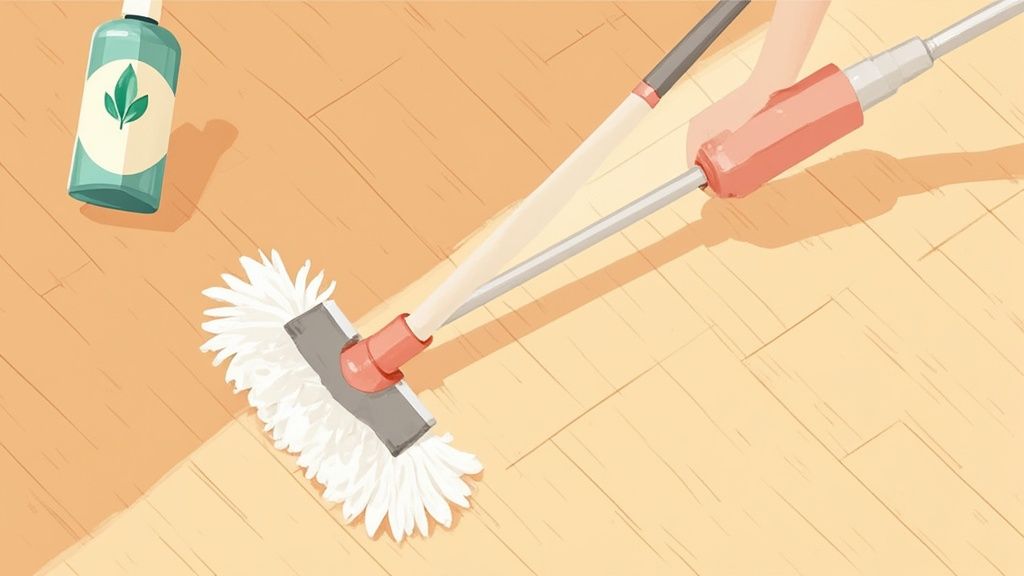
When it comes to keeping your parquet flooring looking its best, the secret isn't aggressive scrubbing—it's a gentle, consistent approach. Your daily routine should stick to dry methods like sweeping or vacuuming. For those deeper cleans, a barely damp mop paired with a pH-neutral cleaner is all you need. The absolute golden rule is to avoid soaking the floor or using harsh chemicals, as both can cause permanent damage to those beautiful, intricate wood patterns.
Understanding Your Parquet Floor
A parquet floor is so much more than just a surface to walk on; it's a genuine piece of interior artistry. Unlike simple planks, it’s crafted from small blocks of wood meticulously arranged in geometric designs, like the classic herringbone or chevron. This complex construction is exactly why cleaning parquet demands such a careful touch.
Moisture is, without a doubt, parquet's number one enemy. Water has a nasty habit of seeping into the countless tiny seams between the wood blocks. Once it's in, it can cause the wood to swell, lift, or even warp out of shape. This is why tools like steam mops or a sopping wet traditional mop are completely off-limits for this type of flooring.
With its enduring popularity, knowing how to care for parquet is more crucial than ever. The UK market actually holds a commanding 20.3% share of the European parquet flooring industry, which itself represented about 37.61% of the global market in 2025. These numbers show just how many homes are relying on the right cleaning techniques to protect their investment. You can explore more about the parquet flooring market on cognitivemarketresearch.com to see the full picture.
The Core Principles of Parquet Care
To keep your floor in immaculate condition, I always tell my clients to stick to these fundamental rules:
- Dry First, Wet Second: Before you even think about mopping, get rid of all the loose dirt, dust, and grit with a dry method. This simple step prevents you from dragging abrasive particles across the finish, which is what causes those tiny scratches that make a floor look dull over time.
- Minimal Moisture is Key: When it is time for a damp clean, your mop head or cloth should be wrung out so thoroughly that it feels only slightly damp to the touch. No drips, no exceptions.
- Choose pH-Neutral Cleaners: Stay away from acidic cleaners like vinegar or alkaline soaps. These can easily strip away the floor's protective finish, leaving the raw wood exposed, dull, and vulnerable to damage.
The real goal of cleaning parquet isn't just to wipe away dirt. It's about preserving the integrity of both the wood and its finish for the long haul. A gentle, consistent routine will always outperform aggressive, infrequent scrubbing.
Choosing Your Cleaning Toolkit
Picking the right tools is just as important as using the right cleaning solutions. The wrong bit of kit can cause irreversible harm, from deep gouges to a completely compromised finish. Using soft-bristled brooms and vacuum heads specifically designed for hard floors isn’t just a recommendation—it’s non-negotiable.
To make things crystal clear, here’s a quick-reference table to help you grab the right tool for the job and avoid the ones that can cause serious damage.
Parquet Cleaning Toolkit: Safe vs Unsafe Tools
| Tool Category | Safe for Parquet | Unsafe for Parquet |
|---|---|---|
| Sweeping/Dusting | Soft-bristled broom, microfiber dust mop | Stiff-bristled brooms, abrasive pads |
| Vacuuming | Vacuum with a soft brush roll (or beater bar turned off) | Vacuums with aggressive, spinning beater bars |
| Mopping | Microfiber flat mop, spray mop (used with care) | String mops, steam mops, sponge mops |
| Spill Cleanup | Soft microfiber cloths, paper towels | Scouring sponges, abrasive cloths |
Having the right equipment on hand makes proper care feel effortless and ensures your beautiful floor stays protected from accidental harm. A little preparation goes a long way.
Mastering Your Daily and Weekly Cleaning Routine

Looking after your parquet flooring isn’t about big, exhausting cleaning sessions. It’s actually much simpler. The secret lies in creating a few consistent habits that stop dirt from getting a foothold and causing real damage.
You see, the biggest threat to that beautiful finish isn't just obvious grime; it's the tiny, sharp particles of grit and dust that get ground in every time someone walks across the floor. This regular attention is your best line of defence against the micro-scratches that build up over time, making the wood look dull and tired. The aim is to lift this debris away completely, not just shuffle it around.
The Daily Dust-Up
Your most important job is getting rid of those loose particles every day. For this, a microfiber flat mop is your absolute best friend. Thanks to its electrostatic charge, it physically attracts and traps dust, pet hair, and other bits and pieces far more effectively than an old-fashioned broom, which often just flicks grit back into the air to settle elsewhere.
A vacuum cleaner is another great tool, but only if you use it the right way. Make sure you’re using a soft-bristled hardwood floor head. Alternatively, just switch the spinning beater bar off entirely. An aggressive, rotating brush is brilliant for carpets, but on wood, it will scratch and wear away your floor's protective sealant.
Smart Sweeping for Intricate Patterns
The beauty of parquet is all in the pattern, but those gorgeous designs can also be perfect little traps for dirt. A bit of strategy here will make all the difference.
- Herringbone: Don't just sweep randomly. Follow the "V" shape of the blocks diagonally, then go back and repeat in the opposite diagonal direction. This simple trick lifts dirt from every single edge.
- Chevron: Work parallel to the direction of the "arrow" points. This helps pull debris cleanly out of the angled seams where the blocks meet.
- Basket Weave: I find it easiest to treat each "square" of the pattern as its own little section. Just sweep along the grain of the blocks inside it before moving to the next.
Tackling Spills The Right Way: The second a spill happens, blot it up immediately with a clean, dry, absorbent cloth. For anything sticky, grab a fresh cloth and make it very slightly dampened with plain water. Press down, lift up, and then wipe the spot completely dry. Never, ever rub, as that can push moisture right down into the seams between the wood blocks.
Your Weekly Refresh
Once a week, after you’ve given the floor a thorough dry clean, it’s time for a slightly deeper refresh. This is your chance to tackle any light grime that dusting alone couldn't shift. The golden rule here is to use minimal moisture.
Your mop should be wrung out so well that it feels almost dry to the touch. When you wipe the floor, it shouldn't leave any visible water behind. This quick, light pass is all you need to restore the shine without ever risking water damage. This consistent care is quite different from looking after textiles; for example, you can find out how often you should clean carpets in our detailed guide.
This straightforward, two-part routine—daily dry cleaning and a weekly damp wipe—is the foundation of great parquet care. It keeps your floors looking pristine and, more importantly, protects the wood itself, ensuring its intricate beauty lasts for decades to come.
How to Deep Clean Parquet Floors Safely
Even with the best daily care, there comes a point when your parquet floor needs more than just a quick sweep. You might notice high-traffic zones like hallways looking a bit dull, or maybe sticky patches have appeared around the kitchen island. This is your cue for a deep clean – a way to restore that original lustre without harming the wood.
This isn't about spending hours on your hands and knees scrubbing. It's about a smart, targeted approach that lifts away stubborn grime while protecting the wood’s delicate finish. So, forget harsh steam mops or sloshing buckets of soapy water. The secret lies in using minimal moisture and the right kind of cleaner.
Choosing Your Cleaning Solution
The most critical part of a deep clean is selecting your cleaning solution. It absolutely must be pH-neutral. Anything too acidic (like vinegar) or too alkaline (like many household soaps) can eat away at the protective sealant on your parquet. This leaves the wood looking dull and makes it vulnerable to damage.
You have a couple of great, eco-friendly choices:
- A ready-made, wood-safe cleaner: Look for a product specifically made for sealed hardwood floors. These are formulated to clean well and evaporate quickly, which is exactly what you need.
- A DIY solution: A few drops of a gentle, pH-neutral washing-up liquid mixed into a spray bottle of warm water is surprisingly effective. This simple mix is brilliant at cutting through everyday grease and dirt.
This simple visual guide breaks down the essential steps for keeping your parquet floors looking their best.
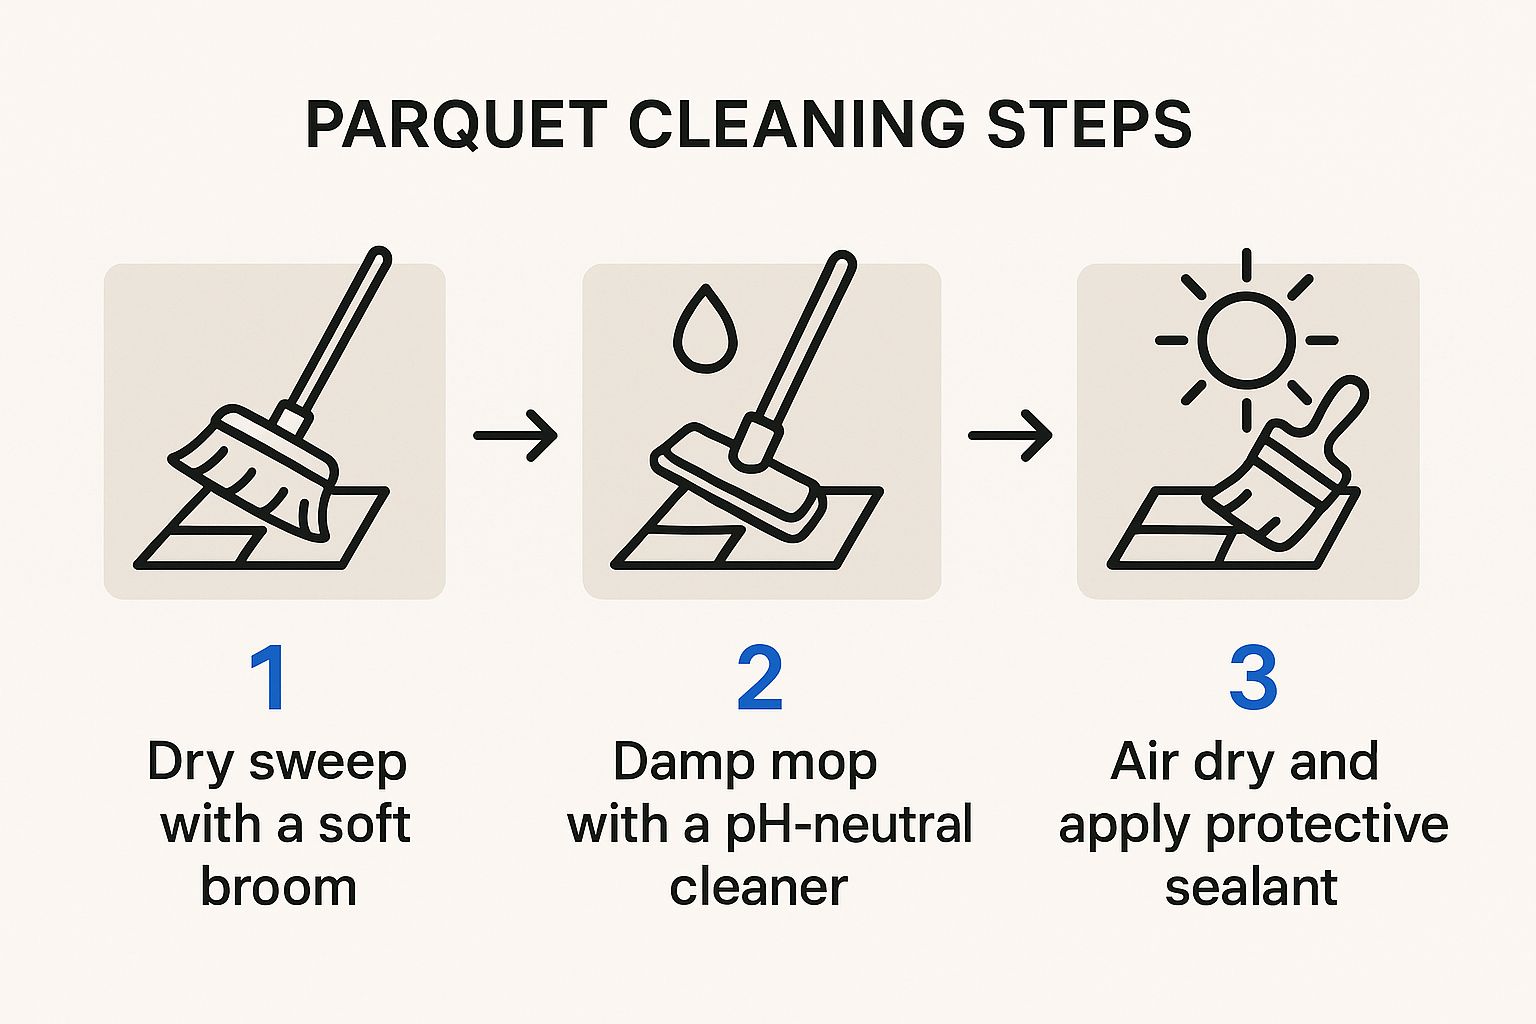
As you can see, every action, from the initial sweep to the final protective seal, contributes to the long-term health and beauty of your flooring.
The Spray and Wipe Technique
Once you’ve swept or vacuumed up all the loose dirt and dust, it’s time to tackle that built-up grime. Your technique here is vital for preventing any water damage.
Grab two good-quality microfibre cloths – one for cleaning, one for drying. Lightly mist a small, manageable section of the floor with your cleaning solution. Never spray the entire floor at once.
Working quickly, wipe the misted area with your first cloth, using gentle but firm pressure to lift the dirt. You’ll be amazed at how much grime comes off. Immediately afterwards, take your second, completely dry microfibre cloth and buff the area until it’s bone dry. This two-step process means no moisture ever gets a chance to seep between the wooden blocks.
Expert Tip: Work in small sections, about 1-metre square at a time. This methodical approach stops you from ever leaving moisture on the floor and ensures every part of your parquet gets the attention it deserves. It turns a daunting task into a series of small, satisfying wins.
For instance, if you're tackling that stubborn patch by the back door, you’d spray, wipe, and dry that one section completely before even thinking about moving on. This focus helps avoid overwhelm and guarantees a flawless, streak-free finish every time. For more in-depth advice, you can also explore our guide on how to clean parquetry floors.
By following this careful method, your parquet cleaning routine will safely lift even the most stubborn dirt, bringing back its deep, natural beauty without any risk.
Restoring and Protecting Your Parquet for the Long Term
Even the most carefully maintained parquet floor will eventually show signs of a life well-lived. While daily cleaning is crucial for upkeep, long-term care is about actively restoring and protecting your investment. This is where we move beyond simple mopping to really enhance and preserve your floor’s natural beauty for years to come.
Understanding what your specific floor needs is the first step. That dull patch in the hallway might not just be dirt; it could be a sign that the protective finish is wearing thin. Addressing this correctly is the key to extending the life of your parquet and avoiding a much more costly sanding and refinishing job down the line.
This focus on longevity is something we're seeing more and more. The UK wood flooring market, valued at around USD 1.6 billion in 2025, is projected to grow significantly by 2031. This surge is driven by a real love for sustainable and beautiful materials like parquet, which makes proper long-term care more important than ever. You can discover more insights about the UK wood flooring market on mobilityforesights.com.
Refreshing Your Floor Finish
When your floor loses its lustre, it’s often the finish, not the wood itself, that needs a bit of attention. Depending on how your floor was originally treated, you’ll need to choose the right approach – either re-oiling or re-waxing.
-
Re-Oiling: If you have an oiled parquet floor, you’ll notice it starts to look a bit dry or faded in high-traffic areas. Re-oiling is a fantastic way to replenish the wood, bringing back its deep, rich colour and restoring its protective, matte finish. Simply apply a thin, even coat of a good quality maintenance oil with a soft cloth, working it gently into the grain.
-
Re-Waxing: For floors with a traditional wax finish, a fresh coat of paste wax can work wonders to bring back that classic, gentle sheen. After giving the floor a thorough clean, apply the wax sparingly. Once it’s had time to dry, you can buff it to a beautiful shine. This process also has the added benefit of filling in tiny surface scratches.
A crucial point to remember is to never wax an oiled floor or oil a waxed floor. The two finishes simply don't mix. If you're not sure what kind of finish you have, it's always best to test a small, out-of-the-way spot first.
Repairing Minor Scratches and Scuffs
It’s always a little heartbreaking to spot a new scratch on your beautiful floor, but the good news is that many minor imperfections can be sorted out without calling in the professionals.
For very light surface scuffs, sometimes a bit of gentle friction is all it takes. Try rubbing the mark firmly with a soft, dry cloth or even a clean tennis ball. You'd be surprised how often this buffs it right out. For anything a little deeper, a colour-matched wax repair stick is an excellent tool to have on hand. Just rub the stick over the scratch to fill it in, then buff away any excess with a clean cloth. The principles for this kind of repair are quite similar for different wood floors, and you can check out our guide on hardwood floor cleaning and polishing for more general tips.
Proactive Protection Strategies
Of course, the best way to deal with damage is to prevent it from happening in the first place. A few simple, proactive steps can make a huge difference in keeping your parquet looking its best.
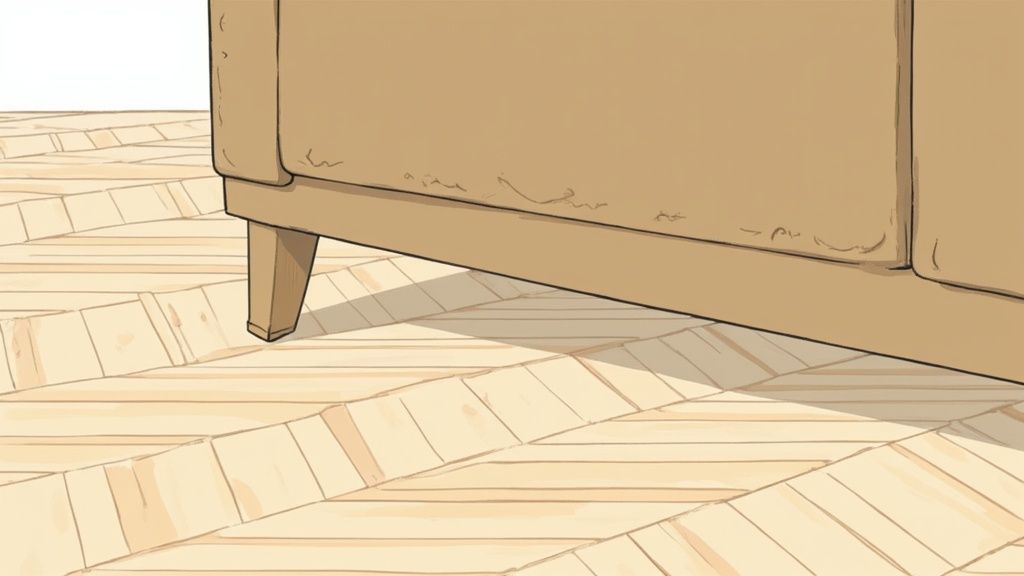
Make sure you put felt pads on the feet of all your furniture, especially items that get moved around a lot, like dining chairs. For heavier pieces like sofas or bookcases, using furniture cups helps distribute the weight more evenly and prevents dents from forming.
Another great idea is to place stylish area rugs in high-traffic zones, such as hallways or under the living room coffee table. Not only do they add a layer of protection, but they can also enhance your décor. These small, simple steps are your best defence against the daily wear and tear that can dull your parquet over time.
Common Cleaning Mistakes and How to Avoid Them
Even if you have the best intentions, a simple cleaning slip-up can leave permanent damage on your beautiful parquet flooring. I’ve seen it happen time and time again. Knowing the common pitfalls is the first step to avoiding them, helping you protect your investment and sidestep costly repairs.
One of the most frequent—and damaging—mistakes is simply using too much water. It’s easy to think that a glistening, wet floor is a clean floor. In reality, that excess moisture is a parquet floor's worst enemy. It seeps into the tiny seams between each wood block, causing them to swell, warp, and even lift right off the subfloor.
The Problem with the Wrong Products
It can be tempting to just grab an all-purpose spray from under the sink or mix up a vinegar solution, assuming what works elsewhere will work on wood. Unfortunately, these are often the very things that leave a floor looking dull and lifeless. Cleaners that aren't pH-neutral can be too acidic or alkaline, and they'll gradually strip away the floor's protective sealant.
A floor with a compromised sealant is like a boat with a hole; it’s vulnerable to every little spill and bit of grime. The finish is what provides the primary defence against stains and moisture, so protecting it is paramount.
Another tool to banish from your parquet cleaning kit is any kind of abrasive scrubber. That green scouring pad that works wonders on pots and pans will inflict a web of fine scratches all over your wood finish. It instantly dulls the appearance and, ironically, makes the floor harder to clean in the future.
Protecting Your Floors Beyond Cleaning
Damage doesn’t just happen when you're cleaning. Some of the most severe issues I see come from a lack of everyday protection, especially when there are big changes happening in the home.
- During Renovations: Dust from sanding plasterboard or other construction debris is incredibly abrasive. If you don't cover your parquet properly, you can end up with thousands of micro-scratches that completely ruin the finish.
- When Moving Furniture: Dragging a heavy sofa or bookcase, even just a few inches, can create deep gouges that are simply impossible to buff out. You should always lift furniture completely or use proper sliders underneath the feet.
With so many home refurbishment projects underway across the UK, this is a more common problem than you might think. Back in 2022, regions like South East England saw 25,960 new housing registrations alone, many involving high-quality materials like parquet that need protecting from day one. You can read more about UK construction activity trends on mordorintelligence.com.
Forgetting these simple protective steps can be a far more expensive mistake than just using the wrong mop. And while we're focused on wood, it’s always smart to remember that different surfaces have unique needs; our guide to carpet cleaning tips offers some valuable insights for other areas of your home.
By steering clear of these common errors, your parquet cleaning routine will not only be effective but also fundamentally safe, preserving its intricate beauty for decades to come.
Your Parquet Cleaning Questions Answered
Even after reading a guide, it’s completely normal to have a few lingering questions. When you're dealing with something as beautiful as parquet flooring, you want to be absolutely sure you’re doing the right thing. This section tackles some of the most common queries we get from homeowners just like you.
Think of this as the part of the conversation where we clear up any final doubts. We'll give you the confidence to handle everything from scheduling a deep clean to dealing with those inevitable little messes.
How Often Should I Deep Clean My Parquet Floors?
This is easily the question I hear most often, and the honest answer is: it depends. For the average home, a proper, thorough deep clean is usually only needed once or twice a year. If you keep up with daily sweeping and a weekly damp mop, you’ll stop the serious grime from building up in the first place.
Of course, some spots in your home will take more of a beating than others. You might need to adjust your schedule based on your lifestyle:
- High-Traffic Zones: Think about your hallways, the patch of floor by the front door, or the area around a kitchen island. These places see constant footfall and might need a deep clean every 4-6 months to stay looking their best.
- Family Life: If you’ve got young children or four-legged friends running around, you know that dirt and sticky patches are just part of life. In these homes, cleaning a bit more frequently is a sensible approach.
Ultimately, the best advice is to look at your floors. If they’re starting to look a bit dull or feel tacky even after your regular weekly clean, that’s your cue. It’s time for a deep clean.
Can I Ever Use a Steam Mop on Parquet?
I'll keep this one short and simple: No. You should never, under any circumstances, let a steam mop touch your parquet flooring. It is one of the quickest ways to cause catastrophic damage.
The problem is the combination of intense heat and moisture. Steam is fantastic at a lot of things, but on parquet, it forces hot water vapour into the tiny gaps between each wood block. This makes the wood swell, warp, and even lift right off the subfloor. The damage is often irreversible and always expensive to fix.
There are no exceptions to this rule. While steam mops are often marketed for hard floors, they are absolutely not designed for the unique, block-by-block construction of parquet. Stick with a well-wrung-out microfibre mop for a safe, effective clean every time.
What Is the Best Way to Handle Pet Messes?
If you have pets, accidents are simply a matter of when, not if. The single most important rule here is to act immediately. The longer any liquid—especially pet urine—sits on the wood, the greater the chance of it staining the finish and damaging the timber itself.
Here’s the safest way to tackle any pet-related accidents:
- Start by blotting the area straight away with a clean, dry, and super-absorbent cloth or paper towel. The goal is to lift the liquid up, not rub it in.
- Once you've blotted up as much as you can, grab a fresh cloth and lightly dampen it with a pH-neutral wood floor cleaner that you’ve already mixed.
- Gently wipe the spot to clean away any remaining residue.
- Finally, and this part is crucial, take another completely dry cloth and buff the area until it is bone dry to the touch.
One vital tip is to avoid any cleaning products that contain ammonia. It can be a great cleaner in other parts of the house, but on a wood finish, it can cause discolouration and long-term damage. Having the right cleaning supplies ready for these little emergencies is key, just as it is when you prepare for professional carpet cleaning.
For wood floor restoration or professional cleaning services that bring back your floor's original beauty, trust the experts. Contact AG Carpet Specialists today for a free, no-obligation quote and see how we can help. https://www.agcarpetspecialist.co.uk



