
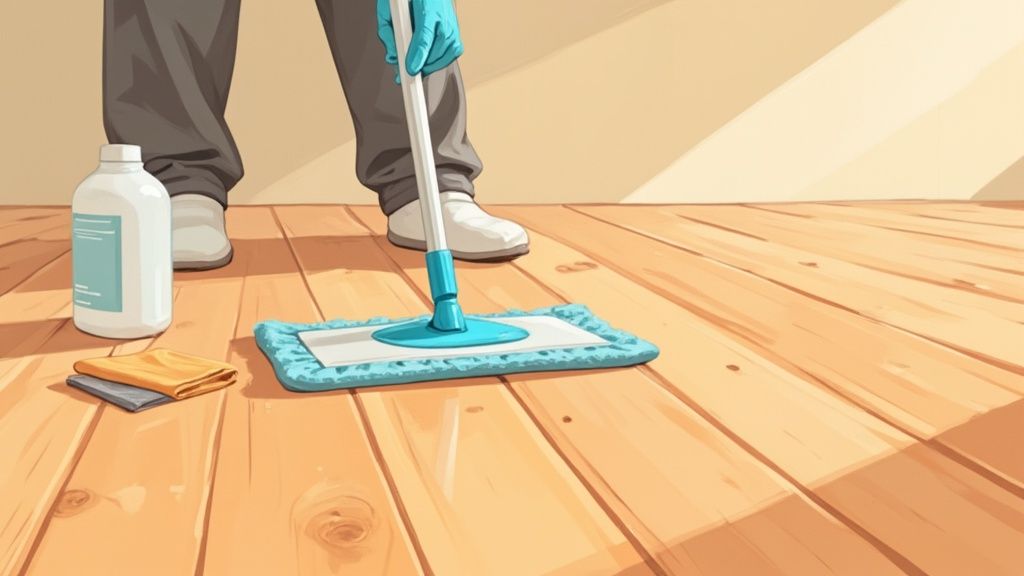
Anyone who’s been in the floor care business for a while will tell you the same thing: a brilliant, long-lasting shine isn't about the polish you use. It's all about the prep work. That meticulous groundwork is what guarantees a streak-free finish that can make even tired old floors look incredible.
It covers everything from clearing the room properly to getting that final, deep clean done before a single drop of polish even touches the wood.
Your Essential Pre-Polish Preparation Checklist
To get that professional-level result, you have to nail the prep. If you leave behind any microscopic grit, dust, or old cleaning residue, the polish will simply trap it, creating a cloudy, uneven mess. It’s no different from painting a wall; you wouldn't just slap a fresh coat of paint over dirt and grime, would you? The exact same logic applies here.
First things first, you need to know what kind of finish is on your floor. This one detail dictates every product and method you can safely use. Most modern homes have floors sealed with polyurethane or polyacrylic, which are tough, durable surface coatings. However, if you're in an older property or have a more traditional style of flooring, you might be dealing with an oil or wax finish, which demands a completely different approach.
Not sure what you have? There's a simple test. Find a hidden spot, perhaps in a corner or under where a sofa usually sits, and place a single drop of water on the floor.
- If the drop beads up and just sits there, you’ve almost certainly got a sealed surface like polyurethane.
- If it starts to soak in after a few minutes and leaves a dark mark, you’re likely looking at an oil or wax finish.
Getting this right from the start helps you avoid costly mistakes. For instance, putting a water-based polish on a waxed floor is a recipe for a hazy, sticky disaster that’s a nightmare to fix.
Gathering Your Toolkit
Once you’ve figured out your floor's finish, the next job is to completely clear the room. All furniture, rugs, and anything else that can be moved needs to go. This gives you unfettered access to the entire surface and stops any polish from accidentally splashing onto your belongings.
With the room empty, it's time for the first deep clean to get rid of all the loose debris. Start by vacuuming with a hard floor attachment (never, ever use a beater bar as it will scratch the wood) or give it a good sweep with a soft-bristled broom. Don't forget to get right into the corners and along the skirting boards where dust loves to hide.
Expert Insight: After sweeping or vacuuming, we always do a final pass with a dry microfibre mop. The static charge on these cloths is amazing at grabbing those fine dust particles that brooms and vacuums inevitably miss. This ensures you have a perfectly clean canvas for the next stage.
Before you get started, it’s a good idea to gather all your tools and products. Having everything to hand makes the whole process smoother and much more efficient.
Essential Toolkit for Wood Floor Care
Gather these tools and products before you begin for a smooth, effective cleaning and polishing process.
| Tool/Product | Purpose | Expert Tip |
|---|---|---|
| Soft-Bristled Broom or Vacuum | Removes loose dirt, dust, and hair. | Use a vacuum with a dedicated hardwood floor setting to avoid scratching the surface. |
| Microfibre Mop (Dry & Damp) | Captures fine dust and is used for cleaning. | I always recommend having at least two separate mop heads: one for the initial dry dust and another for the damp clean. |
| pH-Neutral Wood Cleaner | Cleans the floor without stripping the finish. | Always dilute this according to the manufacturer’s instructions to avoid leaving a dulling residue behind. |
| Buckets (2) | One for the cleaning solution, one for rinse water. | The two-bucket method is non-negotiable. It stops you from just spreading dirty water back onto your clean floor. |
With this kit ready, you’re perfectly set up for a successful clean. This preparation is what truly makes the difference between an amateur job and a professional-looking finish.
Deep Cleaning Wood Floors Without Causing Damage
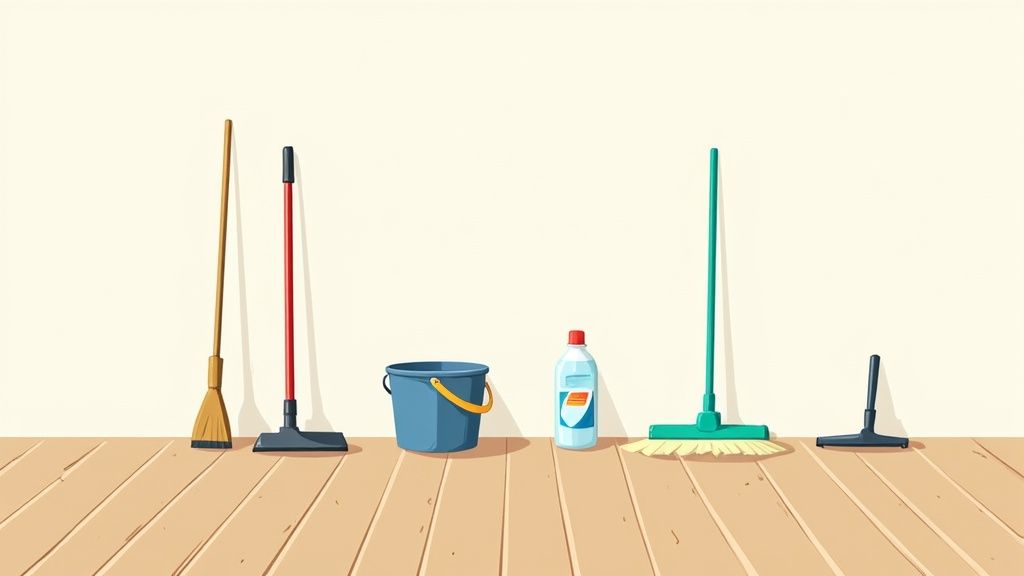
Now that you’ve dealt with the loose dust and debris, it’s time to move on to the deep clean. This is a crucial part of the wood floor cleaning and polishing process, and honestly, it’s where I see most people go wrong and inadvertently damage their beautiful floors. The biggest mistakes? Usually, it comes down to harsh chemicals or, far more often, simply using too much water.
Believe me, excessive water is the number one enemy of a wooden floor. Wood is a natural, porous material, which means it will soak up moisture and begin to swell. This leads to all sorts of problems like cupping, warping, and irreversible damage down the line. Your aim should always be to use a damp mop, not a wet one. You need to wring the mop head out until it feels almost dry before it even thinks about touching the floor.
Choosing Your Cleaning Solution
Just as important as your technique is the cleaner you choose. You absolutely need a pH-neutral cleaner that's been made specifically for wood floors. Using aggressive, acidic, or alkaline products (like vinegar or ammonia) is a shortcut to disaster. They'll slowly eat away at the protective polyurethane finish, leaving your wood dull, unprotected, and vulnerable.
I always recommend looking for eco-friendly, non-toxic options. They’re not just safer for your family and pets; they’re also much gentler on your floor's finish. A quality cleaner will lift away grime without leaving a sticky or hazy film, which would only get in the way when it’s time to polish.
Here’s a professional tip I always share: test any new cleaning product on a hidden spot first. Think inside a cupboard or under a sofa you never move. This quick check ensures it won't have a bad reaction with your particular floor finish before you clean the whole room.
The Correct Mopping Technique
To get the best possible results, I stand by the two-bucket method. You’ll have one bucket with your diluted cleaning solution and a second one filled with clean rinse water. Dip your microfibre mop into the solution, wring it out completely, and then start cleaning a small patch of the floor, always moving with the grain of the wood.
Before you tackle the next section, rinse the now-dirty mop head in your clean water bucket and wring it out properly again. Only then should you dip it back into the cleaning solution for the next patch. It’s a simple step, but it stops you from just pushing dirty water around your lovely floor. Our comprehensive guide on how to clean wood floors goes into even more detail for different situations.
While we're talking about floors, the principles of wood care are fairly universal. For broader advice, you might find it helpful to explore some expert tips on how to clean wood surfaces.
- Handling Tough Spots: For stubborn marks or sticky spills, don't scrub! Instead, apply a little bit of your cleaner directly onto a microfibre cloth and gently rub the area.
- Managing Scuffs: You can sometimes buff out minor scuffs on a polyurethane finish with a clean, dry tennis ball. Just rub it gently over the mark.
- Specific Wood Types: Remember that softer woods like pine are much more prone to dents and moisture damage compared to hardwoods like oak. Be extra careful to wring out your mop thoroughly if you have a softer wood floor.
After the entire floor is clean, just let it air-dry. Don't be tempted to use fans to speed things up, as this can sometimes create streaks. Your floor needs to be completely and totally dry before you even consider applying any polish.
How to Polish Wood Floors for a Lasting Shine
Right, with your floors perfectly clean and bone dry, we're onto the best bit: bringing back that gorgeous, deep shine. This is what the whole wood floor cleaning and polishing process is all about. Polishing isn’t just for looks; it cleverly fills in those tiny, microscopic scratches and adds a crucial layer of protection, which really helps your floor’s finish last longer.
It's easy to get polishing and waxing mixed up, but they are completely different things. Most modern polishes are water-based urethane products made specifically to give a polyurethane-sealed floor a new lease of life. Wax is a much older method for unsealed or specially finished floors and needs a totally different approach. You absolutely cannot mix the two—putting polish on a waxed floor (or wax on a modern finish) will leave you with a sticky, cloudy disaster. Make sure you know what finish you have and that your product is the right match.
Applying Polish Like a Professional
The real trick to getting a perfect, even finish is to work in small, controlled sections. Whatever you do, don't just slosh the polish straight onto the floor. Instead, start in the corner furthest from the door and pour a small, S-shaped line of polish. This simple technique gives you much better control and stops you from accidentally polishing yourself into a corner!
You’ll want to use a flat-head microfibre mop with a fresh pad or a proper polish applicator for this job. Before you begin, lightly dampen the pad with a bit of water and wring it out until it's almost dry. This helps prevent the pad from soaking up too much polish right at the start and ensures it glides smoothly across the surface.
This image shows the ideal motion for applying polish to get that consistent, professional coverage.
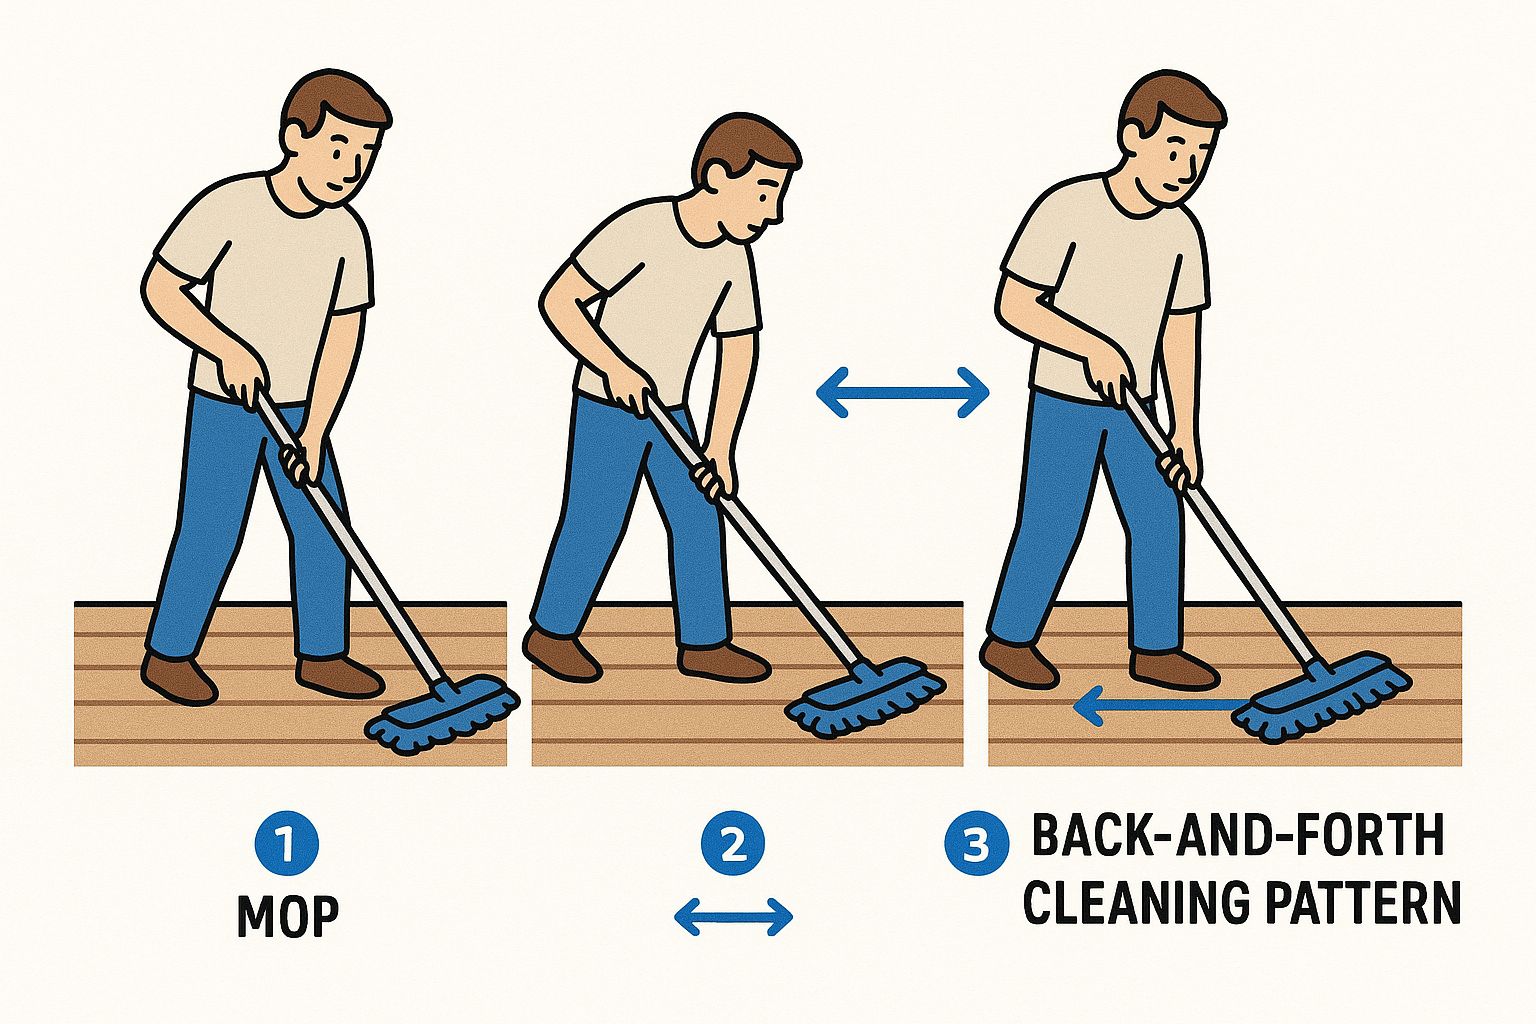
The most important thing to remember is to always move with the grain of the wood. Use long, steady strokes and slightly overlap each pass to prevent any lines or streaks from forming.
Achieving a Streak-Free Finish
Apply the polish in a thin, even layer, always following the direction of the wood grain. It can be tempting to go back over a spot that’s starting to dry, but don't do it. This is one of the main reasons streaks appear. Just apply it smoothly and move on. The aim is a single, consistent coat over the whole floor.
Expert Tip: To keep your finish bubble-free, never shake the polish bottle. Shaking forces air into the liquid, which can create tiny bubbles on your floor as you apply it. Instead, just gently rock the bottle back and forth to mix everything together.
Once you’ve coated the entire floor, it's time to be patient. It needs to dry completely. Drying times will vary based on the product you’re using, the humidity in the room, and how much air is circulating. It will likely feel dry to the touch in about an hour, but for the best results, wait a full 24 hours before you move furniture back or allow heavy foot traffic.
- Consider a Second Coat: For floors that see a lot of action or if you’re aiming for an even deeper gloss, a second coat can work wonders. Just wait for the first coat to dry completely (check the product label for specific times) and then apply the second coat in exactly the same way.
- Growing Demand: There's a reason so many people are turning to professionals. The UK cleaning industry contributed a massive £59.8 billion to the economy in 2021, and by 2023, there were around 75,565 businesses in operation. This shows just how much homeowners value a professional touch when it comes to maintaining their properties.
If you're tackling some specific issues or just want to dive deeper, have a look at our comprehensive guide to hardwood floor cleaning and polishing. Learning to do this properly will not only protect your beautiful floors but also give you a real sense of pride in your home.
Selecting the Right Cleaners and Equipment
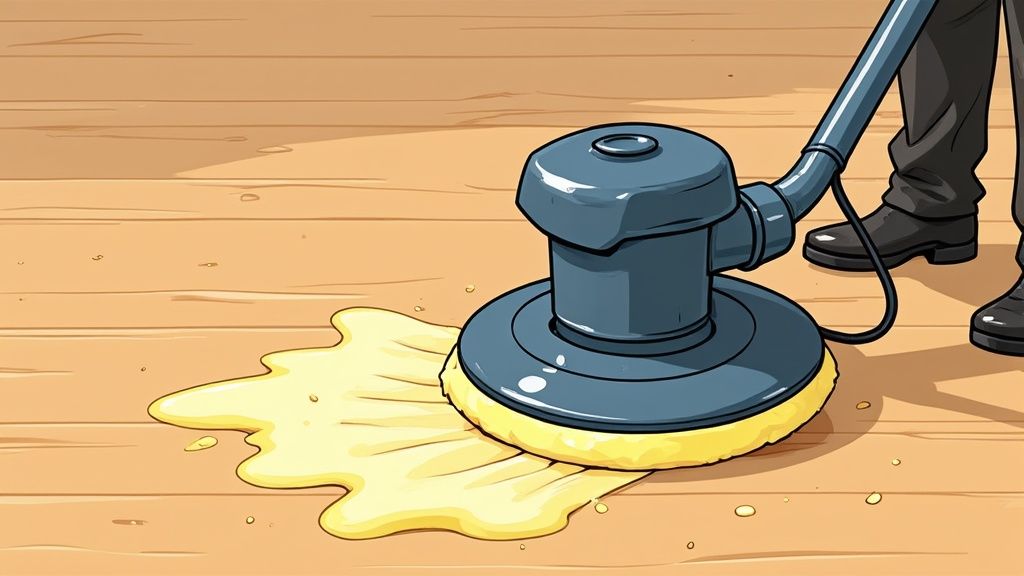
Choosing the right supplies for wood floor cleaning and polishing can feel like a mammoth task. Stare down a cleaning aisle and you’re met with a wall of bold claims and miracle promises. The secret? Ignore the loud marketing and focus on what your floor actually needs. Your goal is simple: find effective, non-toxic products that are gentle on your floor’s finish.
The most important rule I tell every client is to stick with pH-neutral cleaners. Harsh, acidic, or alkaline formulas—and yes, that includes common DIY solutions like vinegar—can slowly eat away at the protective polyurethane sealant. Over time, this leaves your floor looking dull and vulnerable to all sorts of damage. Always check the label to make sure a product is specifically formulated for sealed hardwood floors.
This market is booming for a reason. In 2018, the UK floor cleaning equipment market was valued at around USD 449.1 million and is expected to climb to USD 818.6 million by 2025. A big part of this growth is down to the popularity of sustainable materials like timber, which need specialised care. You can find more detail on these market trends on Grandview Research.
Decoding Eco-Friendly Labels
When you're picking out eco-friendly products, look for clear, honest language. Phrases like "plant-derived," "biodegradable," and "free from VOCs (volatile organic compounds)" are all good signs. Steer clear of anything containing ammonia, chlorine bleach, or aggressive solvents. These are complete overkill for a wood floor and can harm both the finish and your indoor air quality.
A Quick Tip: Don't be fooled by "natural" scents. Many products use artificial fragrances that can hide some pretty harsh chemicals. If you prefer a scented cleaner, look for ones that use essential oils for a genuinely natural aroma.
Essential Tools for the Job
You really don’t need a cupboard overflowing with gadgets to get professional-looking results. In my experience, a few key items will handle almost every cleaning situation you're likely to face.
Here’s a simple breakdown of what’s genuinely necessary versus what you can probably skip:
- Vacuum with a Hard Floor Head: This is non-negotiable. Crucially, it must have soft bristles and the option to turn off the beater bar—that spinning brush is a one-way ticket to scratches and dents on a wood floor.
- Flat-Head Microfibre Mop: So much better than old-fashioned string mops, which just slosh too much water around. You’ll want at least two pads—one for dry dusting and another for damp cleaning.
- Polish Applicator: While you can use a microfibre mop pad in a pinch, a dedicated lambswool or microfibre applicator often gives a far smoother, more even coat of polish without any streaks.
For most homes, heavy-duty floor scrubbers and buffers are simply not needed. A good quality mop and the right technique will give you a brilliant, satisfying clean. It's also vital to avoid steam cleaners on most sealed wood floors; the combination of high heat and moisture can cause significant, irreversible damage over time. You can learn more about the risks in our guide to steam cleaning wooden floors.
With these targeted tools and cleaners in hand, you’re perfectly equipped for the job.
Maintaining Your Newly Polished Wood Floors
Alright, your floors are looking absolutely brilliant. The real trick now is keeping them that way. Good maintenance isn't just about preserving that fresh polish; it's about protecting the timber itself. A simple, consistent routine for daily, weekly, and monthly care will make all the difference.
This doesn't mean hours of hard labour. It’s about being smart and getting ahead of potential problems. Think of it as prevention. Wiping up a spill the moment it happens with a dry cloth stops moisture from seeping in and causing those dreaded stains or warping. It's this kind of proactive care that keeps your floors looking their best and saves you from a much bigger restoration job later on.
Your Daily and Weekly Care Routine
On a daily basis, all you really need is a quick once-over with a soft-bristled broom or a microfibre dust mop. The main goal here is to get rid of dust, grit, and pet hair. If left, these tiny particles act like sandpaper underfoot, slowly scratching the surface and dulling that lovely shine.
Once a week, it's time for a slightly deeper clean. Use a pH-neutral cleaner made specifically for wood floors. The golden rule is damp, not wet. Seriously, wring your mop out until it’s almost dry to avoid any chance of water damage. This simple habit is the cornerstone of effective wood floor cleaning and polishing maintenance.
If you have floors with more complex patterns, like herringbone or chevron, our guide on parquet flooring cleaning has some extra tips to help you protect those beautiful, intricate designs.
Protective Measures for Long-Term Shine
Beyond just cleaning, a bit of physical protection goes a long way in keeping that finish flawless. Scratches from furniture are probably the most common culprit, but thankfully, they're also one of the easiest to prevent.
- Use Furniture Pads: Pop some felt or rubber pads on the bottom of all your furniture legs – chairs, tables, sofas, the lot. It's a good idea to check them every so often, as they can wear out or pick up grit over time.
- Deploy Rugs and Mats: A good doormat at every entrance is non-negotiable for trapping dirt and moisture before they get tracked through the house. In high-traffic areas like hallways or living rooms, area rugs are your best friend for minimising wear and tear.
- Mind Your Shoes: High heels can leave small dents, and any shoes with stones caught in the tread can cause some nasty scratches. Having a "no shoes inside" rule is honestly one of the best things you can do for your wooden floors.
The main thing to remember is this: consistent, gentle care is always better than infrequent, aggressive cleaning. Adopting this long-term mindset doesn't just preserve the polish; it protects the integrity of the wood itself.
As for when to re-polish, that really depends on how much foot traffic your floors see. A busy family home might need a fresh coat every 2-4 months, whereas a quieter space could go much longer. For a broader look at property care that goes beyond just the floors, checking out expert building maintenance services can offer some really valuable insights for preserving your entire home.
When Your Wood Floors Need Professional Help
A good DIY routine for wood floor cleaning and polishing is fantastic for keeping your floors in great shape, but let's be honest, sometimes it’s just not enough. It’s crucial to know when to put down the polish and pick up the phone. Ignoring the more serious warning signs can lead to bigger headaches and much more expensive repairs down the road.
Some problems are impossible to miss. If you're dealing with deep gouges that have broken through the finish right into the wood, or you're seeing widespread, stubborn discolouration that just won’t shift, it’s time to call in a specialist. The same goes for any boards that are starting to warp, cup, or buckle—this is often a red flag for a serious moisture issue that needs expert attention.
Another tell-tale sign is when the finish has completely worn away in high-traffic zones, leaving the raw timber exposed and vulnerable to damage.
Understanding Professional Services
When you spot these kinds of issues, the solution is almost always a professional sanding and refinishing job. This isn't just a deeper clean; it's a full-on restoration. A trained technician will bring in industrial-grade sanding equipment to carefully take off the old, damaged finish and a paper-thin layer of the wood itself. This reveals a perfectly smooth, fresh surface, ready for a new, protective sealant.
This is a highly skilled job that requires specialist machinery to get a perfectly even finish without gouging the floorboards. It's definitely not one to try yourself over a weekend.
Finding a Reputable Floor Care Company
Knowing you need a professional is the first step, but finding the right one is just as important. The UK cleaning industry is huge, employing around 970,000 people, so you’ll find plenty of specialists. In London and the South East, where 35% of all cleaning jobs are based, the competition for quality hardwood floor care is particularly high. You can learn more about the UK cleaning industry and its workforce on topcleaners.co.uk.
To make sure you're hiring a true expert, you need to ask the right questions.
- Always ask to see a portfolio with examples of their recent work.
- Check that they have full public liability insurance—this is non-negotiable.
- Find out what specific products and equipment they plan to use on your floors.
- Insist on a detailed, itemised quotation in writing before any work starts.
A trustworthy company will have no problem providing all this information. This clarity is especially vital if you have other complex issues, like tough pet stains. Our guide on carpet cleaning for pet urine explains why professional-grade treatments make all the difference in these situations.
By asking these key questions, you can avoid any nasty surprises. You'll feel confident that you’re entrusting your valuable wooden floors to an expert who will restore their beauty the right way.
If your wooden floors are showing signs of serious wear or you just want an expert opinion, AG Carpet Specialists can help. Our experienced technicians provide professional wood floor restoration to bring back their original charm. Contact us today for a free, no-obligation quotation.



