
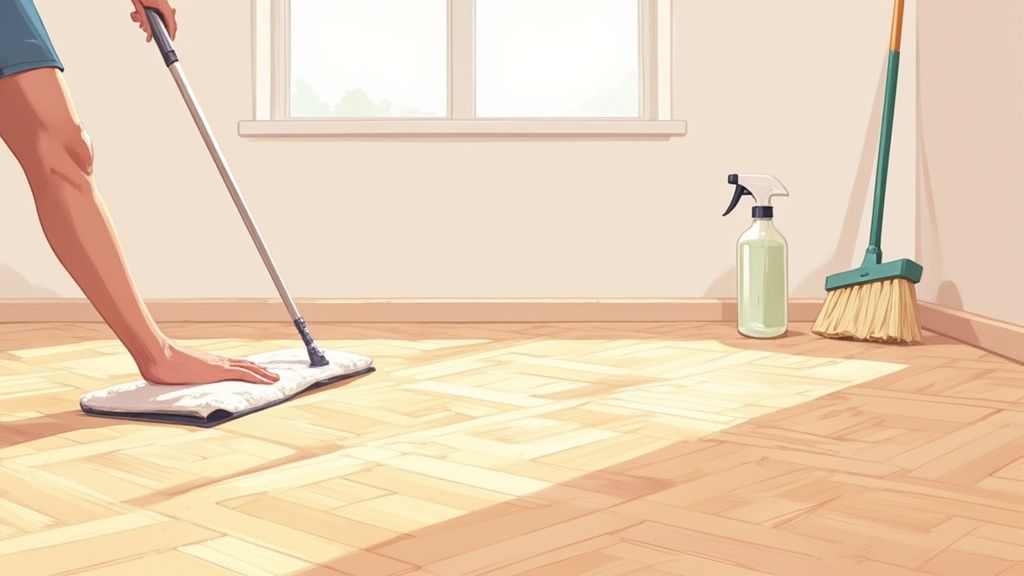
Cleaning a wooden parquet floor properly comes down to one simple rule: be gentle and consistent. The best approach is to vacuum frequently with a soft brush attachment and occasionally damp-mop using a pH-neutral cleaner. The real secret is using as little water as possible and steering clear of harsh tools like steam mops or abrasive scrubbers, which can easily damage the intricate wood patterns and their finish.
Understanding the Essentials of Parquet Floor Care
Welcome to your ultimate guide for keeping your wooden parquet floors looking immaculate. Unlike standard wood planks, parquet's stunning, complex patterns create many more seams and edges. It's these tiny gaps that make the surface so vulnerable to trapping dirt, grit, and moisture, which can lead to serious damage if you don't stay on top of it.
This guide is built on a core philosophy I've seen work time and time again: frequent, gentle cleaning is always better than an occasional, aggressive deep clean. Protecting your investment starts with mastering the fundamental do's and don'ts of parquet floor care.
The Importance of a Consistent Routine
A regular cleaning schedule isn't just a suggestion—it's essential for protecting your floor's beauty and structural health. Tiny particles of dust and grit act just like sandpaper under your feet, slowly dulling the finish and creating micro-scratches over time.
Here in the UK, flooring experts always advise a proactive approach. It's recommended that you vacuum your parquet floors 2-3 times per week, or even more in high-traffic areas like hallways and kitchens. This simple habit stops debris from getting wedged between the wooden tiles where it can do the most harm.
Key Takeaway: The key to a long-lasting parquet floor isn't a single, powerful deep clean. It's the consistent, daily removal of grit and dust that truly protects the finish from gradual wear and tear.
Critical Do's and Don'ts for Parquet
Knowing what not to do is just as important as knowing the right steps. Many common cleaning methods can be a complete disaster for parquet flooring.
- DO use microfibre mops. They are fantastic for controlling moisture levels and trapping dust effectively without scratching the delicate surface.
- DON'T ever use a steam cleaner. The intense heat and high-pressure moisture will force their way into the seams, causing the wood blocks to swell, warp, or even pop out.
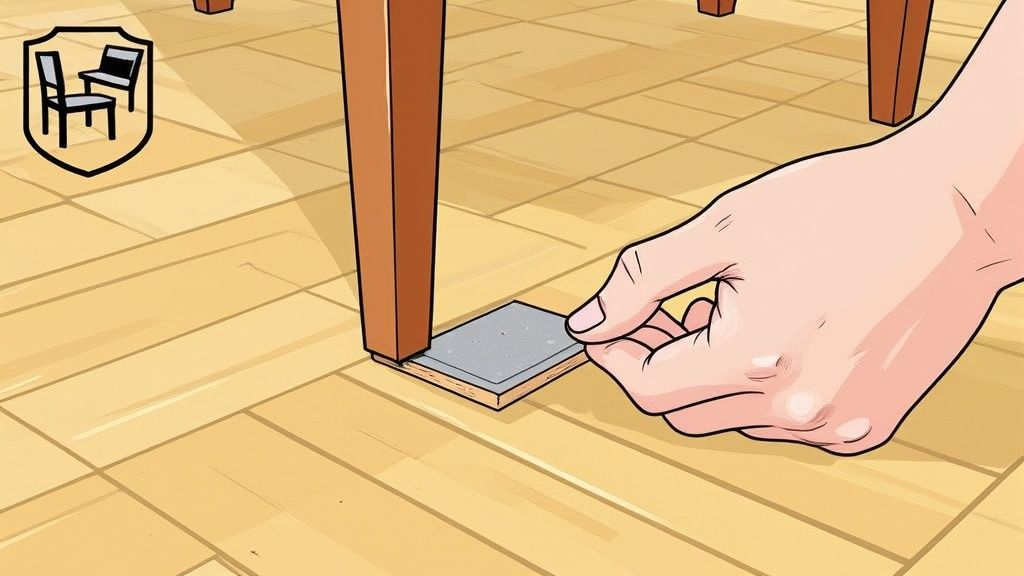
- DO stick felt pads under all your furniture legs. This is the single best defence against deep scratches and gouges from moving chairs, tables, and sofas.
- DON'T use vinegar or other acidic cleaners. These products can strip the protective sealant right off your floor, leaving the raw wood exposed, dull, and prone to staining.
Before we move on, here’s a quick reference table to help you remember the most important points.
Quick Guide to Parquet Cleaning Do's and Don'ts
| Action | Why It's Important | Frequency |
|---|---|---|
| Vacuum with a soft brush | Prevents scratching the finish while removing abrasive grit. | 2-3 times weekly |
| Damp-mop (never wet) | Minimises water exposure to prevent wood swelling and warping. | As needed |
| Use pH-neutral cleaner | Protects the floor's sealant from being stripped away. | Every time you mop |
| Apply felt pads | Avoids deep scratches and gouges from furniture movement. | One-time application; check periodically |
| Wipe up spills immediately | Prevents moisture from seeping into the wood and causing stains or damage. | Immediately |
| Avoid steam mops | Intense heat and moisture can cause catastrophic, irreversible damage. | Never |
Keeping these simple rules in mind will make all the difference in your cleaning routine.
While parquet flooring has its unique needs, many of these principles apply to all types of timber flooring. For a more general overview, you might want to read our complete guide on how to clean wood floors. By adopting these essential habits, you'll be setting a strong foundation for keeping your parquet looking brilliant for many years.
Preparing Your Floor for a Deeper Clean
Before you even think about getting your parquet floor wet, you need to prep the surface. This isn't just a pointless chore; it’s the most critical step to getting a great finish and protecting your investment. If you skip proper preparation, you’re just pushing grit around, which can lead to fine scratches that dull the wood over time. A bit of groundwork now ensures the real clean is effective and safe.
First things first, clear the entire area. Any small bits of furniture like side tables, lamps, or plant pots need to be moved out of the room. Don't forget to roll up any rugs or mats—you’d be shocked at how much dirt gets trapped underneath them. Giving yourself an empty room means you can reach every single nook and cranny without obstruction.
Clearing Away Loose Grit and Debris
With the room clear, the next job is to get rid of all the loose dust and debris. This is your floor's number one enemy. Little bits of grit, dust, and pet hair act like sandpaper when you start mopping, and that's how those tiny, dulling scratches appear.
You’ve got a couple of options for this task, and the best one really depends on what you're dealing with.
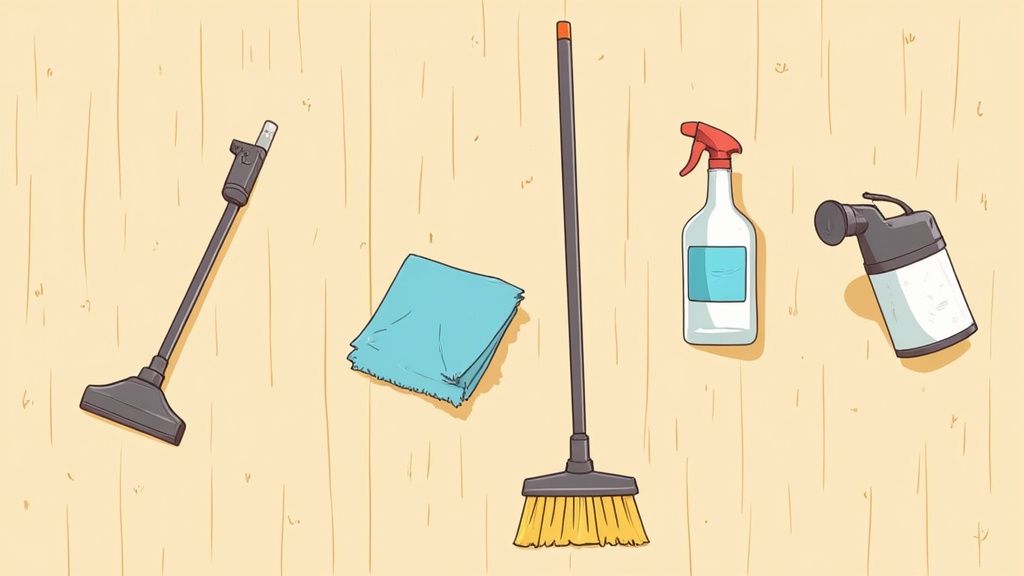
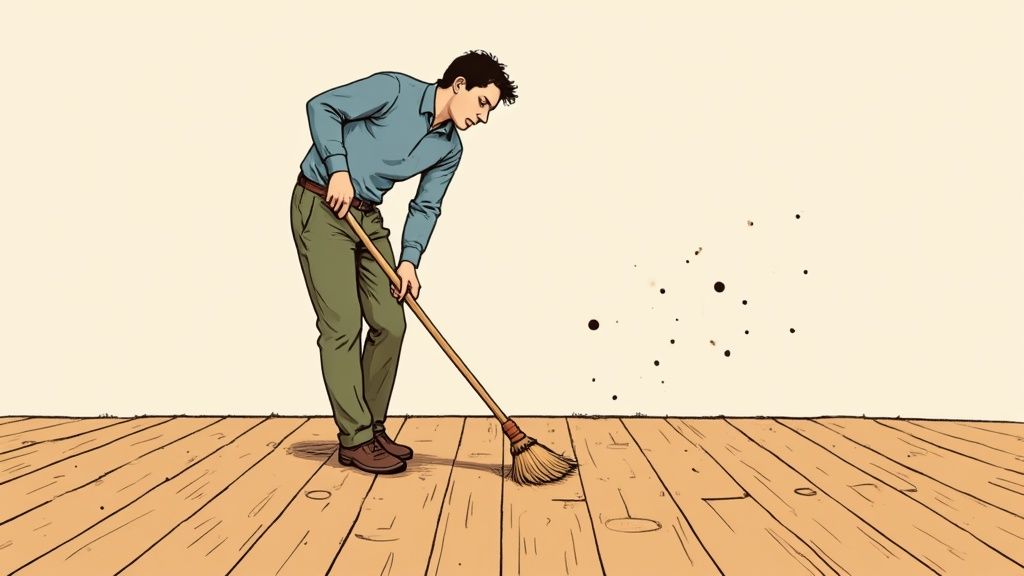
- Soft-Bristled Broom: A good old-fashioned broom is great for a quick sweep to get rid of larger bits of debris. It's gentle, but be aware that it can flick the finest dust particles up into the air, which will only settle back down on your floor later.
- Vacuum Cleaner: For a truly thorough job, a vacuum is your best bet. It’s fantastic at sucking up the fine dust from between the individual blocks of your parquet—something a broom just can't do.
Crucial Tip: When using a vacuum, it is essential to use one with a proper hard-floor head. This is usually a soft roller brush. Alternatively, make sure you can switch the spinning beater bar off. That stiff brush is designed for carpets and will definitely scratch and damage your wooden floor's finish.
A Strategic Approach to Dust Removal
Don't just hoover at random. To get the best results, you need a system. Work your way methodically across the floor, following the direction of the wood grain where you can. Pay extra close attention to the high-traffic areas and the spots that are usually hidden under furniture.
Make friends with your vacuum's attachments, too—they're there for a reason! The crevice tool is perfect for getting right into the edges by the skirting boards, and the dusting brush is ideal for cleaning the skirting boards themselves. This stops dust from falling back onto the floor you’ve just cleaned. This careful approach isn't just about being tidy; it's about preventing damage during the next stage.
You can find more detail on the whole process in our complete guide on how to clean parquetry floors.
By taking a few minutes to clear the area properly, you’ve created the perfect canvas. Your parquet floor is now ready for a safe and effective clean that will bring back its natural beauty without causing any harm.
Choosing the Right Tools and Cleaning Solutions
Getting your parquet floor looking its best isn't just about elbow grease; it's about using the right gear. Picking the wrong tool or a harsh chemical cleaner can do more than just a bad job—it can strip the finish, dull the beautiful wood, and turn a simple clean-up into a costly restoration project. So, let’s talk about the kit that will become your floor's best friend.
It's clear that homeowners across the country understand the importance of proper tools. The UK floor cleaning equipment market was valued at a huge USD 449.1 million back in 2018 and has only continued to grow. Vacuum cleaners make up the biggest slice of that market, which really shows how much people value using the right equipment for floor care. For a delicate surface like parquet, this principle is absolutely vital.
The Right Vacuum for the Job
Your first line of defence against the grit and dirt that scratches parquet is your vacuum cleaner. But be careful, because an aggressive machine can easily cause more harm than good.
The single most important feature to look for is the ability to disable the beater bar. That’s the stiff, rotating brush built to pull dirt from deep in a carpet, and it will absolutely scratch and scuff the protective sealant on your wood floor. Instead, you need a model with a dedicated hard floor head—these often have a soft, fluffy roller—or just a simple suction head. Canister vacuums with a soft brush attachment are another excellent choice for getting the hang of how to clean a wooden parquet floor without causing damage.
Why a Microfibre Mop is Non-Negotiable
When you move on to mopping, the tool you use directly controls the amount of moisture on your floor. This is the golden rule of wood floor care: keep water to a minimum. This is precisely where a microfibre flat-head mop proves its worth.
Think about it. Old-fashioned string mops or sponge mops are designed to hold a lot of water, which makes it nearly impossible to wring them out enough for a wooden surface. A microfibre mop, however, cleans brilliantly with very little water. Its flat design spreads pressure evenly, and the tiny fibres are fantastic at grabbing dirt without being abrasive.
Expert Tip: After you wring out your microfibre mop pad, it should only feel slightly damp to the touch, never wet. If you can squeeze even a single drop of water from it, it’s still too wet for your parquet.
Understanding Cleaning Solutions
Walking down the cleaning aisle can be overwhelming, but the rule for parquet is refreshingly simple: pH-neutral is the only way to go. Your beautiful wood floor is protected by a sealant or finish. Any cleaner that’s too acidic or too alkaline will slowly eat away at this protective layer, leaving your floor looking dull and making it vulnerable to stains and water damage.
- Avoid Acidic Cleaners: This list includes popular DIY suggestions like vinegar and lemon juice. While they're great for other jobs around the house, their acidity will degrade your floor’s finish over time.
- Avoid Harsh Chemicals: Bleach, ammonia, and most general-purpose cleaners are far too aggressive for wood. They can discolour the timber itself and strip the sealant right off.
- Steer Clear of Oily Soaps: Products that claim they will "nourish" the wood often leave a greasy film behind. This residue actually attracts more dirt and can make your floor dangerously slippery.
To stay safe, always look for a product specifically labelled as "safe for sealed wood floors" or "pH-neutral." These have been formulated to clean well without damaging that all-important protective finish. Interestingly, these principles of using gentle, appropriate cleaners apply to most wood care. Beyond just your floors, you might find it useful to broaden your knowledge by understanding the care of other wooden surfaces like teak, where very similar rules apply.
Comparing Cleaning Solutions for Parquet Floors
Choosing the right cleaner can feel like a big decision. To make it easier, here’s a quick comparison of the most common options available, helping you pick the safest and most effective solution for your specific floor finish.
| Solution Type | Pros | Cons & Risks | Best For |
|---|---|---|---|
| Commercial pH-Neutral Cleaner | Formulated specifically for wood; streak-free finish; consistent and reliable results. | Can be more expensive; need to check labels to ensure it's right for your finish (e.g., oiled vs. lacquered). | Anyone wanting a foolproof, professional-quality clean without the guesswork. |
| DIY Water & Soap Solution | Very inexpensive; uses common household items; gentle on the floor's finish. | Risk of using too much soap, leaving a sticky residue; less effective on heavy grime. | Regular, light cleaning and for those who prefer a minimalist, natural approach. |
| Vinegar, Bleach, or Ammonia | (None for wood floors) | Highly acidic or alkaline; will strip the sealant, dull the finish, and can discolour the wood. | AVOID COMPLETELY. These are not safe for any type of sealed or oiled wood floor. |
Ultimately, a purpose-made, pH-neutral cleaner is the safest bet for guaranteed results, but a correctly mixed DIY solution is a great, gentle option for routine upkeep.
A Gentle DIY Cleaning Recipe
If you’d rather go the natural, homemade route, you can mix up a perfectly safe and effective cleaner with ingredients you already have. This recipe is gentle enough for you to use regularly.
- Grab a clean spray bottle.
- Fill it with about 1 litre of warm water.
- Add just one or two drops of a mild, pH-neutral washing-up liquid.
- Give it a gentle shake to mix.
The secret here is moderation. You only need a tiny amount of soap to help break down everyday grime. Any more than that and you risk leaving a sticky film behind. This simple mix provides a great clean without putting your floor's finish at risk, proving that the best method for cleaning a wooden parquet floor is often the gentlest one.
While this damp-mopping method is perfectly safe, we know some people are curious about more powerful tools. However, you can learn more about why steam cleaning wooden floors is strongly discouraged in our detailed article on the topic.
The Damp Mopping Method for Parquet Floors
So, you’ve prepped the floor perfectly and banished all that loose dust and grit. Now it’s time for the main event: cleaning your wooden parquet floor. This is where the real transformation happens, but it's also where things can go wrong if you’re not careful. The secret to success lies in a technique we swear by: the damp mopping method. This is all about controlling moisture.
Forget what you think you know about sloshing a sopping wet mop across the floor. When it comes to parquet, less is always more. Your aim is to use just enough moisture to lift the stubborn grime that’s bonded to the surface, without giving it any chance to seep between those beautiful, intricate wood blocks.
The Golden Rule: Damp, Not Wet
If you take one thing away from this guide, let it be this: master the difference between a damp mop and a wet one. It sounds simple, but getting this right is the absolute key to preventing water damage, which can cause your floor to swell, warp, or discolour.
Your microfibre mop pad should be wrung out until it feels only slightly moist to the touch.
Here's a quick real-world test I use all the time: wring out your mop pad and press it hard into the palm of your hand. If you see any beads of water or feel any real wetness left on your skin, it’s still too wet. Wring it out again until it feels almost dry.
This strict approach to water is non-negotiable. It ensures the tiny amount of cleaning solution you use evaporates almost instantly, leaving nothing behind but a clean, streak-free surface. It’s fundamental to a safe and effective deep clean.
The image below breaks down the three essential stages for safely damp mopping your wooden parquet.
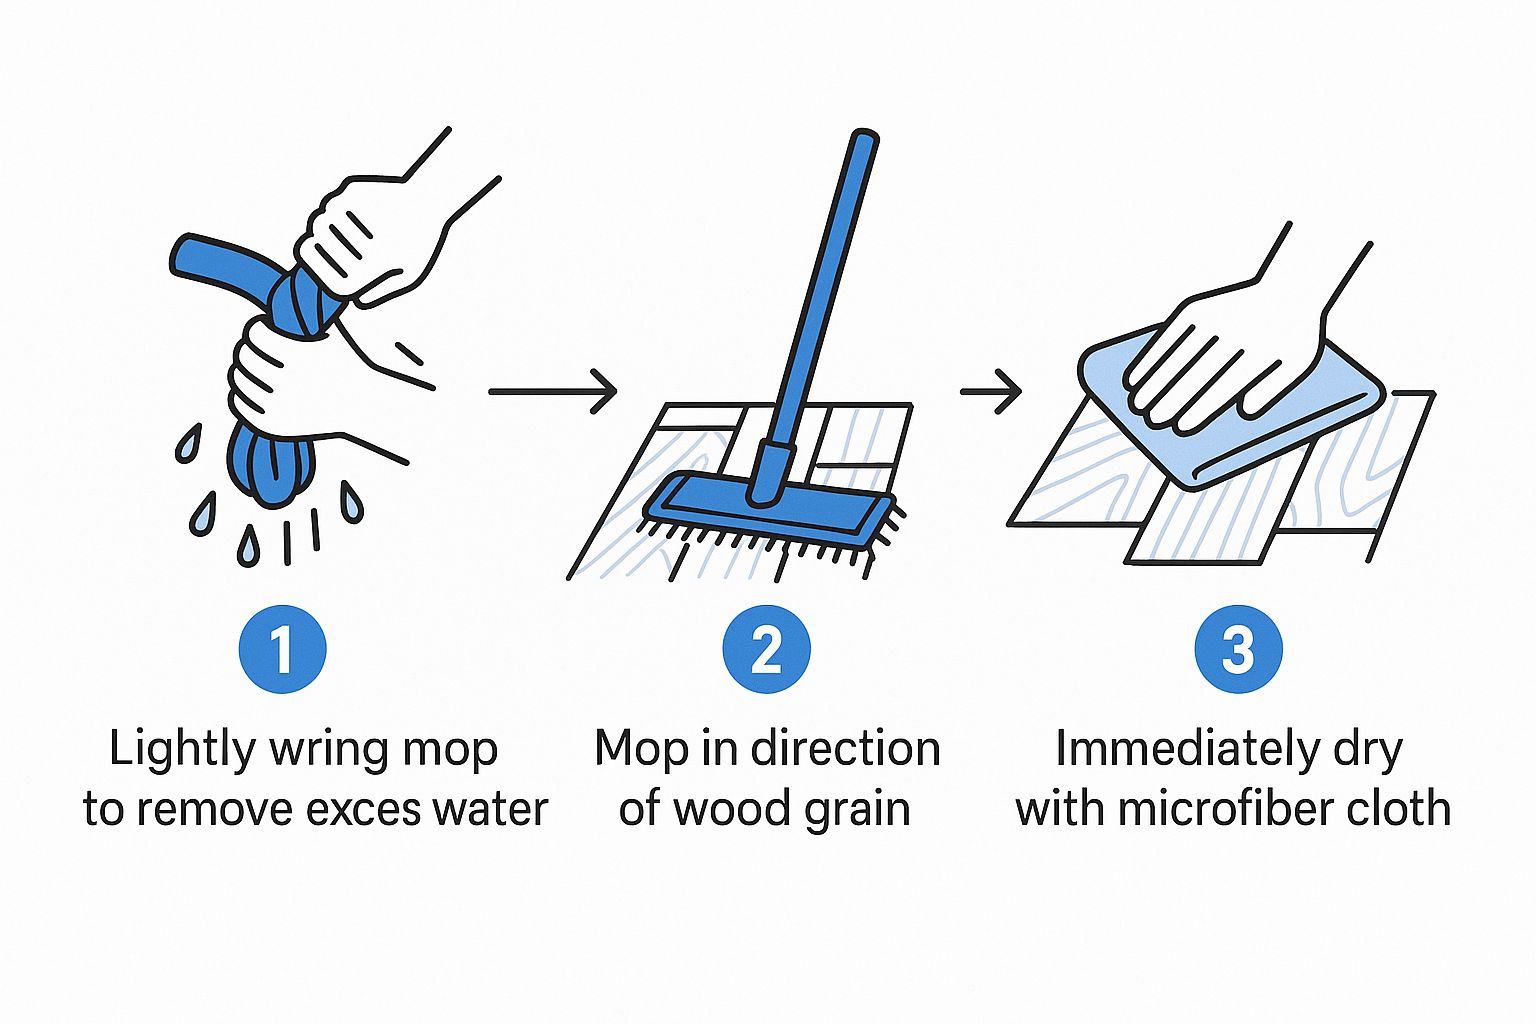
This visual is a great reminder of the core process: manage moisture properly, work with the wood’s natural pattern, and always finish with a completely dry surface.
A Practical Cleaning Technique
Once your mop is perfectly wrung out, you're ready to get started. Don't make the mistake of trying to clean the whole room at once. Instead, break the floor down into small, manageable sections—about one square metre at a time is perfect. This gives you complete control and ensures you don’t miss a single spot.
Lightly mist your pH-neutral cleaner onto the floor section or directly onto the mop pad. Then, clean with gentle, even strokes. If you can, try to follow the grain or the pattern of the wood blocks. For herringbone or chevron patterns, this usually means cleaning in a consistent diagonal motion. This little trick helps minimise the look of any streaks and gives you a much more professional, uniform finish.
Let’s put this into a real-life scenario. Say you've had guests over and there are muddy paw prints across the hallway. The temptation is to get in there and scrub hard, but that's a mistake.
- First, vacuum up any loose, dry mud.
- Next, grab your damp mop and pH-neutral cleaner, and gently wipe over the marks.
- The microfibre will do the hard work, lifting the embedded dirt without you needing to apply harsh pressure.
This gentle method is effective for most everyday messes, from sticky spills in the kitchen to general grime in high-traffic zones, all without harming the floor's delicate finish. For more advanced advice on tackling stubborn marks or other specific challenges, you might find it helpful to learn more about how to clean parquet flooring in our detailed article.
The Critical Final Step: Drying
This last part is just as important as the mopping itself. Even when using a perfectly dampened mop, a tiny bit of residual moisture can be left on the surface. Whatever you do, don't just leave it to air dry.
Immediately after cleaning a section, take a separate, clean, and completely dry microfibre cloth and buff the area. This instantly whisks away any lingering dampness, stopping water spots from forming and making sure no moisture can penetrate the seams of the wood.
Working in this systematic way—mop a small section, dry it immediately, then move on—is your guarantee of a flawless, streak-free result. It might feel a bit meticulous at first, but this methodical process is your best defence against potential damage. It builds confidence and ensures your cherished parquet floor stays in pristine condition, gleaming beautifully for years to come.
Protecting Your Parquet for the Long Term
A spotless floor is a fantastic achievement, but keeping it that way requires a shift in thinking. Proactive protection is always better than reactive cleaning. By focusing on long-term care, you’ll dramatically cut down on future effort and expense, preserving the unique beauty of your parquet for years to come.
The most effective strategies are usually the simplest ones. It's all about creating barriers to stop damage before it even has a chance to happen. Think of it as defending your floor from the daily wear and tear of life.
Your First Line of Defence
What's the biggest threat to your floor's finish? It’s not a big, dramatic spill. It's the constant, grinding friction from tiny particles of grit brought in from outside and the movement of furniture. This is where you can make a huge difference with very little effort.
First, make high-quality doormats at every entrance an absolute rule. A good, coarse mat acts as a guard, trapping the majority of abrasive dirt and moisture from shoes before it ever touches your beautiful wood.
Next up is your furniture. Every single item that sits on your parquet—from chairs and tables to sofas and cabinets—must have soft felt pads on its feet. This is non-negotiable. These simple pads create a gentle cushion, preventing the deep scratches and gouges that happen when furniture gets moved around. This one small step can save you from very costly repairs down the line.
Managing Environmental Factors
The environment inside your home plays a crucial role in your floor's health. Wood is a natural material, and it responds to its surroundings, especially sunlight and humidity.
Prolonged exposure to direct sunlight will cause the wood to discolour and the finish to fade over time. You might have already noticed that the area under a rug is a different colour to the exposed floor. You can easily manage this by using blinds, curtains, or sheer drapes to filter out harsh UV rays, particularly during the sunniest parts of the day.
While our focus here is on indoor parquet, the principles of wood protection are universal. For some related insights, you might find our guide on Protecting Outdoor Wood Furniture useful, as it shares similar long-term care concepts.
Knowing When to Call for Help
Even with the most dedicated care, a floor's finish will eventually show signs of ageing. Knowing how to spot these signs is key to stopping small issues from turning into major problems.
If your floor looks persistently dull even after a thorough clean, or if it's covered in a web of fine scratches, it might be time for professional attention. A professional can assess whether a simple screen and recoat is enough, or if a full sand and refinish is needed to restore its original glory. Our guide to parquet flooring cleaning offers more advice on when to consider these options. Acting promptly will preserve the integrity of the wood itself and save you from more extensive and expensive work later on.
Your Parquet Cleaning Questions Answered
Even with the best guidance, it's natural for specific questions to pop up when you're caring for wooden parquet flooring. Unique situations arise, and you want to feel confident you're making the right choice for your beautiful, intricate floor. This section is dedicated to answering the most common queries we hear from UK homeowners.
We've gathered these questions to tackle those tricky situations head-on, giving you clear, expert advice to build your confidence. Think of this as your go-to reference for the "what if" moments in your cleaning routine.
How Often Should I Deep Clean My Parquet Floor?
The frequency of deep cleaning—that is, a full damp mop—really comes down to the amount of foot traffic your floor sees. There isn't a single rule, but we can offer some solid guidelines. For a typical household, a thorough damp mop with a proper pH-neutral cleaner every one to two months is usually more than enough.
Of course, some areas will need more attention than others. A busy hallway or the kitchen floor might benefit from a monthly clean. On the other hand, a formal dining room or a spare bedroom that sees little use may only need this level of cleaning two or three times a year.
The best advice? Let your floor tell you when it’s time. If it starts looking dull or you see grime in the grain that a simple spot-clean won't lift, it's ready. Just remember, your daily sweep or vacuum is far more critical; over-cleaning with water is one of the quickest ways to cause damage.
Can I Use a Steam Mop on My Wooden Parquet Floor?
We get this question a lot, and our answer is always an emphatic and absolute no. You should never, under any circumstances, use a steam mop on a wooden parquet floor. The combination of intense heat and pressurised steam is incredibly destructive to wood.
Steam forces moisture deep into the tiny seams between the individual wood blocks. This can lead to a host of catastrophic problems:
- Swelling and Warping: The wood absorbs the moisture, causing it to expand, buckle, and lift.
- Delamination: The adhesive holding the parquet blocks to the subfloor can break down, causing them to become loose.
- Finish Damage: The high heat can effectively strip the protective lacquer or oil finish right off the surface, leaving the raw wood exposed, dull, and vulnerable.
Always stick to a well-wrung-out microfibre mop. It provides total control over moisture levels and is the only truly safe way to protect your investment from irreversible water damage.
Expert Insight: Many steam mop manufacturers claim their products are safe for sealed hardwood. However, flooring associations and professional restorers consistently advise against it. The risk of moisture getting into the countless seams of a parquet pattern is simply too high.
What Is the Best Way to Remove a Sticky or Greasy Stain?
For a sticky patch from a spilt drink or a greasy spot, the key is to be gentle and avoid aggressive scrubbing. Your first move should always be to spot-clean. Apply a small amount of your pH-neutral wood cleaner onto a clean microfibre cloth—never spray it directly onto the floor. Gently dab and wipe the affected area.
If that sticky residue persists, you can escalate your approach slightly. Try using a tiny amount of mineral spirits on a fresh, clean cloth. It's crucial to test this on an inconspicuous area first, like inside a cupboard or under a large sofa, to ensure it doesn’t react badly with your floor's finish.
After gently treating the spot with the mineral spirits, you must clean the area again with your regular pH-neutral solution to remove any oily film. Finally, dry the spot thoroughly with another clean cloth. Never resort to using abrasive powders or cream cleaners, as these will only make the problem worse.
My Parquet Floor Looks Dull What Can I Do?
A dull appearance on a parquet floor usually points to one of two culprits: either a build-up of cleaning product residue or a genuinely worn finish. Before you do anything else, you need to figure out which it is.
Start by dampening a microfibre cloth with nothing but plain water and rubbing a small, out-of-the-way section of the floor. If the shine returns, the dullness is likely a hazy film left behind by unsuitable cleaners. The solution is to clean the entire floor using only a water-dampened mop to lift that residue.
If the area remains dull, the problem is with the floor’s protective finish itself. Over time, thousands of tiny micro-scratches from foot traffic scatter light, making the surface look flat and lifeless. A wood floor polish or revitaliser can offer a temporary boost by filling these tiny scratches.
However, for a lasting solution to a significantly worn or scratched floor, the only real answer is professional intervention. This would involve either a "screen and recoat" to refresh the top layer of the finish or, for more severe damage, a full sand and refinish to take it back to bare wood and start anew.
If your parquet floor is looking dull, scratched, or has suffered from water damage, professional restoration can bring it back to life. AG Carpet Specialists offers expert wood floor restoration services alongside our carpet and upholstery cleaning. Our certified technicians use state-of-the-art equipment to carefully sand, refinish, and restore the natural beauty of your flooring.
Contact us today for a free, no-obligation quotation and discover how we can transform your floors. Learn more at https://www.agcarpetspecialist.co.uk.



