

It's a sinking feeling, isn't it? That moment you spot a dark, ugly burn mark on your otherwise lovely carpet. Before you jump into a repair, take a breath. The first, and most crucial, step is to play detective and get a proper look at the damage.
What you do next depends entirely on what you're up against. Is it a light surface scorch, or a deep, nasty burn that's gone right through to the carpet's backing? Getting this right from the start is the difference between a near-invisible fix and a botched job.
How to Assess Carpet Burn Damage
Think about it – a dropped hair straightener leaves a totally different kind of mark than a hot coal spitting out from the fireplace. One might just singe the very tips of the fibres, while the other can melt them into a hard, plastic mess. Understanding this distinction is everything.
Get down on your hands and knees for a proper look. Gently feel the burnt patch with your fingers. Do the fibres feel crusty, hard, and fused together? That's a classic sign of a more serious burn, especially common with synthetic carpets like nylon or polyester, which tend to melt rather than char.
Differentiating Scorch from Deep Burns
A minor scorch is the best-case scenario. It’s usually just cosmetic, affecting only the very tops of the carpet fibres. The area around it and, most importantly, the backing underneath will be perfectly fine. You'll see that the tips have gone dark and feel a bit stiff, but the carpet pile itself is still there.
A deep burn, on the other hand, is much more obvious. It often looks like a small crater where the fibres have vanished, melted down into a hard, black lump. If you carefully try to part the fibres at the edge of the burn, you’ll probably see the carpet backing exposed.
Here's a quick pro tip: press down firmly on the centre of the burnt spot. If it feels solid and completely unyielding, the burn has almost certainly penetrated the backing. A simple trim and fluff just won't cut it here.
This quick assessment will help you figure out the best way to tackle the problem. We've put together a simple table to make it even clearer.
Carpet Burn Severity and Repair Actions
This little guide is your starting point for identifying the burn and knowing what to do next.
| Burn Severity | Visual Cues | Fibre Texture | Recommended First Action |
|---|---|---|---|
| Minor Scorch | Darkened or discoloured fibre tips; no visible backing. | Slightly stiff or brittle at the very tips. | Trimming the burnt tips. |
| Moderate Burn | Some fibres melted into small, hard beads; slight indentation. | Hard, fused clumps of fibres. | Trimming and potentially filling with spare fibres. |
| Deep Burn | A noticeable crater; backing is visible and may be damaged. | A solid, black, and inflexible lump. | A full patch repair is required. |
Hopefully, that table gives you a clear picture of what you're dealing with.
Deciding on the Right Repair Path
Making the right call at this stage will save you a world of time and effort down the line. Based on your little investigation, you'll land on one of two paths:
- Surface Scorch: If the damage is purely on the surface, just affecting the fibre tips, you're in luck. A careful trimming and blending technique should do the trick.
- Deep Burn: When you're looking at melted fibres and potential damage to the backing, you’ll need to perform a patch repair. This involves cutting out the damaged section and replacing it, a process quite similar to learning how to fix holes in carpets.
Honestly, spending a few moments to get this initial diagnosis right is the most important part of the whole job. It ensures you choose the correct method from the get-go, giving you the best possible chance of a seamless, professional-looking repair.
Building Your Carpet Repair Toolkit
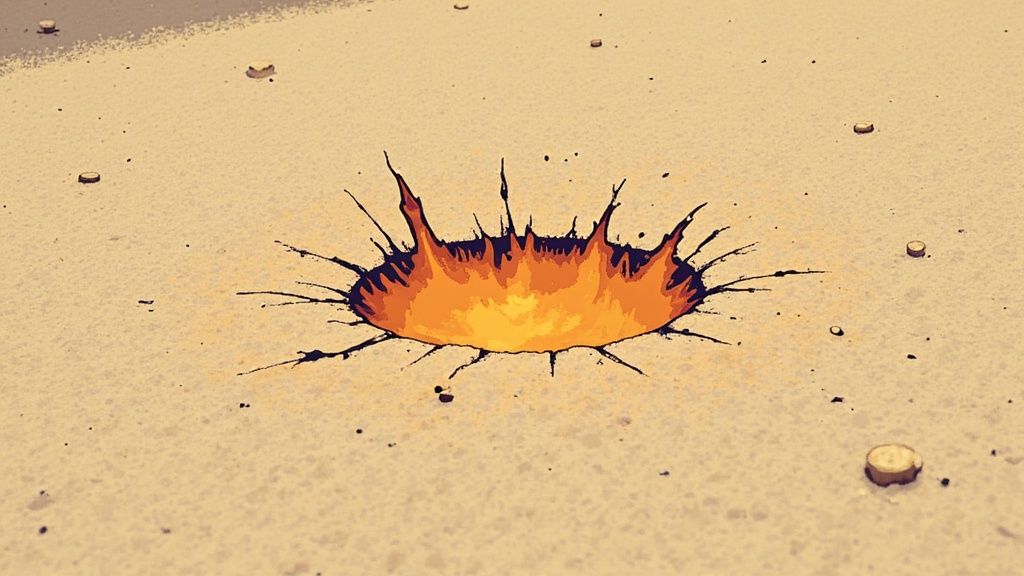
Before you dive into any carpet burn repair, getting your gear together is the first, most important step. A well-stocked toolkit is what separates a seamless, invisible mend from a DIY disaster. It’s a bit like cooking a good meal; you get the best results when you start with the right ingredients.
You don't need a professional's van full of equipment, but a few specific items will make a world of difference. The key is to resist the temptation to just grab the big kitchen scissors or that old tube of super glue from the junk drawer. Trust me, that's a shortcut to a bad finish.
Essential Cutting Tools
When you're dealing with individual carpet fibres, precision is everything. Using tools that are too big or too blunt will only fray the edges of the repair area, making the final patch far more obvious than it needs to be.
-
Small, Sharp Scissors: Think small and precise. A pair of curved nail scissors or even embroidery scissors is perfect. Their fine, sharp tips let you snip away individual burnt fibres with complete control, which is exactly what you need for those minor surface scorches.
-
Sharp Utility Knife: If you're tackling a deeper burn that needs a patch, a utility knife with a fresh, sharp blade is non-negotiable. This is how you get a clean cut through both the carpet and its backing without any tearing, leaving a neat opening for your replacement piece.
Adhesives and Application
The glue you pick is crucial; it's what determines whether your repair lasts. A lot of people reach for standard craft glue or super glue, but these usually dry hard and brittle. This creates a stiff, crunchy patch that can even discolour the fibres over time.
Expert Tip: Choosing the right adhesive is one of the most critical parts of the job. You need a high-strength, latex-based carpet adhesive. It's designed specifically to bond to carpet backing while staying flexible, which stops the patch from peeling up at the edges every time you vacuum.
When it comes to applying it, you want a thin, even layer. A small spatula or even an old lollipop stick works wonders. Be careful not to use too much, as it can ooze up through the seams and create a sticky mess that will attract every speck of dirt.
Sourcing Your Donor Carpet
For a patch repair, the single most important element is the patch itself. To make it blend seamlessly, you need an identical piece of carpet—and you probably have one hidden away somewhere.
The best places to find a "donor" piece are usually out of sight:
- From inside a wardrobe or airing cupboard.
- Under a large piece of furniture that never moves, like a heavy bookcase.
- From any offcuts that were saved when the carpet was first laid.
Once you've cut your donor piece, pay close attention to the pile direction. Every carpet has a natural lean to its fibres. If your patch goes in against the grain, it will stick out like a sore thumb no matter how well you cut it.
A simple way to check is to run your hand over the carpet and then over your patch. They should both feel the same. Once the patch is in place, a seam roller can be a great help to press it down firmly and really blend those edges into the surrounding carpet.
Dealing with Minor Scorch Marks on Your Carpet
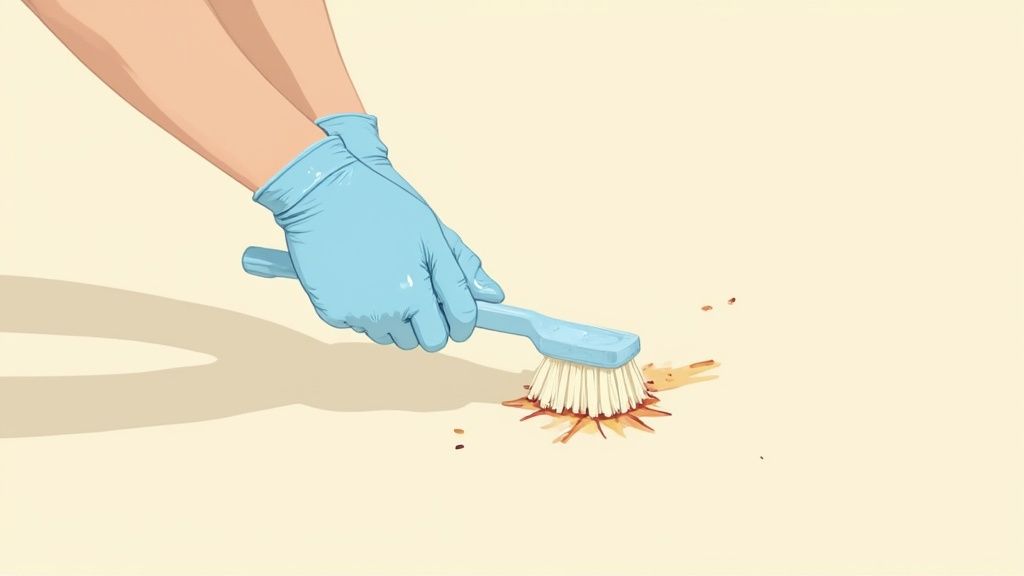
If you've had a look and found a minor scorch—where just the very tips of the fibres are blackened and feel a bit stiff—you can breathe a sigh of relief. This is the most straightforward kind of carpet burn repair to tackle and, more often than not, you won't need to go as far as cutting a patch. The mission here isn't replacement; it's careful restoration.
With a steady hand and a bit of patience, you can often make these surface-level burns vanish completely. The secret is to work slowly and methodically, removing only the damaged part of the fibre without disturbing the healthy carpet around it.
Getting the Area Ready for Trimming
Before you even reach for the scissors, a little prep work is in order. The tips of the burnt fibres often get fused together with a crusty residue, and if you try to trim them as they are, you'll likely pull on them and end up with an uneven mess.
Find a piece of fine-grit sandpaper—something around 120-grit is perfect for this. Gently rub the surface of the scorch mark, always moving in the same direction. This light buffing will break up those brittle, charred ends and separate the individual fibres, which makes them far easier to trim precisely.
Remember, you're not trying to sand the burn away, just loosen things up. A few light passes are all it takes. Once you're done, grab your vacuum cleaner and use the hose attachment to clear away all the loose, dark particles. This cleans the slate and gives you a much better view of what needs snipping.
The Delicate Art of the Trim
Now comes the fiddly part. Armed with your small, curved scissors, you're essentially giving your carpet a tiny, precise haircut. The real trick is to isolate the burnt tip of each fibre (or a tiny clump) and snip it off cleanly.
- Start from the Outside: Begin at the edge of the scorch mark and work your way in toward the centre. This approach helps you to blend the repaired area much more naturally.
- Cut Just Below the Burn: Get your scissors right underneath the blackened part of the fibre. The goal is to remove all the damaged material, leaving only the healthy, original colour behind.
- Patience is Key: Don't be tempted to hack away at a large section at once. This is a job that rewards a slow and steady hand. By focusing on individual fibres, you avoid creating an obvious dip in the pile.
After trimming a small section, stop and run your fingers over the area to fluff up the fibres. This will help you see how it's blending with the surrounding carpet and show you if you've missed any burnt tips.
In the trade, we have a technique called 'micro shearing', where we use specialised tools to get the carpet pile perfectly level. You can mimic this at home by making sure all your snips are at the same height, which helps create a uniform surface that doesn't catch the eye.
Blending and Final Touches
Once you're confident all the charred ends are gone, the final step is to make your work disappear. Take a stiff brush or even a clean comb and give the fibres in the repaired area a good, vigorous brush. This encourages the trimmed fibres to mingle with their neighbours, which does a brilliant job of hiding the edges of your repair.
If the area still looks a bit sparse after trimming, here's a pro tip: you can sometimes 'borrow' a few loose fibres from an unseen spot, like the back of a cupboard or under a heavy piece of furniture. Use a tiny dab of carpet adhesive to carefully place them into any gaps. It's an advanced move, but it works wonders for a seamless finish. For any lingering discolouration, our guide on how to clean carpet stains has some extra advice.
This careful approach is exactly how professionals often tackle burns from things like dropped hair straighteners or irons, saving landlords and homeowners from the cost of a full carpet replacement. With a bit of care, you'll have a repair that no one will ever notice.
How to Patch Deep Carpet Burns
When you’ve got a burn that's gone right through the fibres and singed the backing, a simple trim and fluff just won't cut it. This is where a proper patch repair comes into its own, and it's your best bet for a truly invisible fix. It might sound a bit daunting, but trust me, with a steady hand and a bit of patience, you can replace the damaged spot so well that you’ll forget it was ever there.
The whole idea is to carefully cut out the burnt section, use that piece as a template to cut a matching 'donor' piece, and then secure the new patch in place. The secret to making it disappear lies in the details—getting your cuts clean and, most importantly, lining up the carpet's natural pile direction.
This visual guide gives you a quick overview of the tools you'll need and the basic steps for a successful patch repair.
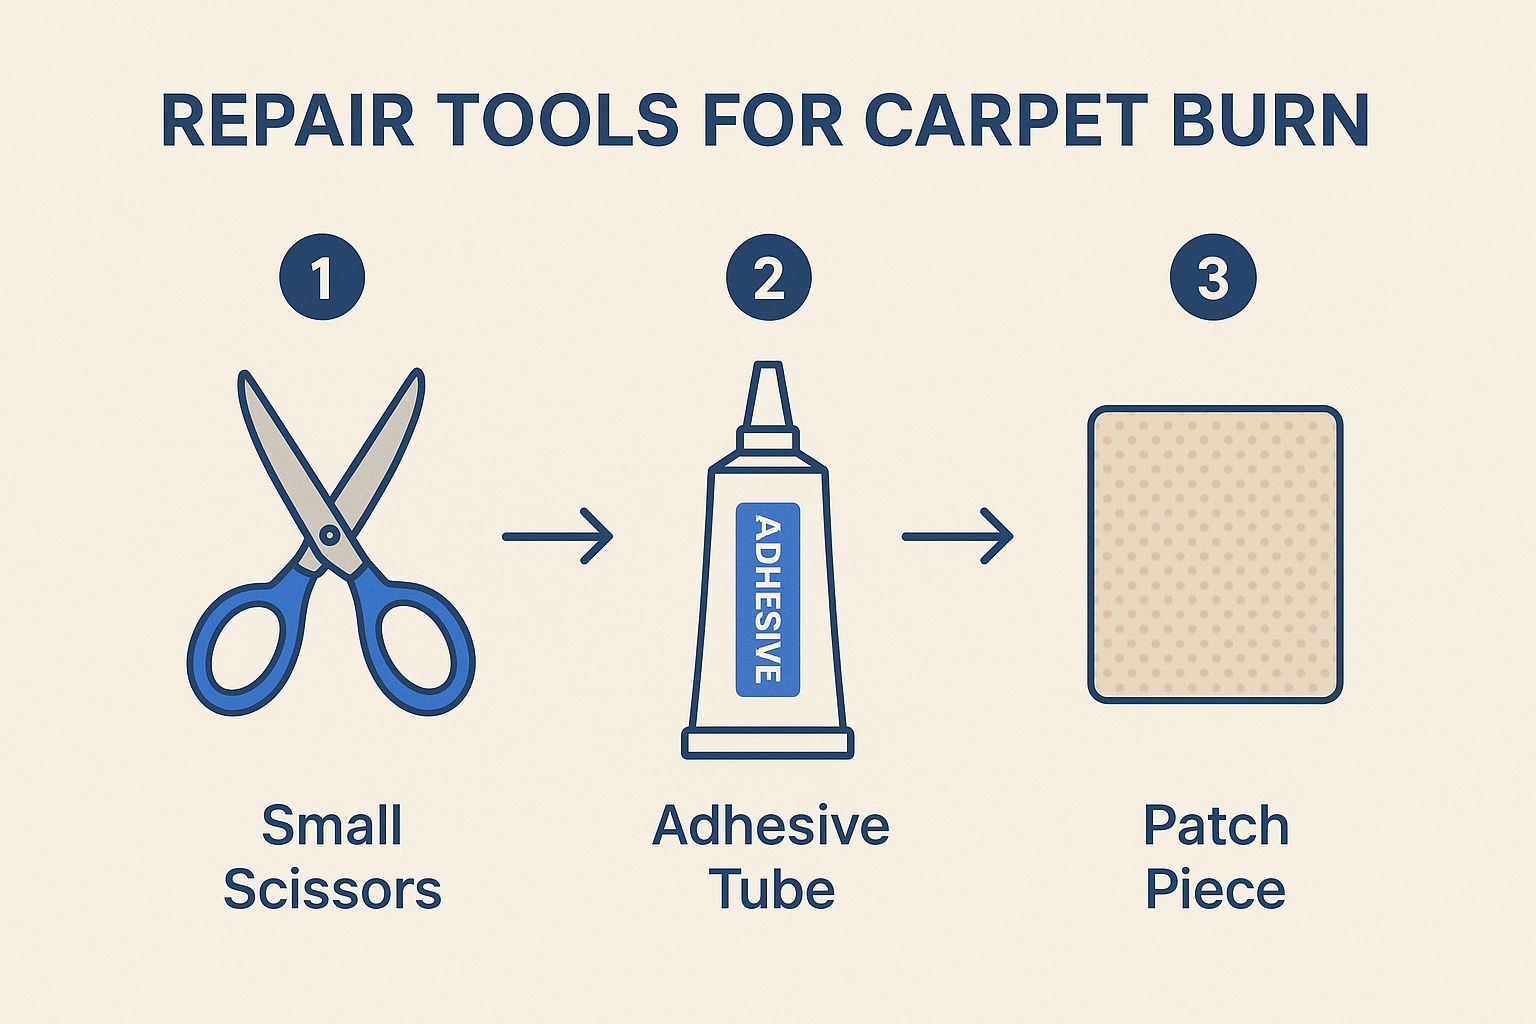
It highlights everything from the right cutting tools to the essential adhesive, so you can gather everything you need before you start.
Excising the Damaged Area
First things first, you need to get the burnt bit out. Grab a sharp utility knife—and I mean sharp, a fresh blade is a must—and carefully cut around the damage. Even if the burn is circular, it’s much easier to cut a neat square or rectangle around it. This makes fitting the new patch a whole lot simpler later on.
You’ll need to press firmly enough to slice through both the carpet pile and its backing. Once you've cut all the way around, lift the damaged piece out. Don't throw it away! This is now the perfect template for your new patch.
Pro Tip: Your best friend here is a clean, straight cut. If you have jagged or wonky edges, you'll have a nightmare trying to make the seam invisible. Take your time.
Sourcing and Preparing the Patch
Now, take your template and find a donor piece of carpet. Hopefully, you've got a leftover scrap, or you can often sneak a small piece from inside a wardrobe, under the stairs, or from behind a permanently placed piece of furniture.
This next step is absolutely crucial for a seamless repair: matching the pile direction.
Run your hand over the main carpet around the hole and then over your donor piece. The fibres have a natural lean or direction—they'll feel smooth one way and rougher the other. You need to make sure your patch is facing the same way. Place your template on the donor carpet, get the pile direction right, and then use it as a guide to cut out the new patch. Precision here will pay off big time.
Securing Your New Carpet Patch
With your patch cut and ready, it's time to fix it in place. You've got a couple of good options for sticking it down:
- Carpet Adhesive: A strong, latex-based carpet glue is what the pros use. Just apply a thin, even bead around the edge of the hole on the carpet backing, not directly onto the patch.
- Double-Sided Carpet Tape: For smaller patches, this is a great, less messy alternative. Simply apply strips of tape to the subfloor around the edges of the opening.
Once your adhesive is ready, carefully lower the patch into the hole, double-checking that the pile is running the right way. Press it down firmly all over, making sure it sits completely flush with the surrounding carpet. Whatever you do, don't overdo it with the glue; any excess will squeeze up through the join and create a sticky, dirt-attracting mess.
For a more detailed look at this technique, our complete guide on carpet patching repair has plenty more tips and tricks.
Blending for a Flawless Finish
The final job is to make the seams vanish. Use your fingertips or a stiff-bristled brush to gently ruffle the fibres along the edges of the patch, mingling them with the existing carpet. This simple action does wonders to hide the join.
After a few hours, the adhesive will have set. Give the whole area a good vacuum to help lift the fibres and complete the blending process. With a bit of care, your carpet will look as good as new.
When You Should Call a Professional
There’s a real sense of pride that comes from a successful DIY fix, I get it. But trust me, when it comes to carpet burn repair, there are times when picking up the tools yourself can backfire spectacularly. Knowing when to step back and call in a pro is half the battle—it can save you a lot of grief and money down the line.
Some jobs are just too big or too tricky for a home repair. Think about a large, angry-looking scorch mark from a dropped iron or a hot coal that’s escaped the fireplace. These aren't simple fixes. They demand a level of precision and specialist equipment that you just won't find in your average toolbox. The same goes for carpets with intricate, repeating patterns. Trying to line up a patch perfectly on one of those is a true art form and incredibly easy to get wrong.
Situations That Demand an Expert
The type of carpet you have is a massive factor. If you've got a burn on a beautiful wool, silk, or even a tricky Berber carpet, my advice is to leave it alone. These materials are fussy. They can react badly to common adhesives, and one wrong snip could cause the entire weave to unravel or leave a permanent stain. It’s simply not worth the risk.
Here’s a quick checklist for when you should definitely pick up the phone:
- The burn is any bigger than a 50p coin.
- Your carpet has a complex pattern that needs to match flawlessly.
- It's made from a delicate natural fibre like wool or silk.
- The damage is right in the middle of a high-traffic area, where a DIY patch will likely fail under pressure.
The Financial Sense of Professional Repair
It might sound odd, but calling a professional can often be the cheaper option in the long run. A DIY repair gone wrong doesn't just look bad; it can make the damage even bigger and more noticeable. At that point, your only real choice might be to replace the entire carpet.
A professional has access to perfectly colour-matched donor fibres and industrial-grade adhesives that you can't buy off the shelf. They'll get the job done right the first time, ensuring the mend is practically invisible and stands the test of time. It’s about protecting the investment you made in your flooring.
Let's look at the numbers here in the UK. A professional patch repair for a burn can start from around £150. On the other hand, replacing the carpet in just one average-sized room can easily set you back over £1,605 once you factor in materials and fitting. When you see it like that, the value of an expert fix is pretty clear.
If the damage is beyond a simple snip-and-glue job, it’s always worth getting a professional opinion. For a better understanding of what to look for in a good tradesperson, this guide on hiring home repair handyman services is a great starting point. And before the expert arrives, it's a good idea to have a quick read of our tips on how to prepare for professional carpet cleaning, as a lot of that advice also applies to repair visits.
Common Carpet Repair Questions Answered
Even with a solid guide in hand, you’re bound to have a few questions when you’re staring down at a burn mark on your carpet. It's completely normal. Getting the right answers can be the difference between a seamless fix and a complete disaster, so let’s clear up some of the most common queries I hear.
People often ask about the glue, usually something like, "Can I just use a bit of super glue?" Honestly, that's a hard no. Super glue dries rock-solid and brittle. It creates a stiff, crunchy patch that feels awful underfoot and can even break the surrounding carpet fibres over time. You really need a proper latex-based carpet adhesive; it's designed to stay flexible once it cures.
Another big one, especially for tenants, is whether they're even allowed to fix the carpet themselves.
Can I Repair Burns in a Rented Property?
This is a bit of a grey area. On one hand, a small, well-done repair is far better than leaving an ugly burn mark for your landlord to find. On the other hand, you absolutely must check your tenancy agreement first. Some contracts are very strict and prohibit tenants from making any alterations, repairs included.
If you decide to go for it, just know that a bad repair could end up costing you your security deposit. For renters, I almost always suggest that calling in a professional is the safer bet. A pro will make the repair virtually invisible, which means no arguments with the landlord when you move out.
What Is the Best Way to Match Carpet Colour?
Getting the colour match right is everything—it's the secret to an invisible mend. The most reliable way to do this is to find a "donor" piece of the original carpet. Check inside a wardrobe, under a permanent piece of furniture, or see if you have any offcuts left from when the carpet was first laid.
A word of warning: never try to buy a new piece of carpet, even if you know the exact make and colour. Dye lots vary, and your existing carpet will have faded and worn slightly over time. A new piece will stick out like a sore thumb.
If you want to read up more on different flooring problems, there are some great insights into the causes and cures for common flooring catastrophes.
Does Carpet Repair Affect Stain Protection?
Yes, it can. If your carpet was originally treated with a stain protector, the patch you've just put in won't have that same level of defence. Even if the donor piece is from the same carpet, the cut edges expose new, untreated fibres. This makes the repaired spot a bit of a weak link when it comes to spills.
Once your repair has fully cured, it’s a smart move to treat the area with a good quality aftermarket protector. This restores a uniform barrier against stains. You can learn everything you need to know about stain protection for carpets in our specialist guide. It’s a small step that really helps protect your hard work.
If you're looking at a nasty carpet burn and just want it gone without the stress, the team at AG Carpet Specialists can sort it out. Get in touch for a free, no-obligation quote, and let our experts bring your carpet back to life. Visit us at https://www.agcarpetspecialist.co.uk.



