
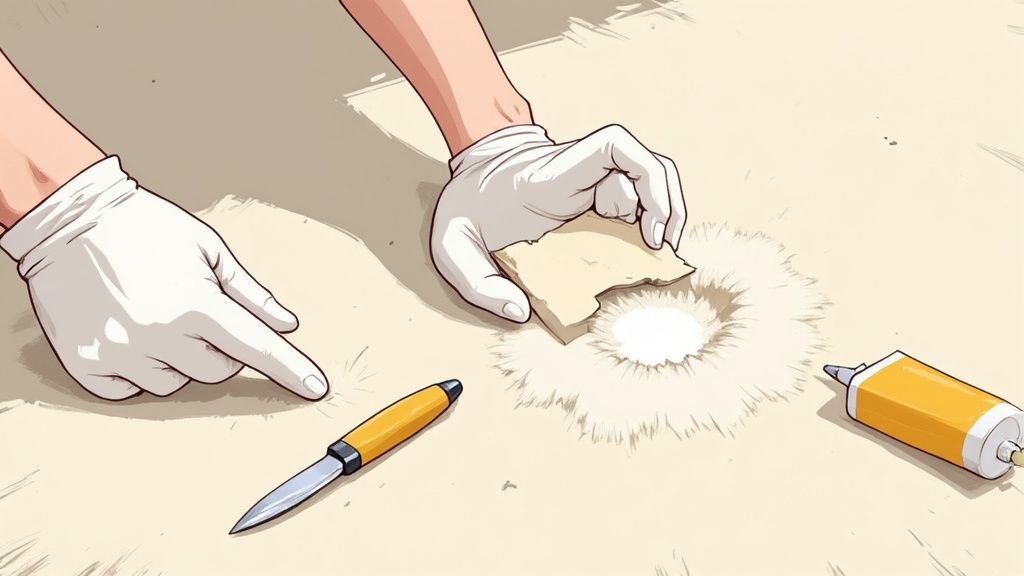
Finding a hole in your carpet is one of those annoying moments, but honestly, the fix is usually much simpler than you'd expect. For most minor damage, you can sort it out by cutting away the ruined bit and popping in a matching patch from somewhere out of sight—think inside a wardrobe or under the sofa.
Getting Started on Your Carpet Hole Repair
Pulling off a near-invisible carpet repair is absolutely something you can do yourself. The secret isn't some magic trick; it's all in the preparation. Don't just dive in with a pair of scissors and a tube of glue. Taking a few minutes to properly size up the damage and get your tools in order is what separates a seamless fix from an obvious, clumsy patch.
Think of it like any other bit of DIY. Getting the prep right is more than half the battle and sets you up for a result you can actually be proud of.
What to Expect From Your Repair Project
Before you make the first cut, it’s worth getting your head around the main stages of the job. It helps you see what's coming and avoids any mid-repair panic. The whole process really boils down to four key parts:
- Sizing Up the Damage: First, you need to get a good look at the hole. How big is it? What's the best way to tackle it? This is where you figure out your plan.
- Gathering Your Gear: This means finding a bit of 'donor' carpet for your patch and rounding up your tools. A sharp knife and the right kind of adhesive are non-negotiable.
- Making the Swap: This is the main event – carefully cutting out the damaged section and fitting your new patch perfectly into place.
- Blending It In: The final flourish. You'll need to fluff up and blend the fibres of the patch with the surrounding carpet so the repair completely disappears.
If there's one piece of advice I can give, it's this: be patient. Rushing the cutting or the blending is where it all goes wrong. Take your time, especially when you're lining up the pile direction of the patch to match the rest of the carpet.
Knowing these steps gives you a clear roadmap. To make it even simpler, let’s quickly break down what you’ll be doing and what you’ll need.
Carpet Hole Repair at a Glance
This table gives you a quick rundown of the whole process, from that first look at the damage to the final, seamless blend. It's a handy checklist to make sure you have everything you need before you begin.
| Stage | Key Objective | Essential Tools |
|---|---|---|
| Assessment | Evaluate the damage size and find a donor patch source. | Measuring tape, torch |
| Preparation | Gather all supplies and cleanly trim the damaged area. | Sharp utility knife, carpet tape or adhesive |
| Execution | Securely install the patch, ensuring the pile matches. | Seam roller, notched trowel (for glue) |
| Blending | Make the repair invisible by integrating the fibres. | Stiff brush, scissors for trimming |
With this overview in mind, you're all set to move from planning to doing. Let's get that carpet looking as good as new.
Take a Good Look and Get Your Kit Ready
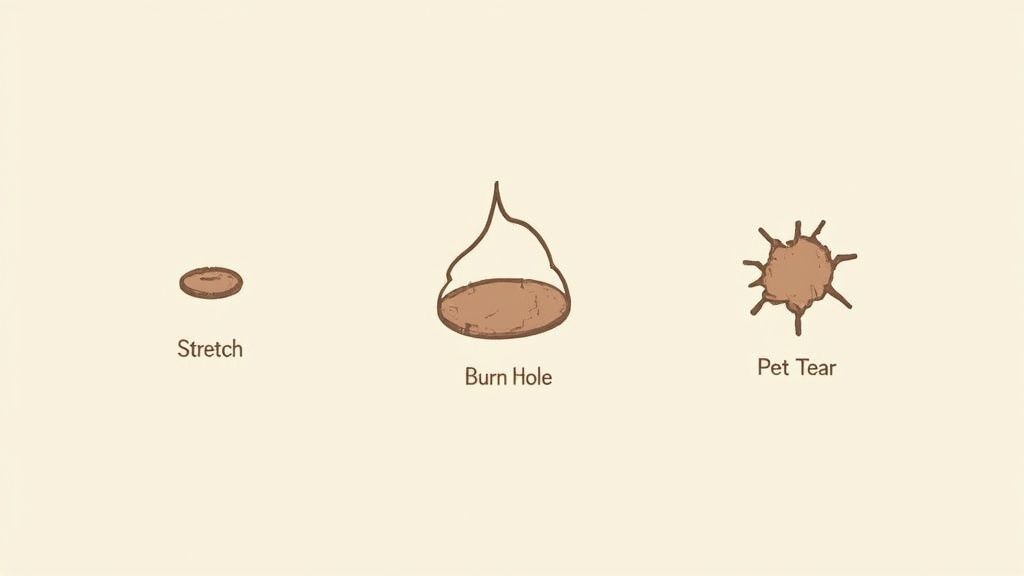
Before you even think about cutting anything, the first and most important step is to properly assess the damage. What are you actually dealing with? Is it a small, neat burn mark from a stray ember, or a ragged tear from dragging furniture across the room?
The type of hole dictates your whole strategy. A small, clean hole is usually a straightforward fix. But for a larger, frayed tear, you'll probably need to trim the damaged area into a neat square or rectangle before you can even think about patching it. Taking a moment to inspect the damage properly helps you understand the true scope of the work and stops you from accidentally making things worse.
While we're focused on holes here, it's always useful to understand other types of carpet damage. The principles of careful work often overlap, and you can pick up valuable tips from learning how to repair damaged carpet from household stains, for example.
What Kind of Carpet Do You Have?
Next, you need to identify your carpet's material and pile. Is it a dense, low-pile twist, or something much shaggier? The height and direction of the pile are crucial for making sure your patch blends in seamlessly later. Get down on the floor and run your hand over the carpet to feel which way the fibres naturally lie – this is key.
Figuring out the material—whether it’s tough nylon, soft wool, or a synthetic blend—also helps you choose the right adhesive for the strongest bond. Get this wrong, and you could end up with a patch that starts lifting at the edges in a few months.
Your Essential Toolkit
Getting all your tools together before you start makes the entire job much smoother. You don't need a massive professional kit, but a few key items are non-negotiable if you want a clean result.
- A Sharp Utility Knife: Don't skimp on this. A fresh, sharp blade is your best friend. A dull one will just snag and tear the fibres, leaving you with a messy cut and a very obvious seam.
- Measuring Tape: Precision is everything. You need accurate measurements of both the hole and the patch for a snug, perfect fit.
- Carpet Adhesive or Double-Sided Tape: Go for a high-quality carpet glue or a specialised double-sided carpet tape designed for permanent fixes.
- The Donor Patch: This is the most crucial part. Leftover scraps from when the carpet was first installed are perfect. If you don’t have any, you’ll have to carefully cut a piece from an area that’s never seen, like the back of a wardrobe or under a heavy, permanent piece of furniture.
Pro Tip: When you're cutting a donor patch from your existing carpet, always take it from a spot that gets similar wear and light exposure to the damaged area. This ensures the colour and texture will match as closely as humanly possible.
Executing the Perfect Carpet Patch Repair
With your assessment done and tools at the ready, it's time for the main event: the repair itself. This is where patience and a steady hand really count. The aim isn't just to fill a hole; it's to make the mend so seamless it completely disappears.
First things first, you need to prep the damaged area. Don’t just cut a rough circle around the hole. For a clean, professional finish, you need to create a regular shape like a square or rectangle. This makes fitting the new patch a whole lot easier and keeps the seams tidy.
Using your sharp utility knife and a straight edge, carefully cut out the damaged section. Press firmly, but try to avoid slicing right through the backing and into the underlay. You want to remove the damaged piece cleanly, leaving a perfect template for your new patch.
Sourcing and Cutting the Donor Patch
The real secret to an invisible repair is the donor patch. Its colour, texture, and—most importantly—its pile direction have to be an exact match. If you get this wrong, the patch will stand out a mile, catching the light differently from the rest of the carpet.
Before you start, it helps to get a clear picture of the key steps.
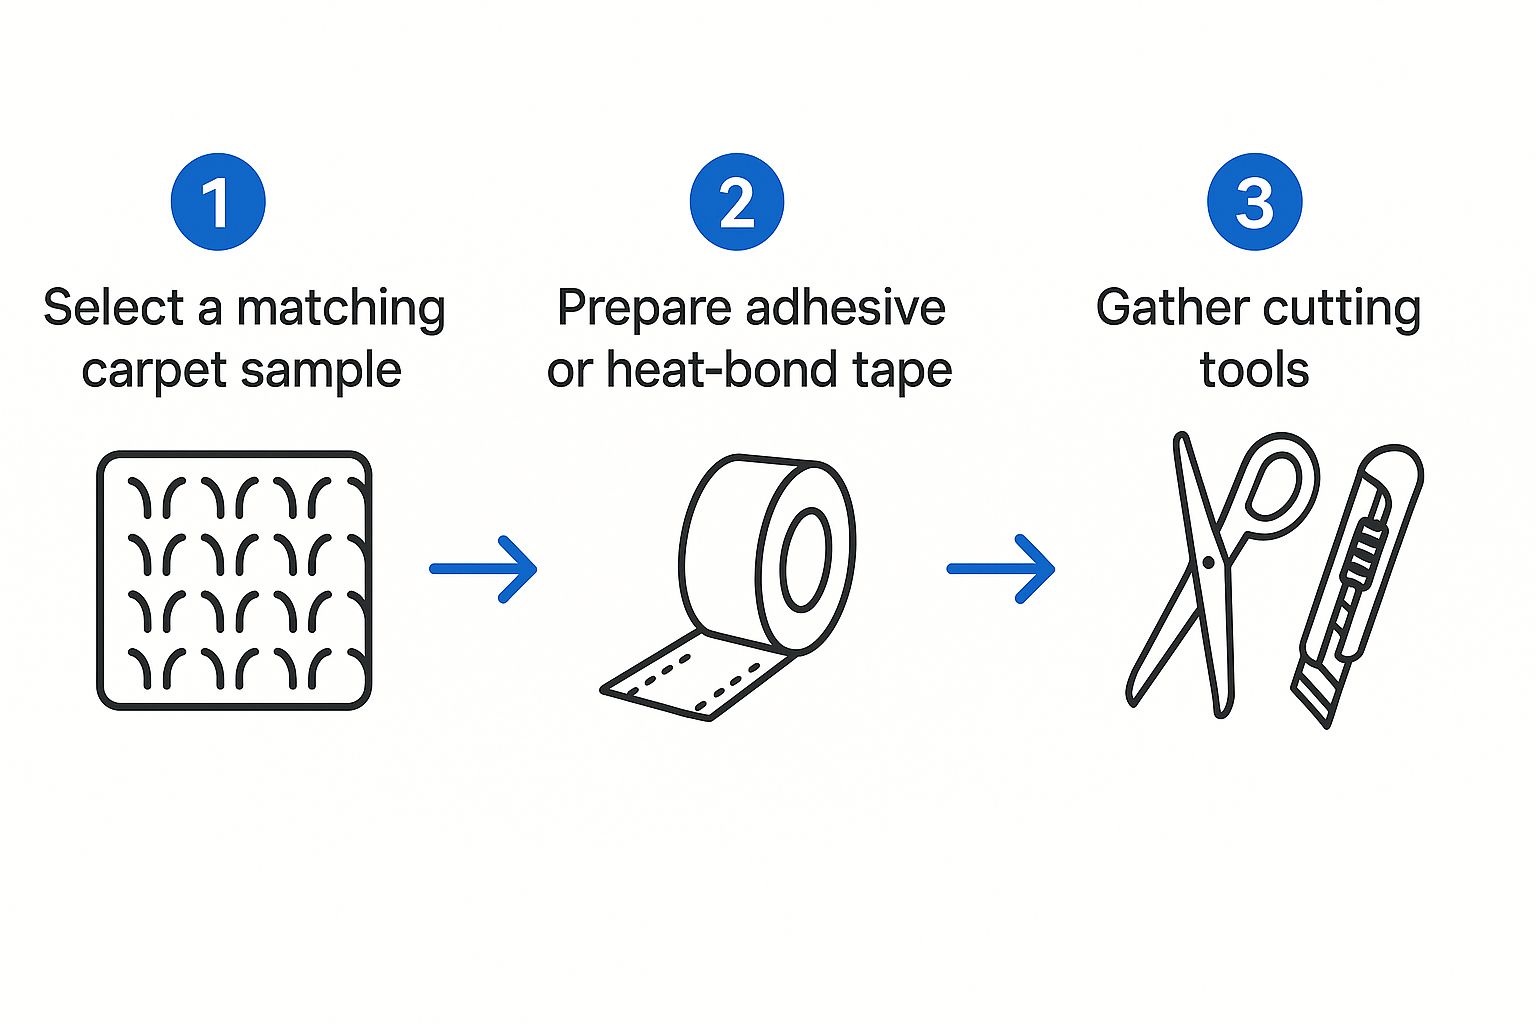
As you can see, choosing the right materials is the foundation of a good repair.
Once you have your donor carpet, take the damaged piece you just removed and place it on top—this is now your template. But before you cut, run your hand over both the donor piece and the carpet around the hole. You need to feel for the pile direction. The fibres will feel smooth one way and a bit rough the other.
Crucial Tip: Always align the pile direction of the donor patch with the pile of the surrounding carpet. To avoid any mix-ups, I always mark the direction on the back of both pieces with a little arrow.
Now, carefully cut out your new patch using the template. A precise cut is absolutely essential for a snug fit. Give it a test run by placing it into the hole. It should drop in perfectly without needing to be forced, but also without leaving any obvious gaps.
Securing the Patch in Place
With your perfectly cut patch ready to go, it’s time to fix it in place for good. For most DIY repairs, you've got two main options: double-sided carpet tape or a specialised carpet adhesive.
Your choice really comes down to where the repair is located.
- For low-traffic areas, like under a sofa or in the corner of a bedroom, a high-strength double-sided carpet tape is a quick and effective fix. It gives a strong bond without the potential mess of liquid glue.
- For high-traffic spots like hallways or the middle of the living room, a latex carpet adhesive is the much better choice. It creates a far more durable, permanent bond that will hold up to daily wear and tear.
If you're using adhesive, grab a small notched trowel and spread a thin, even layer onto the subfloor inside the hole you've cut. Be careful not to overdo it; too much glue can seep up through the seams and make the carpet fibres hard and crusty.
Gently place your patch into the opening, double-checking that the pile direction is correctly aligned. Press it down firmly, working from the centre outwards to make sure it gets solid contact with the adhesive. The methods can vary, and if you want to get into the nitty-gritty, exploring a professional guide on carpet patching repair can offer some extra expert tips.
Choosing the Right Materials for a Lasting Fix
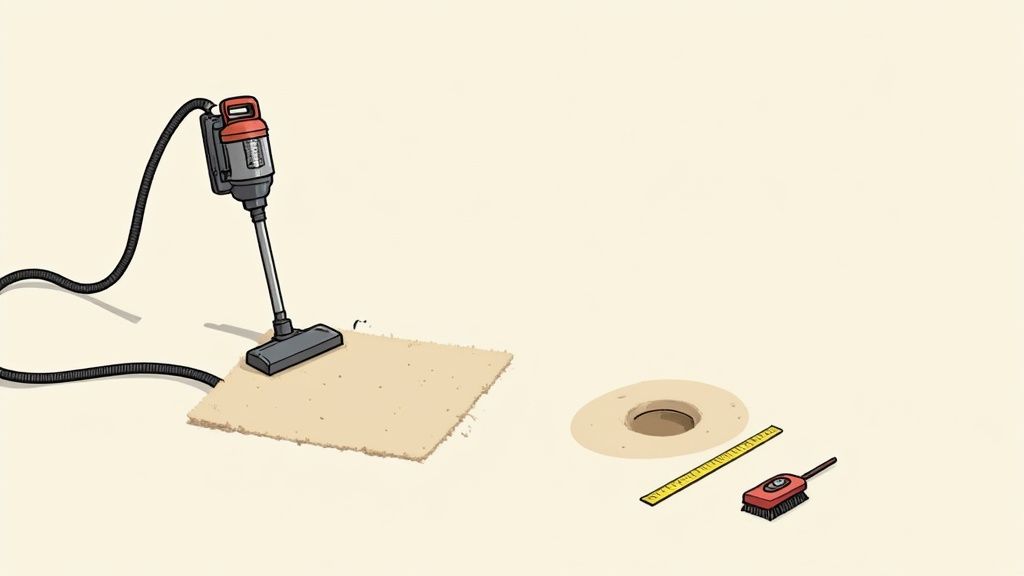
The secret to a carpet repair that actually lasts isn't just about your cutting technique; it's got just as much to do with the materials you're using. If you grab the wrong adhesive or patch material, even the most perfect fix can turn into a peeling, obvious mess in just a few months.
The single most important factor here is the type of carpet fibre you're working with.
A natural wool carpet, for instance, behaves completely differently from a synthetic one. Its fibres are more delicate and absorbent, which means they often need a gentler, solvent-free adhesive. On the other hand, most modern UK homes are fitted with tough synthetic carpets. In fact, nylon carpet accounted for a massive 41.7% of the UK market share due to its incredible durability. For the average homeowner doing a repair, this means your adhesive needs to be strong enough to get a proper grip on these non-porous fibres.
You can learn more about these trends in the full carpet and rug industry analysis.
Adhesives for Synthetic vs Natural Fibres
When you’re patching a hole, the adhesive you choose is your most critical tool. For those popular synthetic carpets like nylon or polypropylene, you’ve got a couple of really solid options that give you the strength needed for busy areas.
- Latex-Based Carpet Glue: This is a brilliant all-rounder. It creates a powerful yet flexible bond that moves with the carpet, which stops the patch from feeling stiff and obvious underfoot.
- Hot-Melt Carpet Tape: This is the stuff most professionals rely on. You'll need a special seaming iron to melt the adhesive, but it creates an incredibly strong, almost permanent bond. It’s perfect for major repairs in high-traffic spots like hallways.
If you’re working with natural fibres like wool or sisal, you need to take a different approach entirely. A harsh, chemical-heavy glue can easily damage these delicate materials. Instead, look for a polymer-based or water-based adhesive that’s specifically made for natural fibres to avoid any nasty discolouration or damage.
A classic mistake is reaching for any old superglue. These types of glues dry hard and brittle. You'll end up with a stiff, uncomfortable spot in your carpet that will almost certainly crack and fail as the carpet flexes with foot traffic.
Repair Materials by Carpet Fibre Type
Choosing the right combination of tools is essential for a seamless repair. The type of fibre dictates the best adhesive to use, and getting this wrong is a recipe for a failed patch. The table below breaks down what you need for the most common carpet types found in UK homes.
| Carpet Fibre | Recommended Adhesive | Key Repair Considerations |
|---|---|---|
| Nylon | Latex Carpet Glue / Hot-Melt Tape | Extremely durable; requires a very strong adhesive to create a permanent bond. |
| Polypropylene | Latex Carpet Glue / Double-Sided Tape | Resists moisture, so a high-tack adhesive is needed to grip the fibres securely. |
| Wool | Water-Based or Polymer Adhesive | Prone to damage from harsh chemicals; use a gentle, fibre-safe adhesive. |
| Berber (Loop Pile) | Seam Sealer & Hot-Melt Tape | The loops can easily unravel. You must seal the cut edges before securing the patch. |
A clean patch is just as important as the glue holding it in place. After you've finished the repair, keeping it looking its best is the next step. To maintain your newly patched carpet, it’s worth knowing how to deep clean carpets at home without accidentally damaging your handiwork.
Techniques for Blending Your Repair Seamlessly
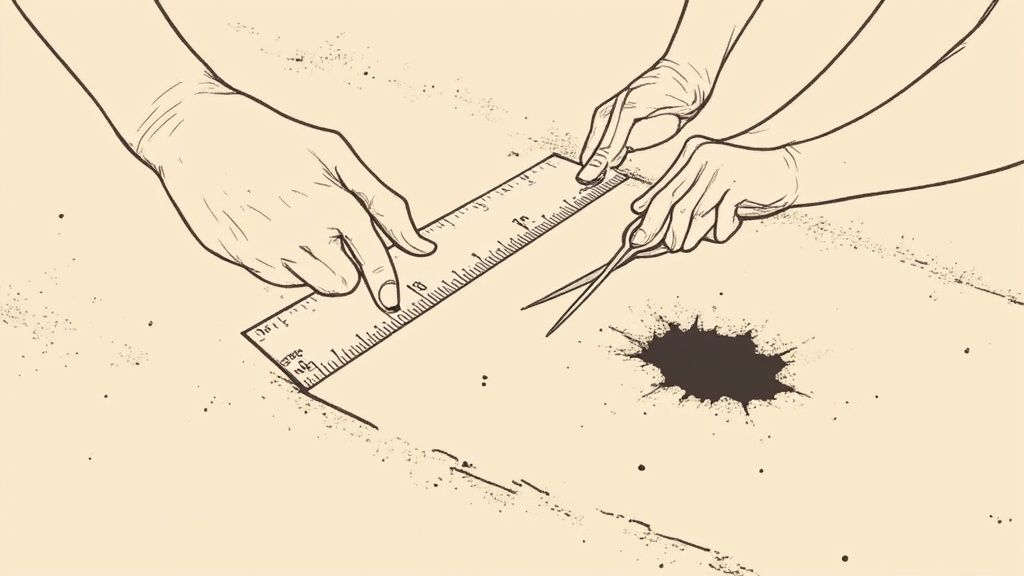
You’ve patched the hole, which is the hardest part of the job. Now comes the most satisfying step: making your hard work totally disappear. This last stage is all about the finishing touches that trick the eye, turning a noticeable patch into a flawless mend.
The first thing to look at is the height of the carpet pile. Even with a perfect donor patch, the fibres of the new piece often sit a fraction higher than the surrounding, slightly worn carpet. This tiny difference can catch the light and give the game away.
Trimming and Levelling the Fibres
To get that perfect blend, you’ll need a sharp pair of scissors. Don't use your utility knife for this part; you need more control. The goal is to carefully snip the tops of any fibres on the patch that are visibly taller than their neighbours.
Work slowly and carefully—it’s always better to trim too little than too much.
- Start by trimming the patch fibres so they sit level with the surrounding carpet.
- Next, angle your scissors slightly to bevel the edges of the patch.
- This subtle angling helps soften the transition and gets rid of any hard lines that might cast a shadow.
This small step is often overlooked, but it's a professional trick that makes a huge difference in making the patch invisible.
A Quick Tip from Experience: I find that a pair of small, sharp craft or embroidery scissors gives you the best control for this delicate trimming. Your big kitchen scissors are just too clumsy for this kind of precision work.
Integrating the Seam for an Invisible Finish
Now it’s time to blur the lines where the old carpet meets the new. Your main tool for this job is a stiff-bristled brush. A carpet brush is ideal, but any clean, firm brush will do the trick.
Brush the fibres along the seam vigorously, back and forth. You're aiming to interlock the fibres from the patch with the fibres of the original carpet, which fluffs everything up and helps hide the cut line.
For an even better result, you can use a seam roller. Apply firm pressure as you roll it over the seam to help bed the patch down and merge the edges even more. After brushing and rolling, stand back and check the repair from a few different angles. You shouldn't be able to spot the join.
Finally, give the entire area a good vacuum. This not only cleans up any loose trimmings but also helps lift and blend all the fibres for a uniform look. When done right, this blending process makes it difficult for even you to find the repair later.
After all your hard work, consider looking into stain protection for carpets to guard against any future mishaps.
DIY Repair vs. Calling in the Professionals
While tackling a small carpet hole yourself can be a satisfying project, it’s crucial to know when to put down the tools and pick up the phone. Being honest about the extent of the damage versus your own repair skills is the best way to protect your carpet and avoid a botched job that looks worse than the original problem.
Take a good look at the damage. Is it a massive tear right in the middle of your living room? Or is it in a high-traffic area where a less-than-perfect patch will stick out like a sore thumb? If so, getting a professional in is almost certainly the better decision. They have the specialised tools and years of experience to make that damage disappear.
When to Call an Expert
Some situations really do need a professional's touch. It’s always best to call in an expert if you're dealing with any of the following:
- Intricate Patterns: Trying to match a complex or repeating pattern is a true art. A pro can slice and fit a patch so the design flows perfectly, making the repair virtually invisible.
- Large or Jagged Tears: Any damage bigger than a couple of inches is tough for a DIY-er to handle. An expert knows the right techniques to secure the edges and prevent the carpet from fraying down the line.
- A Guaranteed Finish: If you’re a landlord, selling your home, or simply have a high-value carpet, a flawless, warrantied repair is non-negotiable. This is where professional service provides real peace of mind.
A successful DIY repair is incredibly rewarding, but a bad one can seriously devalue your carpet. If you have any doubt at all about achieving a seamless finish, it's always a smarter investment to get professional help.
With the UK aiming to build 1.5 million new homes by 2029, the demand for new flooring is on the rise. However, for the millions of existing homes, proper maintenance and timely repairs are key. This includes knowing how often to clean carpets to keep them in top condition for as long as possible.
A Few Common Carpet Repair Questions
When you’re getting ready to fix a hole in your carpet for the first time, a few questions nearly always come up. Getting these sorted can give you the confidence to get stuck in, so let’s clear up the most common queries.
Finding a Donor Carpet Patch
One of the biggest worries I hear is, "What if I don't have any leftover carpet for a patch?" Don't worry, you almost certainly have a perfect piece tucked away somewhere you haven't thought of. The trick is to look in areas that are completely hidden from view.
- Inside a wardrobe: The carpet right at the back is usually untouched and a perfect colour match.
- Under heavy furniture: A big, heavy sofa or bookcase that hasn’t been moved in years is often hiding a pristine section of carpet.
- Beneath a floor heating vent: If you carefully take the cover off, you can often find a small, usable piece.
How Long for the Adhesive to Cure?
Another key question is about patience: how long does the glue need to dry? While every product is slightly different, a solid rule of thumb is to give it a full 24 hours to cure properly. During this time, it's crucial to avoid walking on or vacuuming the repaired spot. This gives the adhesive the best chance to form a really strong bond.
Rushing the drying process is one of the most common mistakes people make, and it almost always leads to a weak patch. Give it the full day to set, and you'll get a much more durable, long-lasting repair.
Repairing Tricky Berber Carpets
Can you patch a hole in a Berber carpet? Absolutely, but you need to be extra careful. Berber's looped design is famous for unravelling the second you cut into it. You have to be incredibly precise and use a seam sealer around the edges of your patch. This is vital to stop the loops from fraying over time.
For any significant damage to a Berber carpet, calling in a professional is usually the smartest move. Sometimes, pet damage is the cause, which brings its own challenges. It's often worth knowing how to eliminate pet odors from your carpet as well to fully sort out the area.



