
That gut-wrenching moment when the smell of burnt fabric hits you, and you look down to see a dark, angry scorch mark from an iron on your beautiful carpet. We’ve all been there. The good news is, a burned carpet with an iron doesn’t automatically mean a costly replacement is on the cards. Most of the time, minor scorches can be carefully trimmed away, and even deeper burns can often be patched up seamlessly.
Your First Steps After Burning the Carpet
Panic is a completely normal reaction, but what you do in those first few moments can make a world of difference. Your immediate instinct might be to scrub at the mark or frantically pull at the melted fibres, but please don’t! That can often make the damage much worse.
Instead, the first job is to take a breath and play detective. How bad is the burn, really? A light singe on the very tips of the fibres is a world away from a deep, melted burn that’s gone right down to the carpet’s backing.
Assessing the Damage
Before you reach for scissors or any other tools, a proper look at the situation is crucial. Getting this right will guide your entire repair and tell you whether this is a DIY job or one for the pros.
You’re generally looking at one of three scenarios:
- Light Scorch: The tips of the carpet fibres have turned dark and feel a bit stiff or crusty to the touch. The good news is the pile underneath is still intact.
- Moderate Burn: Here you’ll see blackened fibres that have started to melt and clump together. The damage is definitely more than just a surface-level discolouration.
- Severe Melt: This is the worst-case scenario. The iron has melted right through the carpet pile, leaving a noticeable crater and often exposing the tough backing underneath.
I've put together a quick table to help you identify what you're dealing with.
Burn Severity Assessment and Immediate Actions
| Burn Severity | What It Looks Like | Your First Move |
|---|---|---|
| Light Scorch | Dark, brittle tips on the carpet fibres. Pile is still intact. | Let it cool completely. Get a pair of small, sharp scissors. |
| Moderate Burn | Blackened, melted fibres clumped together. Damage is visible. | Let it cool. Assess if you have a spare piece of carpet for a patch. |
| Severe Melt | A melted crater exposing the carpet backing underneath. | Do not touch. This will almost certainly require a patch repair. |
This table should give you a clear starting point. For light scorches, you have a great chance of fixing it yourself. For anything more severe, you need to be honest about your DIY skills.
If you’re looking at a severe melt or just don’t feel confident tackling the repair, it’s always wise to get an expert opinion. Reaching out to the best carpet cleaning company near you for a professional assessment can save you from a costly mistake.
Key Takeaway: Fight the urge to panic and scrub. The single most important first step is to correctly identify how severe the burn is. This will tell you everything you need to know about your repair strategy and whether it’s a job you can handle yourself.
Get a Feel for the Damage Before You Start
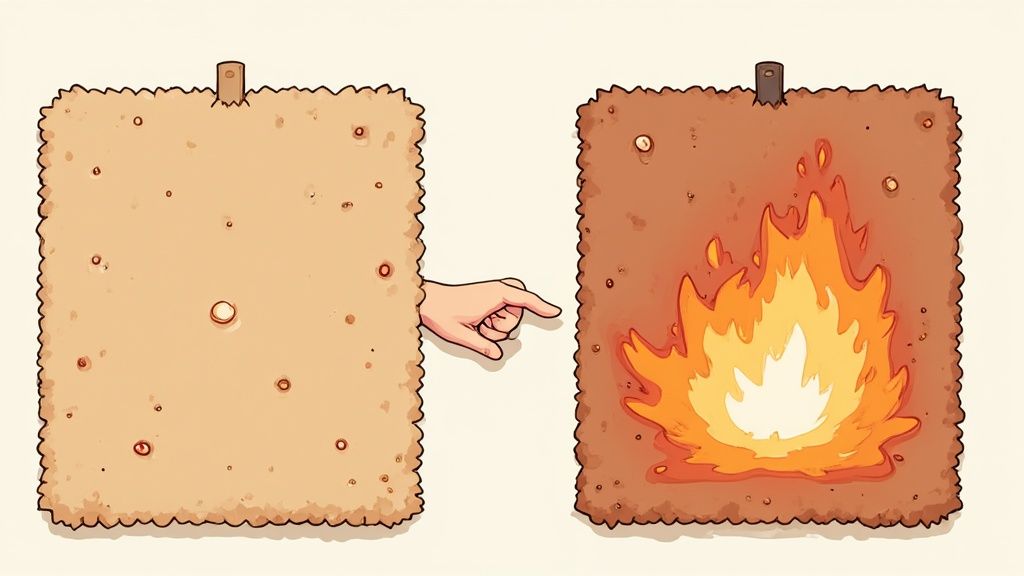
Before you grab any tools, taking a moment to properly assess the situation is the secret to a good repair. I've seen it countless times: someone acts too quickly after a burned carpet with an iron and ends up making things worse. The trick is to match your repair method to how bad the burn is and what your carpet is made of.
Get down close and have a good look at the fibres. Is it just a light surface scorch, where only the tips are blackened and feel a bit crispy? Or has the heat properly melted the material, leaving a hard, fused crater that goes deep into the pile? A surface scorch is often a straightforward fix, but a deep melt needs a bit more work.
The next step is figuring out your carpet's material, as this really dictates how it's reacted to the heat and what you can safely do about it.
Know Your Carpet's Material and Pile
The type of carpet you have makes a huge difference to your repair plan. For instance, natural fibres like wool will char and turn almost to ash, whereas synthetics will actually melt and fuse together into a solid lump.
- Wool Carpets: These are a bit more forgiving with minor scorches. You can often just gently scrape or snip away the charred ends.
- Synthetic Carpets (Nylon, Polyester): These are notorious for melting into hard, plastic-like blobs. This kind of damage almost always means you'll need to cut out the affected fibres or patch the whole area.
- Berber (Looped Pile): The loops in Berber carpets make trimming a nightmare – you can easily cause pulls and runs. Patching is usually the only safe bet for burns on this type of carpet.
Knowing these details helps you avoid common mistakes. You can find more specific advice in our detailed article on how to get burns out of carpets.
It’s no surprise that specialist repair companies often say iron burns are their most common call-out. It’s a very frequent household accident, but they can often restore carpets to a near-perfect state, saving homeowners hundreds of pounds over the cost of a full replacement.
Expert Tip: Run your fingers over the burn. If it feels stiff and brittle but the fibres underneath are still soft, you’re probably looking at a surface scorch. If it’s a solid, melted lump, you're dealing with a deeper burn that needs a more hands-on approach.
Your Essential Toolkit for Carpet Repair
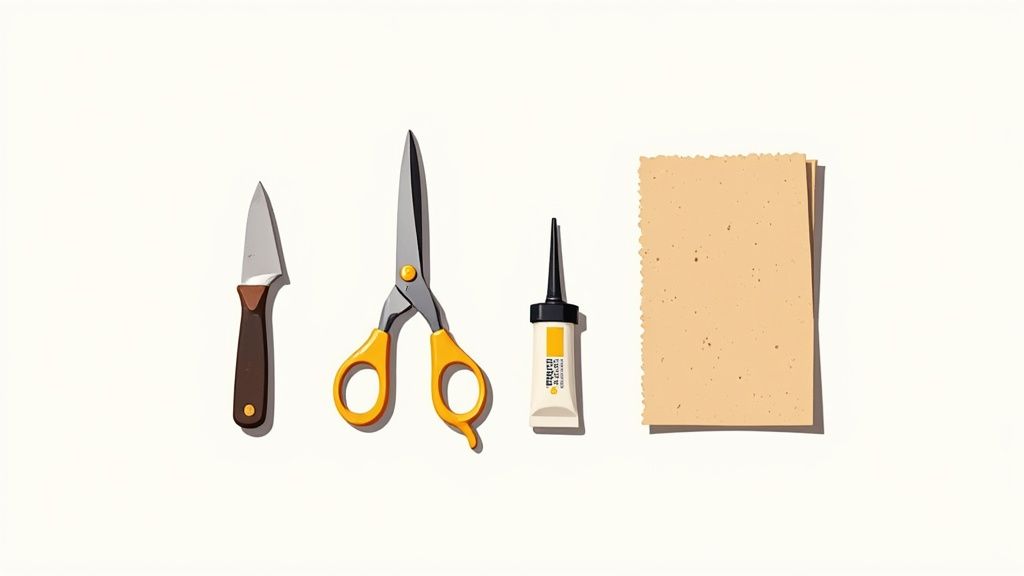
Before you even think about tackling that burn mark, it's worth getting your tools in order. Having everything you need to hand makes the whole process far less stressful and helps you get a much cleaner, more professional-looking result. You don't need a full workshop, but a few key items are non-negotiable.
For Light Scorch Marks
If you're dealing with a minor scorch, the kind that's just singed the very tips of the fibres, your needs are pretty simple. The goal here is just to carefully trim away the damaged ends.
- Small, sharp scissors: A pair of nail or craft scissors will give you the precision you need for this delicate work.
- Fine-grit sandpaper: This is great for gently buffing away any slight discolouration that remains after trimming.
- A vacuum cleaner: You'll need this to clear away the trimmed fibres and any other debris as you go.
For Deeper Burns Requiring a Patch
When the burn has gone deeper into the pile and left a proper hole, you'll need to perform some minor surgery with a patch. This requires a few more tools. For a really in-depth look at this method, our guide on carpet patching repair walks you through it step-by-step.
Pro Tip: Have a rummage through your garage or shed before you head out to buy anything. Many of these tools are common household staples you might already own. Looking at suppliers of reliable construction tools can also give you an idea of what quality equipment looks like.
For a full patch job, you'll also need a sharp utility knife, a steel ruler to keep your cuts perfectly straight, and a strong carpet adhesive to bond the new piece in place without any tell-tale gaps.
Handling Light Scorch Marks and Discoloration
Spotted a scorch mark but it doesn't look too catastrophic? Let out that sigh of relief. If you're only dealing with a bit of discolouration or some stiffened fibre tips, you're in luck. These minor marks, usually from a fleeting touch of an iron, can often be sorted out without resorting to a full-on patch repair.
The trick is to remember you're not trying to clean the burn—you're physically removing the damaged part of the carpet fibre. A scorch is a permanent alteration, so no amount of scrubbing is going to lift it. Instead, think of this as giving your carpet a bit of a precision haircut to get it looking its best again.
The Trimming Method for Singed Fibres
If you've got a classic burned carpet with an iron scenario where just the very tops of the pile are dark and brittle, trimming is your go-to technique. The goal here is to snip away only the scorched ends, almost like trimming a split end.
Find a small, sharp pair of scissors; nail or craft scissors are ideal for this kind of detailed work. Gently isolate the burnt fibres and trim them one by one. You want to cut just below the scorch mark but be careful not to go so low that you create a noticeable dip in the pile. Patience is key, so work slowly and methodically.
Expert Tip: After trimming a small patch, give it a quick once-over with the vacuum. This clears away the cut fibres and gives you a much better view of your progress, helping you avoid taking too much off and creating a bald spot.
Using Abrasion for Minor Discolouration
Sometimes, a scorch mark presents as more of a light brown smudge than a blackened, crispy tip. For this kind of blemish, a little gentle abrasion can work wonders. Simply take a piece of fine-grit sandpaper and lightly rub it over the affected fibres. The aim is to gently buff away the discoloured surface without causing any real damage to the fibre's structure.
This infographic breaks down the simple, three-stage process for these light repairs.
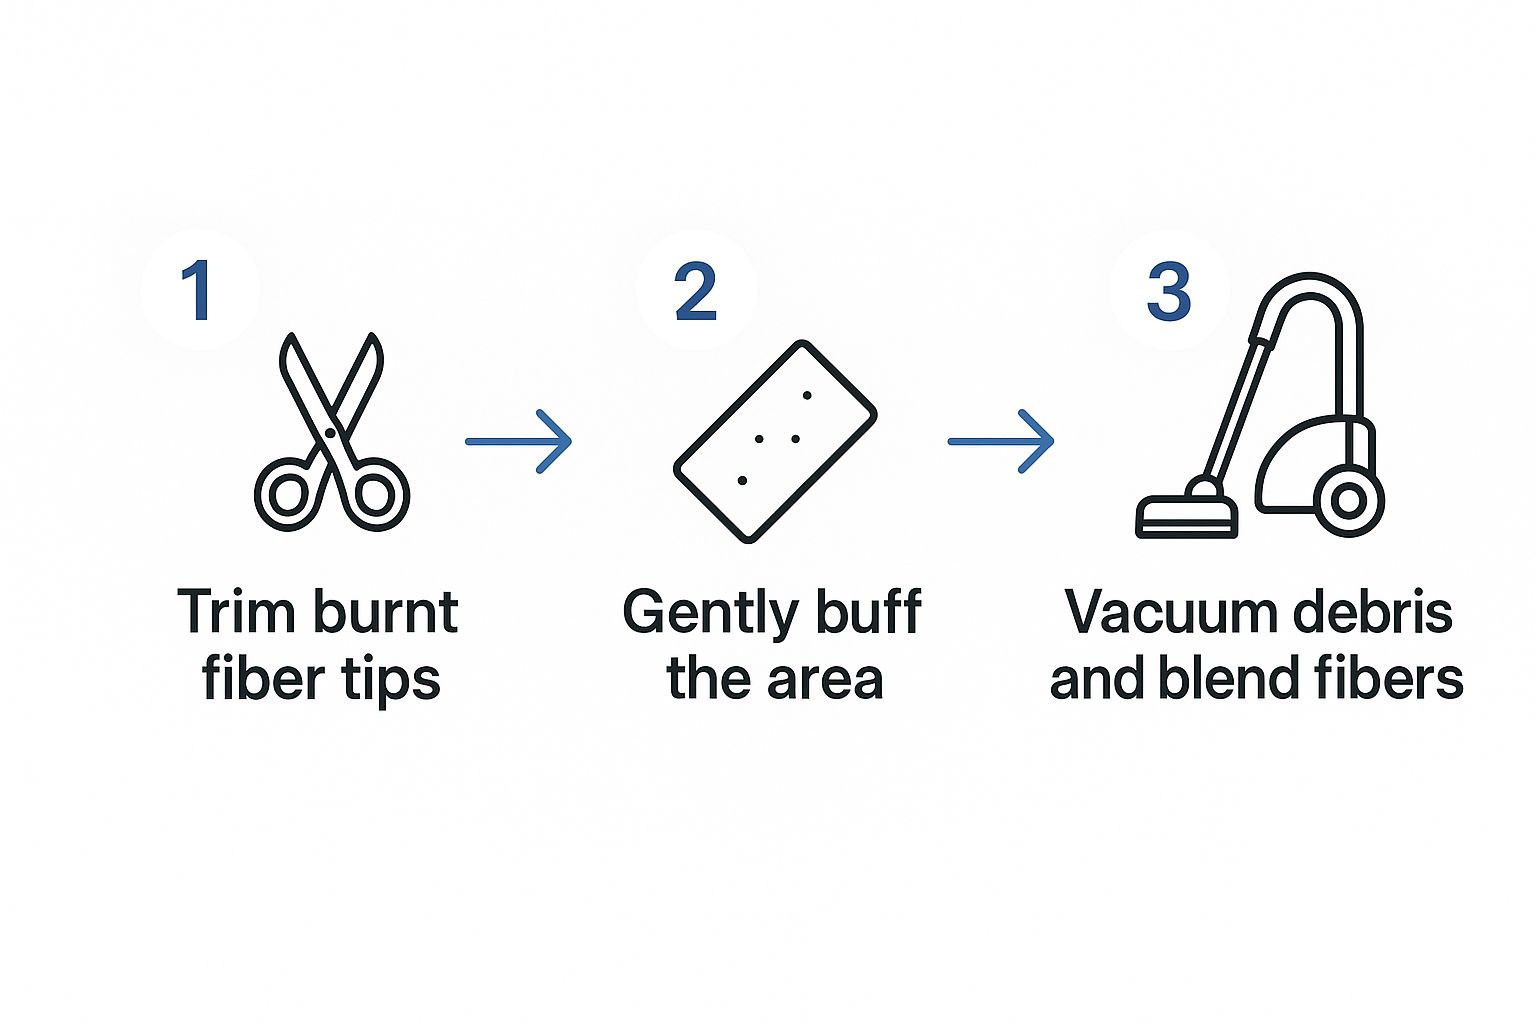
As the guide shows, it's a straightforward sequence: trim, buff, and then clean up to help the repair blend in. If the discolouration is proving particularly stubborn, you might find some of the principles used in professional smoke damage restoration techniques useful, since both deal with heat damage.
Once you’re finished, use your fingers to fluff up the surrounding pile, which will help disguise the repaired area. If the spot still looks a bit off-colour, you might need to try a targeted cleaning solution, but make sure you understand how to remove stubborn carpet stains properly and always test your product on a hidden area first.
Repairing Deeper Burns with a Carpet Patch
Sometimes, the damage from a hot iron is more than just a surface-level scorch, and simply trimming the fibres won’t cut it. If you're looking at a nasty melted crater, the best approach is a small transplant—swapping the damaged section for a fresh piece of carpet. We call this patching, and while it might sound a bit daunting, it's a very manageable DIY job if you have some patience.
First things first, you'll need a donor piece of carpet. The ideal scenario is having an off-cut left over from when the carpet was originally fitted. If that’s not an option, you need to get a bit creative. Look for discreet spots where a small piece won't be missed, like inside a built-in wardrobe, under a heavy bookcase that never moves, or even behind a radiator.
Sourcing and Preparing Your Carpet Patch
Once you've identified your donor spot, the aim is to make the repair completely invisible. This is about more than just cutting out a square; it’s about precision and working with the carpet’s natural flow.
The single most important factor is the carpet pile direction. Every carpet has a 'grain' or 'nap', where all the fibres lean one way. If you place your patch against this grain, it will catch the light differently and stick out like a sore thumb.
Key Takeaway: Before you cut anything, run your hand over the donor piece and the area around the burn. You'll notice the fibres feel smooth in one direction and a bit rough in the other. Your patch must be aligned to match this direction perfectly for a seamless repair.
Cutting and Fitting the Patch
With your donor piece chosen, it's time to operate. Grab a sharp utility knife and a steel ruler to carefully cut out the burned section of your carpet. You need to make clean, straight cuts, forming a neat square or rectangle. It’s vital to cut all the way through to the carpet backing.
The piece you just removed now acts as your template. Place it on top of your donor carpet—making absolutely sure the pile direction lines up—and use it as a guide to cut an identical patch.
Apply a good quality carpet adhesive to the subfloor where the patch will go, or directly onto the backing of the new patch. Carefully press it into position.
Sadly, accidents at home are all too common, and dropped irons are a frequent cause of carpet burns. Data from the International Burn Injury Database (iBID) is used by UK authorities to understand just how often these domestic burns happen and to help shape prevention campaigns. You can learn more about their findings and safety advice on their website.
After the adhesive has had time to dry, use your fingers or a stiff brush to fluff and blend the fibres along the seams. This final touch is what really helps to hide the edges of the patch, making your repair practically invisible.
For a more in-depth guide, take a look at our full post on professional-grade burn carpet repair. With a bit of careful work, you can successfully fix a burned carpet with an iron, bringing it back to life and saving yourself the cost of a full replacement.
Common Questions About Fixing Iron Burns
Even with the best plan, you're bound to have a few nagging questions when you're staring down at an iron burn on your carpet. Getting the right answers can be the difference between a repair that blends in perfectly and one that sticks out like a sore thumb. We've tackled the most common queries to help you get started with confidence.
Can I Use Hydrogen Peroxide on a Scorch Mark?
It’s a tempting quick fix, but a risky one. While some online guides suggest a diluted hydrogen peroxide solution can lighten minor scorches, it’s a gamble.
Hydrogen peroxide is essentially a bleach. It can easily strip the colour right out of wool or dark synthetic carpets, making the original burn look much, much worse. It's far safer to stick with physical removal methods like trimming the burnt fibres or a bit of gentle sanding.
If you are absolutely set on trying a chemical solution, always test it on a completely hidden area first—think inside a wardrobe or a patch that’s permanently under the sofa.
What if I Don't Have a Spare Piece of Carpet?
Don’t panic if you don’t have a handy offcut from when the carpet was first fitted. You only need a tiny piece for a patch repair, and there are a few places you can usually "borrow" from without anyone ever noticing.
Check these discreet spots for a donor patch:
- The back of a closet or inside a built-in wardrobe.
- Under a heavy, permanent piece of furniture like a bookcase.
- Behind a fixed radiator that sits close to the wall.
If that’s not an option, your last resort is to snip a tiny fibre sample and take a clear photo of the carpet to a local carpet shop. They can often find a very close match from their remnants for a minimal cost.
Sometimes, the best DIY decision is knowing when not to do it yourself. If the burn is large, in a very visible area, or on an expensive patterned carpet, a professional repair is a smart investment to guarantee a flawless finish.
Finally, it’s crucial to know when to call for help. If the burn is in a high-traffic spot, is bigger than a 50p coin, or you just don't feel confident you can get it right, it’s probably time to call in a pro. Professionals use specialised tools and techniques to achieve a truly invisible mend that DIY methods can't always match.
If you're facing a stubborn burn or want a guaranteed professional result, contact AG Carpet Specialists. Our expert technicians can restore your carpet seamlessly. Get your free, no-obligation quote today at agcarpetspecialist.co.uk.



