
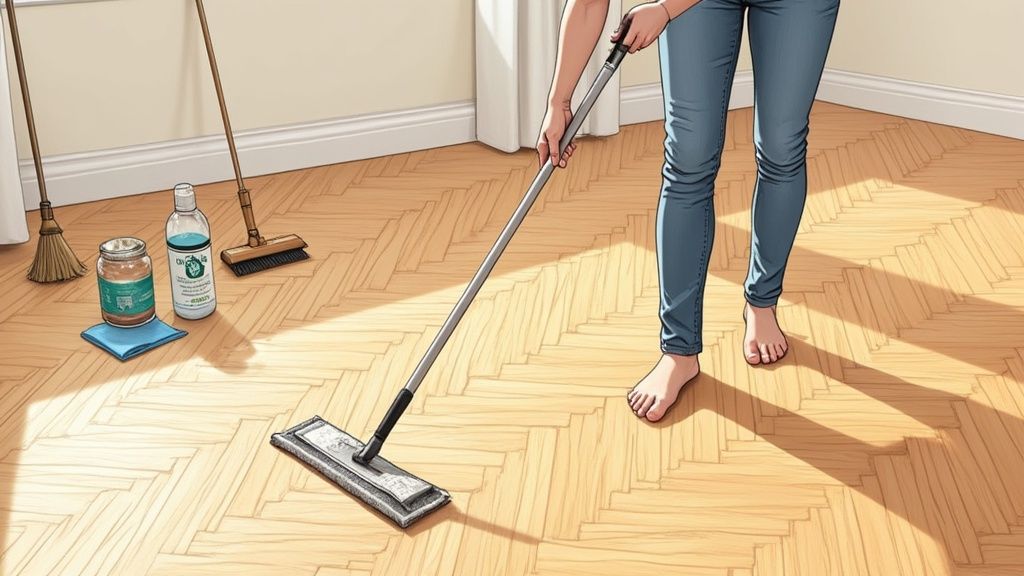
Before you even think about grabbing a mop, the most critical part of cleaning a parquet floor is figuring out what you’re actually dealing with. Parquet isn't just wood; it's a surface protected by a specific finish. Sloshing a cleaner meant for a lacquered floor onto an oiled one can create a dull, sticky mess. Even worse, using an oil-based product on a polyurethane surface can turn your beautiful floor into a slippery hazard.
The good news? You don’t need to be a flooring expert to get this right. A couple of simple, non-invasive tests will tell you everything you need to know. Getting these initial checks out of the way is the foundation for a safe and effective cleaning routine that will keep your parquet looking its best for years to come.
First Steps for Safe Parquet Floor Cleaning
Let’s get straight to it. The key difference you need to spot is whether the finish sits on top of the wood (like a surface seal such as polyurethane) or has soaked into it (a penetrating finish like oil or wax).
Here's how to tell them apart:
-
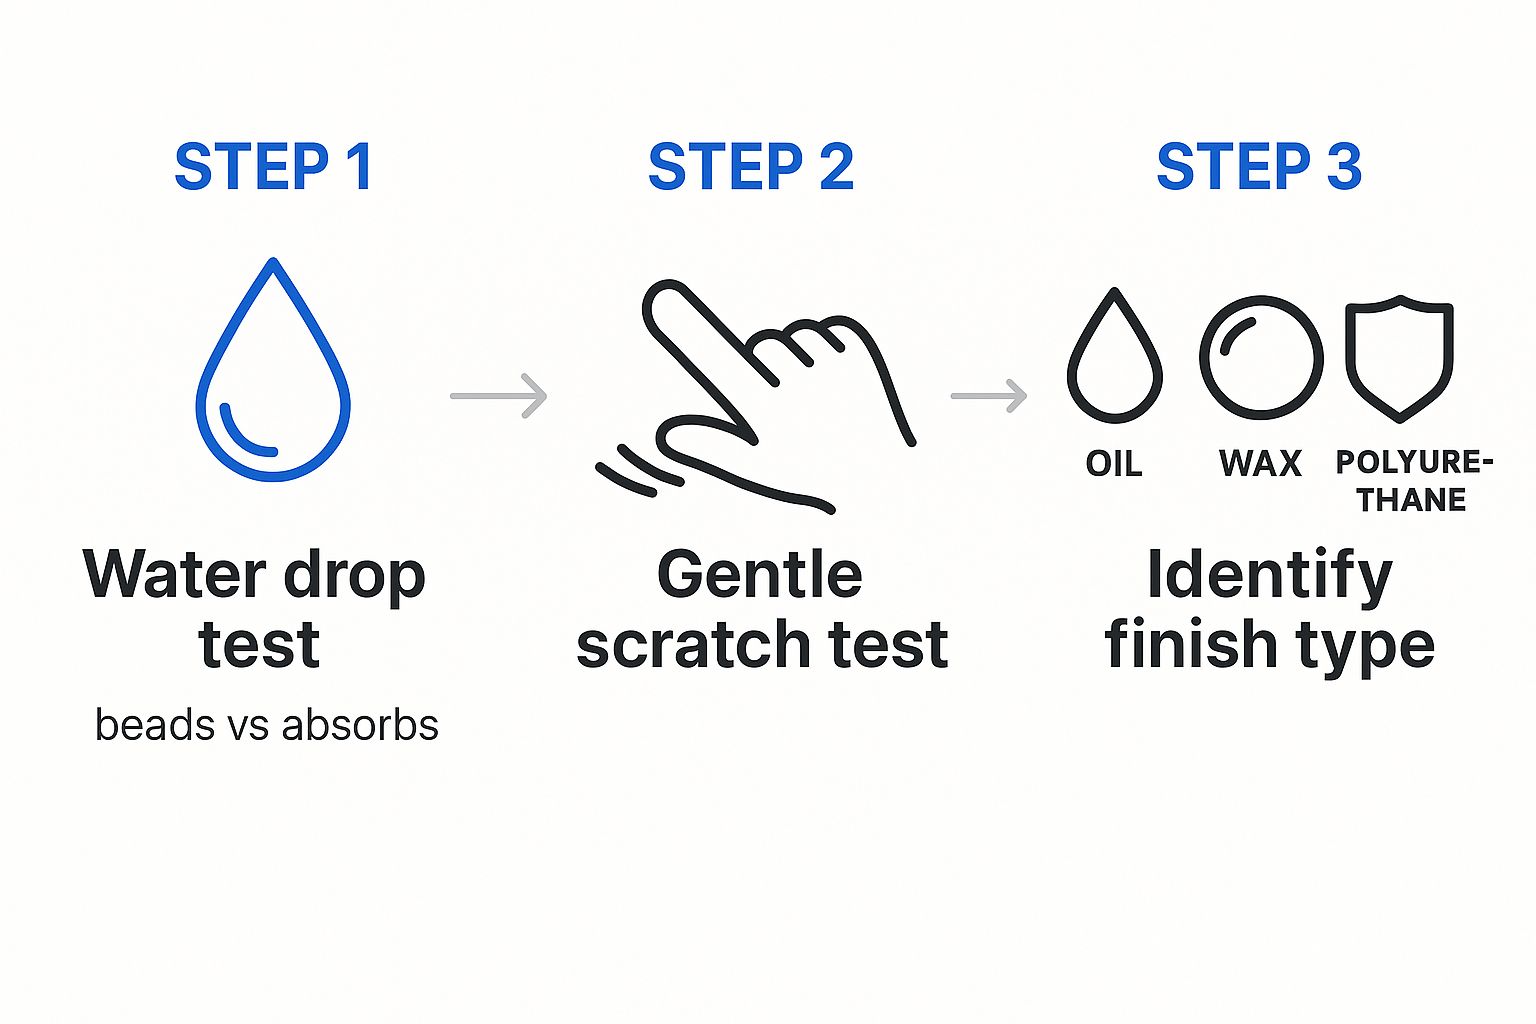
The Water Drop Test: Find a discreet area of your floor and place a single drop of water on it. If the drop beads up and just sits there on the surface, you’ve almost certainly got a well-sealed floor, probably finished with polyurethane or a similar lacquer. If the water starts to soak in after a few minutes, making the wood look a bit darker, then your floor has a penetrating oil or wax finish.
-
The Fingernail Test: In a corner or under a rug where no one will see, gently try to scratch the surface with your fingernail. If you scrape up a little bit of clear, waxy residue, you’ve got a waxed floor. If nothing comes off, it’s likely an oil or polyurethane finish.
This infographic breaks it down visually for a quick check.
Why This Matters for Cleaning
Knowing your finish isn’t just a minor detail—it’s about protecting your investment. The UK cleaning industry was valued at a huge £59.8 billion in 2021, which shows just how much people are focusing on specialised home care. As more of us try to get professional results ourselves, understanding the basics for surfaces like parquet is absolutely essential.
Part of this is knowing which cleaning solutions are friends and which are foes. For example, a common question is about using vinegar on hardwood floors safely, but the answer depends entirely on the finish. Likewise, you need to know if steam is an option. If you’re curious, we have a detailed guide explaining the major risks of steam cleaning wooden floors.
To make this even clearer, here’s a quick reference table to help you identify your floor’s finish and understand the immediate cleaning considerations for each type.
How to Identify Your Parquet Floor Finish
| Finish Type | Appearance | Simple Identification Test | Primary Cleaning Caution |
|---|---|---|---|
| Polyurethane/Lacquer | Often has a slight sheen (from satin to high-gloss). Looks like a clear coating on the wood. | Water drop beads up and sits on the surface. | Avoid harsh, abrasive cleaners or ammonia-based products that can dull or strip the finish. |
| Penetrating Oil | Typically a matte or low-sheen, natural look. The wood grain feels more present. | Water drop slowly soaks into the wood, darkening it slightly. | Steer clear of all-purpose cleaners. Use only pH-neutral products specifically for oiled floors. |
| Wax | Usually a low-lustre, soft-looking sheen. Can feel slightly soft under a fingernail. | Gently scratching in a hidden spot may produce a waxy residue. Water will also soak in. | Never use water-based cleaners, as they can cause white marks. Solvent-based waxes are needed. |
This table should give you the confidence to choose the right products and avoid common pitfalls.
Key Takeaway: Never assume one cleaning method fits all parquet floors. The finish—not the wood itself—determines the right approach. A five-minute test can save you from hours of costly repairs down the line.
Building Your Essential Cleaning Toolkit
Getting your parquet floors properly clean starts long before you even think about a cleaning solution. It all begins with having the right tools for the job. If you reach for the wrong thing, like a stiff-bristled brush or an all-purpose floor cleaner, you could be creating tiny, microscopic scratches that will dull your floor’s beautiful finish over time. A carefully chosen toolkit is your best defence, ensuring every clean is both gentle and effective.
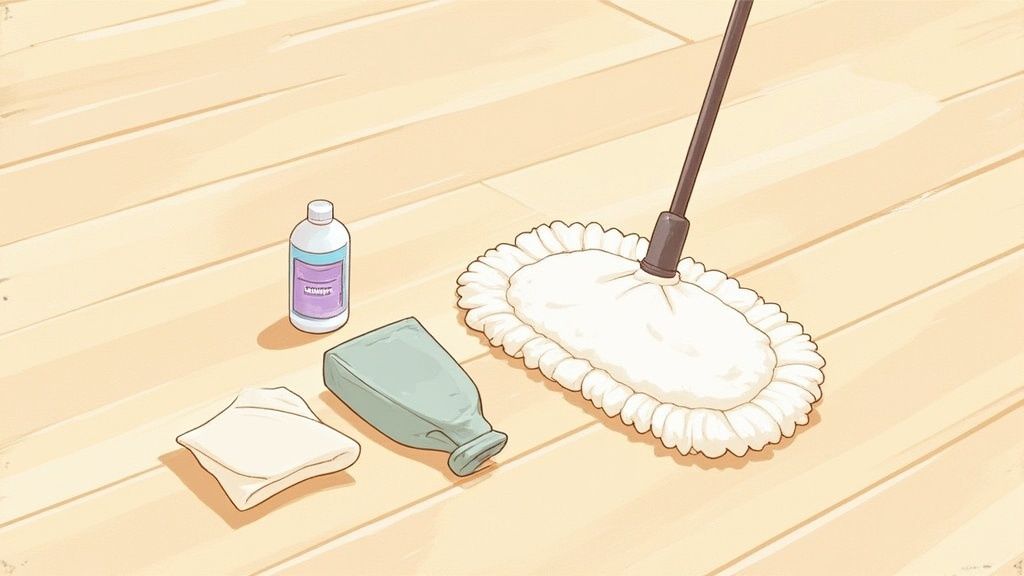
The first items in your arsenal should be for dry cleaning. A simple soft-bristle broom is perfect for gathering up larger bits of debris without any risk of scratching the wood. For the finer dust, pet hair, and allergens, you really can’t beat a dry microfibre flat-head mop. It's designed to trap those tiny particles instead of just pushing them around the room.
Choosing Your Vacuum and Attachments
When it's time to vacuum, remember that not all machines are parquet-friendly. The single most important feature to look for is the ability to turn off the beater bar—that spinning, stiff-bristled brush. It’s fantastic for getting deep into carpets, but on a wooden floor, it can easily scratch and wear down the protective finish.
Your best bet is a vacuum that comes with a dedicated hard floor head, which usually has soft, fluffy rollers. If your current model doesn't have this, just switch to the soft brush attachment. This small change makes a massive difference in preserving your floor’s lustre. In fact, homeowners across the UK are investing in the right equipment, with the floor cleaning market projected to hit around £675 million by 2025. This shows just how much value people place on using the proper tools for their specific floors.
Selecting the Right Mop and Cleaner
For the damp-cleaning stage, a microfibre spray mop or a good spin mop is the way to go. The key benefit of both is that they give you complete control over how much water you’re using, which is absolutely critical. A traditional string mop, on the other hand, tends to get completely waterlogged, posing a real risk of moisture seeping between the wooden blocks and causing damage.
The cleaning solution you choose is just as vital as the mop. You must use a pH-neutral cleaner that has been specifically created for sealed hardwood floors. Anything too harsh, acidic, or alkaline can start to strip away the finish, leaving the wood exposed and vulnerable.
Here’s a quick checklist for what to look for on the bottle:
- pH-Neutral Formula: It should say this clearly on the packaging.
- "Safe for Sealed Wood Floors": This confirms it won’t harm polyurethane or lacquer finishes.
- No Wax or Polish Additives: Steer clear of products promising extra shine. They often leave behind a hazy residue that builds up over time.
A word of caution: many people reach for a homemade vinegar and water solution. While it’s a popular DIY cleaner, the acidity in vinegar can slowly eat away at your floor's finish with repeated use, leading to a dull, lifeless appearance that’s very hard to fix.
If you're thinking about investing in a new machine to make life easier, our guide on the best hardwood floor cleaning machines has some great recommendations that are safe and effective for delicate parquet. Putting together the right toolkit from the very beginning will make cleaning your parquet floors simpler, safer, and much more rewarding.
Your Daily and Weekly Cleaning Routine
The real secret to a stunning parquet floor isn’t about annual deep cleans or harsh chemicals. It’s all in the small, consistent habits that stop damage before it even gets a chance to start. A simple daily and weekly routine is your best defence, protecting those beautiful wood patterns from the grit and grime that cause wear and tear.
Think of dust and pet hair as microscopic sandpaper. Every time you walk across the floor, these tiny particles grind into the finish, creating micro-scratches that build up and make the surface look dull. That’s why a quick, daily dry clean is absolutely essential for effective parquet floor cleaning.
The Five-Minute Daily Sweep
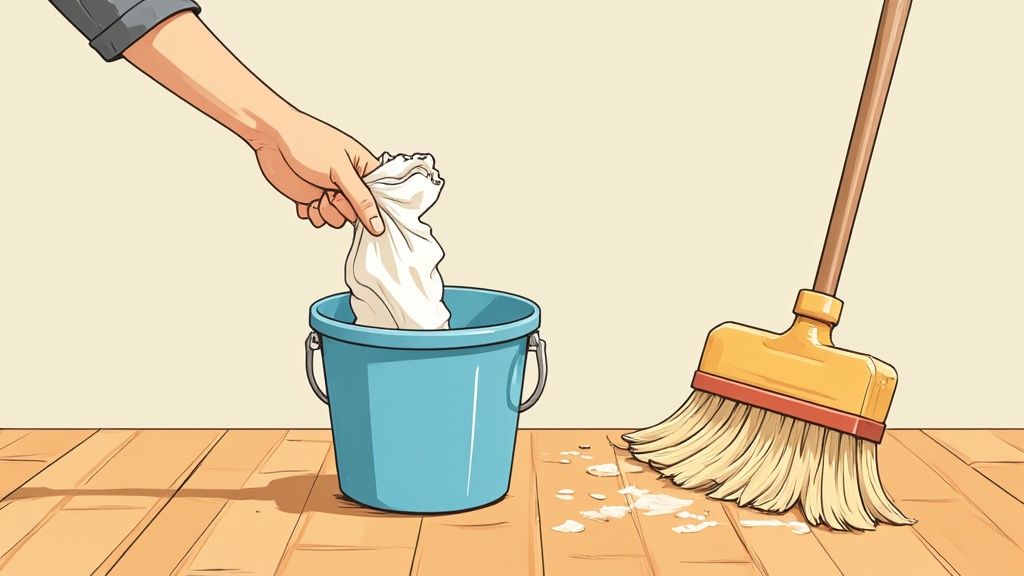
The aim of your daily clean is straightforward: get rid of surface debris. This doesn't have to be a big job. A quick five-minute pass through high-traffic zones like hallways, kitchens, and entrances is usually all you need.
- Best Tool: A flat microfibre mop is your best friend for this task. Its electrostatic charge is fantastic at attracting and trapping dust, not just pushing it around.
- Alternative: A soft-bristled broom is another good option. Just be sure to sweep gently in the direction of the wood grain so you don't flick dirt into the little gaps between the blocks.
This daily habit is one of the most effective things you can do. For more general tips on wood floor care, have a look at our guide on how to maintain hardwood floors, which has more long-term strategies.
The Weekly Damp Mop Done Right
Once a week, it’s time for a slightly deeper clean to lift any grime or stickiness that a dry mop leaves behind. The golden rule here is damp, not wet. Water is the biggest enemy of parquet flooring; too much of it can seep between the wooden blocks, causing them to swell, warp, or even discolour.
Your technique is just as crucial as your tools. Start by giving the floor a thorough vacuum, making sure the beater bar is switched off to avoid scratching the wood. Then, get your cleaning solution ready—always use a pH-neutral wood floor cleaner. A common mistake is using far too much product, which just leaves a sticky, dull film behind. A light mist is all it takes.
Pro Tip: Never spray cleaner directly onto the floor and let it puddle. Instead, lightly mist a section of your microfibre mop pad or a small patch of the floor (about one square metre at a time). This gives you total control over the moisture.
Work in small, manageable sections, always moving with the grain of the wood. Wring your mop out until it feels almost dry to the touch. The floor should air-dry in less than a minute—if it’s wet for any longer, you’re definitely using too much water. Following this method ensures you get a proper clean without putting your beautiful floor at risk.
How to Tackle Common Stains and Scuffs
Even when you’re on top of your cleaning routine, life happens. A dropped cup of coffee or a scuff from a shoe doesn't have to be a disaster for your beautiful parquet floor. The real secret is to act quickly and, crucially, to use the right technique for the specific type of mark.
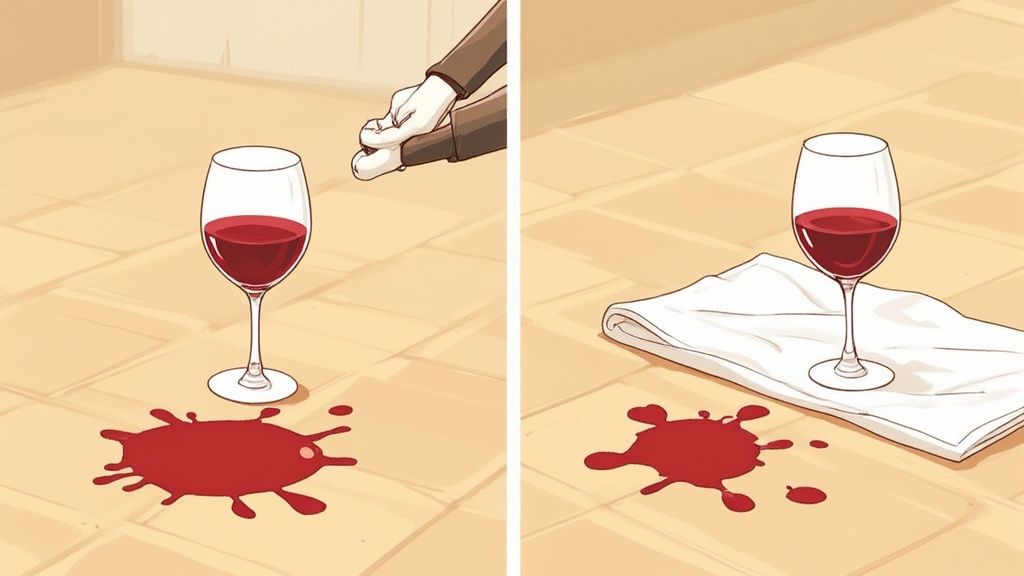
Immediate action is your best defence against liquid spills like red wine, coffee, or juice. The worst thing you can do is scrub frantically; this can just push the liquid deeper into the wood grain or spread the stain. Instead, gently blot the spill with a clean, absorbent cloth. Always work from the outside of the spill inward to stop it from getting any bigger.
Dealing with Greasy or Oily Marks
Greasy spots, whether from dropped food or oily footprints, need a different approach entirely. Water on its own won't break down the oil and will likely just smear it around, making a bigger mess than you started with.
For these kinds of stains, a small amount of your trusted pH-neutral wood floor cleaner on a microfibre cloth usually does the trick. Gently rub the affected area, then wipe it clean with a separate, slightly damp cloth before drying it completely. If you’re up against something more stubborn, you might find our guide on the deep cleaning of hardwood floors offers some more intensive methods.
Removing Scuffs and Minor Scratches
Dark scuff marks, often left behind by rubber-soled shoes, can look awful but are typically very easy to get rid of. One of the simplest and most effective tricks is to use a clean tennis ball. The soft felt is just abrasive enough to lift the rubber mark without doing any damage to the floor’s finish.
For very light surface scratches, try buffing the area with a soft, dry cloth first. Sometimes, a tiny drop of mineral oil on the cloth can help hide the scratch on certain finishes, but you must always test this in a hidden spot first.
Quick Tip: For more stubborn marks like dried paint spills on your parquet, you'll need a specialised approach. It's wise to refer to a comprehensive guide to choosing the best paint remover for wood to make sure you use a product that won’t harm the finish underneath.
Handling Minor Water Spots
If a little bit of water has been left to sit, it can sometimes leave a dark spot. This is especially true on oiled or waxed floors where the moisture has managed to get into the wood itself.
- For Oiled Finishes: You might be able to lift the stain by gently rubbing the spot with a cloth lightly dampened with mineral spirits.
- For Lacquered Finishes: These are more resistant, but if a dark spot appears, it could mean the finish is compromised and a professional repair might be the next step.
Always work carefully and start with the mildest solution before trying anything more aggressive. Patience is key for successful parquet floor cleaning, making sure you restore its beauty without causing any more harm.
When to Polish or Refinish Your Parquet Floor
Sometimes, even the most dedicated cleaning routine just can't bring back the original lustre your parquet floor once had. When the finish starts to look tired, dull, or has a network of fine scratches, it's a clear signal that a simple clean isn't going to cut it anymore.
This is the point where you need to think about the next level of care: polishing or, for more serious wear and tear, refinishing.
Getting the difference between these two is vital. Think of polishing as a rejuvenating treatment for your floor. It's a non-invasive process that cleverly fills in microscopic scratches and adds a fresh protective layer, restoring shine and providing a buffer against future wear.
Refinishing, on the other hand, is more like major surgery for your floor. It involves sanding everything right down to the bare wood to get rid of the old finish, deep scratches, and stains before a brand-new seal is applied.
Polishing to Restore Sheen
Polishing is your best bet when the floor's finish is still intact but has lost its sparkle from everyday life. It's a fantastic way to extend the life of your floor's protective layer without the major cost and disruption of a full refinish.
The trick is to choose a polish that’s compatible with your floor’s existing finish. Using the wrong product can leave you with a hazy, sticky mess that’s a nightmare to fix.
- For Polyurethane/Lacquer Finishes: Always look for a water-based polish made specifically for sealed hardwood floors.
- For Oiled or Waxed Finishes: These need their own special maintenance oils or waxes to nourish the wood and restore the protective barrier.
The UK's focus on specialist floor care is significant. In fact, floor care represents the largest segment within the UK cleaning services market, holding a 31.89% revenue share in 2024. As this market grows, understanding these maintenance tasks becomes even more crucial for homeowners. You can discover more insights about the UK's cleaning services market growth on Grandview Research.
For more specific guidance on this topic, our article on wood floor cleaning and polishing offers detailed advice.
Key Insight: Polishing is a maintenance task, not a repair job. It revives a dull but otherwise healthy finish. If you have deep gouges, grey patches from water damage, or areas where the finish has completely worn away, polishing won't fix it.
Deciding on Refinishing
Refinishing becomes necessary when the damage goes deeper than just the surface. If you can see deep scratches that have penetrated the wood itself, notice boards turning grey (a sure sign of water damage), or see patches where the finish has completely worn through to bare wood, it's time to consider a full sand and seal.
While a small refinishing job might seem like a manageable weekend project, it's a very complex process. It requires specialised equipment and a great deal of skill to get right. Sanding incorrectly can easily create an uneven surface or, even worse, permanently damage the intricate parquet patterns.
Choosing the Right Treatment for Your Floor
Deciding between a polish and a full refinish can feel daunting. This table breaks down the key differences to help you make the right call for your beautiful parquet floor.
| Action | Best For | Frequency | DIY Friendliness |
|---|---|---|---|
| Polishing | Reviving a dull finish, filling micro-scratches, and adding a protective layer. | Every 6-12 months, depending on foot traffic. | High. A manageable DIY job with the right products. |
| Refinishing | Deep scratches, water damage (grey spots), stains, and areas worn down to bare wood. | Every 7-10 years, or when significant damage occurs. | Low. Best left to professionals to avoid costly mistakes. |
Ultimately, choosing the right treatment is about honestly assessing the condition of your floor and understanding the limits of each method.
It's often wisest to call in professionals for a full refinishing job. They have the experience to assess the wood's condition properly and the right tools to achieve a flawless, durable result. This ensures your beautiful parquet floor is restored to its former glory without any of the stress.
Common Parquet Floor Cleaning Questions
Caring for parquet flooring can feel a bit daunting, and it's natural to have questions. Getting the right answers is crucial for keeping your floor looking its best and, more importantly, avoiding simple mistakes that could lead to some pretty expensive damage. Let’s tackle some of the most common queries we hear from homeowners.
One of the biggest questions that comes up time and time again is about using modern cleaning gadgets, specifically steam mops.
Can I Use a Steam Mop on My Parquet Floor?
In a word: no. We can't stress this enough—using a steam mop on parquet, or any wooden floor for that matter, is a recipe for disaster. The intense heat and pressurised moisture can easily work their way through the finish, get in between the delicate wood blocks, and cause them to swell, warp, or discolour. It’s the kind of permanent damage that’s heartbreaking to see and costly to fix.
Your best bet is to stick with a slightly damp microfibre mop. Pair it with a proper pH-neutral cleaner designed for wood, and you’ll have all the cleaning power you need without risking a drop of water damage.
How Often Should I Deep Clean or Polish?
This really comes down to how much life your floors see every day. For a typical family home, a good deep clean every two to four months is usually enough to lift the embedded grime that daily sweeping and light mopping just can't handle.
Polishing, on the other hand, is something you do far less often. It's a job for when the floor starts to look a bit tired and has lost its sheen.
- Polyurethane Finish: These super-durable finishes generally only need polishing once or twice a year to bring back that protective lustre.
- Oiled/Waxed Finish: These more traditional finishes need a bit more TLC. You might find they need re-oiling or re-waxing more frequently to keep the wood nourished and protected.
The best guide is always your own eyes. If the floor looks dull and lacks that warm glow you love, it’s probably telling you it’s time for a polish.
What Is the Best Way to Prevent Furniture Scratches?
When it comes to scratches, prevention is a million times easier than a cure. The first, non-negotiable step is to get some good-quality felt protector pads on the bottom of every single piece of furniture—chairs, tables, the sofa, everything. Check them every few months, as they can pick up grit and wear down over time.
Durable doormats at every entrance are also a must. Think of them as your floor's bouncers, stopping the abrasive dirt and tiny stones that cause the most harm right at the door. And honestly, a simple "no outdoor shoes inside" rule will eliminate the number one cause of scuffs and scratches.
Are Homemade Vinegar Solutions Safe for Parquet Floors?
You’ll see vinegar recommended all over the internet as a "natural" cleaning hero, but it's a real risk for your parquet. Vinegar is acidic, and over time, that acid will slowly eat away at modern polyurethane and lacquered finishes, leaving them dull and cloudy. For oiled or waxed floors, it's even worse—it can strip the protective layer right off, leaving the bare wood exposed and vulnerable.
It is always, always safer to use a pH-neutral cleaner that’s been made specifically for wood floors. That way, you know you aren't accidentally destroying the very finish you’re trying to look after.
At AG Carpet Specialists, we have years of experience bringing tired, dull wood floors back to life. If your parquet has lost its sparkle or you just need some expert advice, contact us today for a free quotation and let us show you the difference professional care can make.



